Introdução
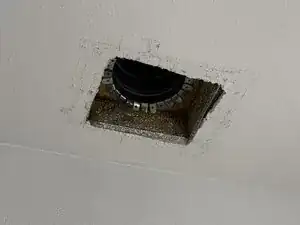
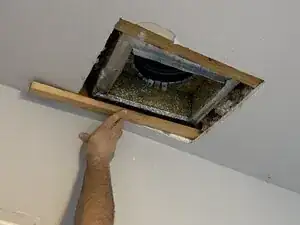
This guide explains how to reattach a vent cover if the original screw hole is too worn out to be re-used, or was incorrectly placed originally.
Typically, a vent cover attaches directly to a hole in the ductwork so that the drywall doesn't wear out during the process. Check to confirm this isn't an option before starting this procedure, as the vent will cover minor drywall issues and connecting to the duct work directly will save substantial time.
Ferramentas
Peças
-
-
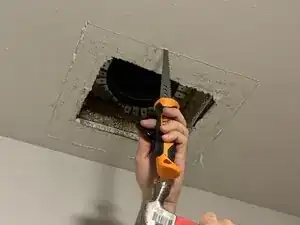
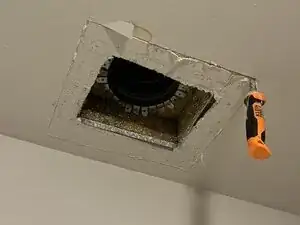
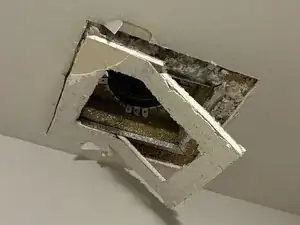
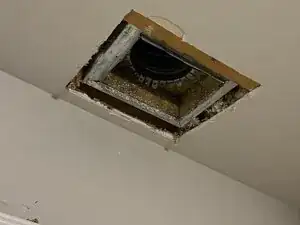
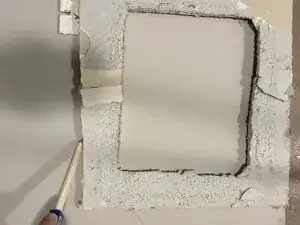
Saw through the drywall in the rectangle you have marked, and remove the drywall piece.
-
Insert furring strips to attach the replacement drywall to on top of the existing drywall and under any insulation.
-
-
-
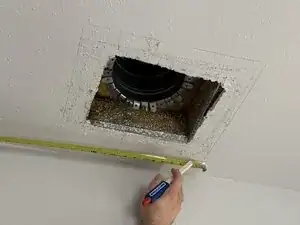
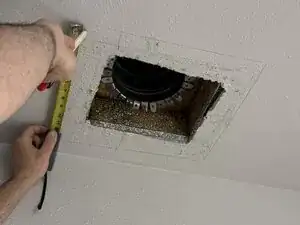
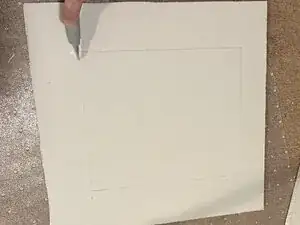
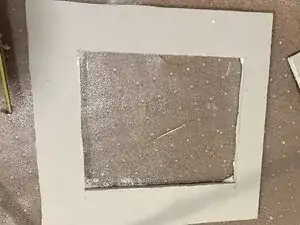
Use the removed drywall to mark the outside area to cut on the drywall patch.
-
Cut along the marked line with the utility knife.
-
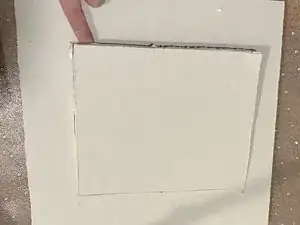
Bend the patch at the cut point, and use the utility knife again to cut through the paper on the other side.
-
-
-
Put the patch into place.
-
If it does not fit cleanly, carefully mill down the edges that don't fit with the drywall saw.
-
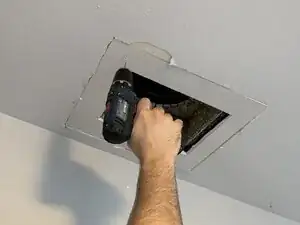
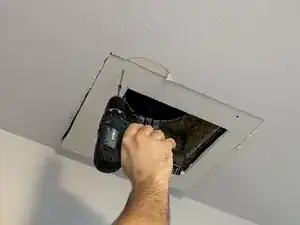
Drill holes through the patch and furring strips.
-
Using the holes drilled as guides, insert wood screws to attach the patch to the furring strips.
-
-
-
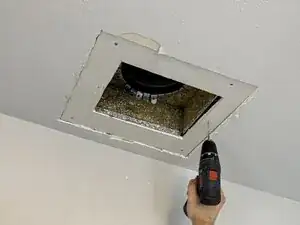
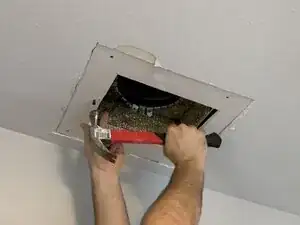
Drill holes for drywall anchors, and set the anchors with a hammer.
-
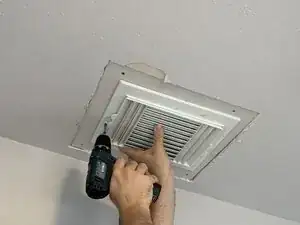
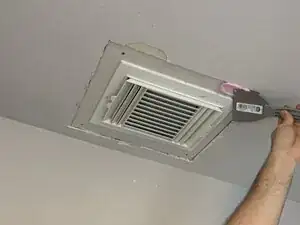
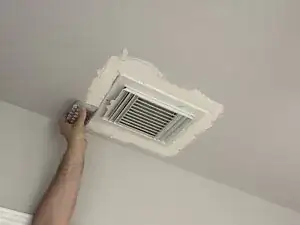
Screw the vent into place using the drywall anchors.
-
-
-
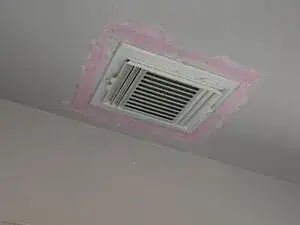
Sand the dried spackle until smooth and matching the rest of the ceiling.
-
Paint the patch to match as needed.
-


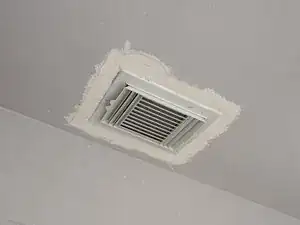
After this process you'll have a repaired ceiling with vent attached, ready to paint.