Introdução

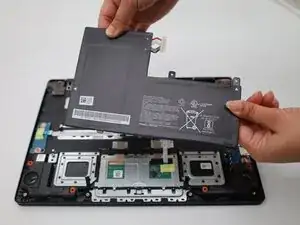
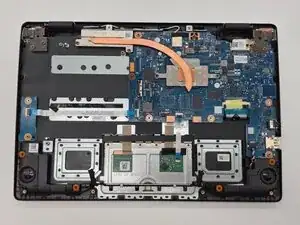
If the Acer Chromebook CBOA311-1H-C90F has an unresponsive trackpad or the trackpad is physically damaged, you can simply replace the trackpad of the device by following this replacement guide. If your trackpad is not responding, please check our ifixit troubleshooting guide first. Before replacing the trackpad, you need to remove the battery in order to reveal the trackpad. You can easily do this by following our Battery Replacement guide.

  1. SREYX4G1Dflrp1xS
    SREYX4G1Dflrp1xS
    tBBf3PhJW3VstiIj
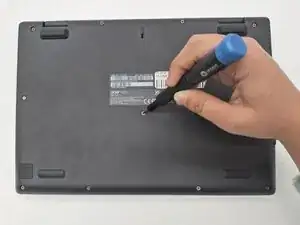
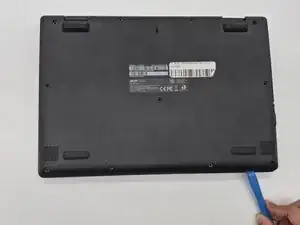
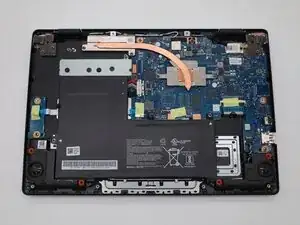
    • Turn the Chromebook over so the bottom is facing up.

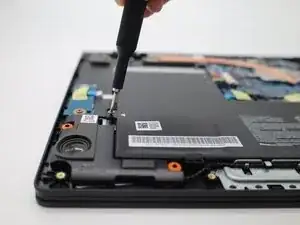
    • Remove eleven 6 mm screws from the back using a Phillips #00 screwdriver.

  2. CFgVTiNbMZE6WfPM
    CFgVTiNbMZE6WfPM
    1jSRVmpsagcSNJTx
    21QMhlUpEnOJPmOD
    • Use an opening tool on all sides of the computer to gently lift off the back cover.

    • You may hear a cracking noise as the cover lifts.

    • Caution: Do not work with metal tools, as they can damage internal components and cause an electric shock. 

  3. WFduFEPaRQo1PJWK
    • Use the plastic opening tool to gently lift the white power cable from the motherboard.

  4. KWRAMJVLAtKaFJfP
    KWRAMJVLAtKaFJfP
    RTNWUWYyPVMkwDGy
    • Use a Phillips #00 screwdriver to remove the two 3mm screws that hold the battery in place.

  5. P4FefEJYPG4YGSAR
    P4FefEJYPG4YGSAR
    2NCDvydpONyFAxij
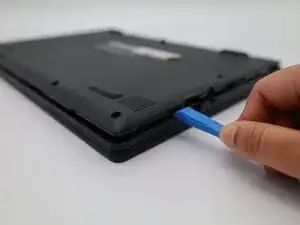
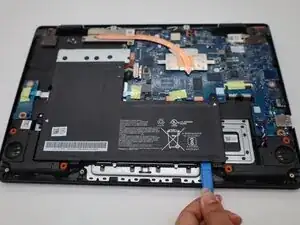
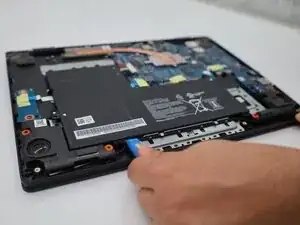
    • Use a plastic opening tool to lift the tiny locks on the bottom that hold the battery in place.

  6. tRCPZmmeNpLy6gQh
    • Gently remove the old battery and replace with a new one.

  7. EA2OJYwr5lKCpTkQ
    EA2OJYwr5lKCpTkQ
    bvMxcqrrFdOLmrMC
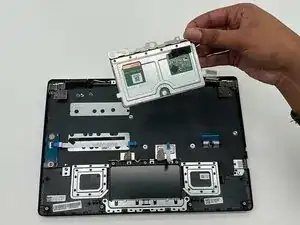
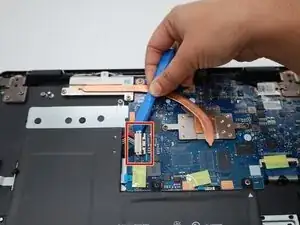
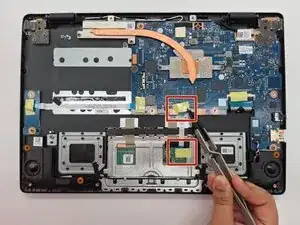
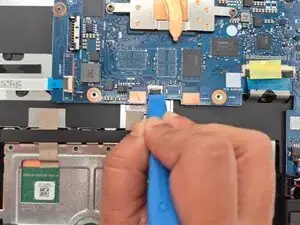
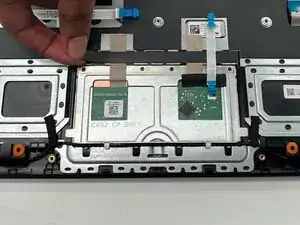
    • Gently lift the yellow tapes that connect the ribbon cables from the motherboard to the track pad.

  8. 26v4tfZj32EUVEvB
    26v4tfZj32EUVEvB
    HrQynUWEuxE4f5tj
    NffZofQa5JqlJm3p
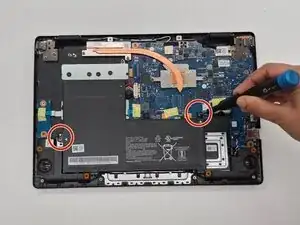
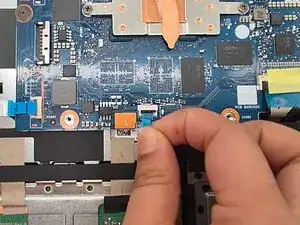
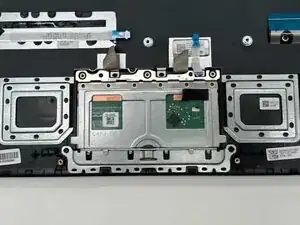
    • Lift the black colored locks with the help of a plastic opening tool.

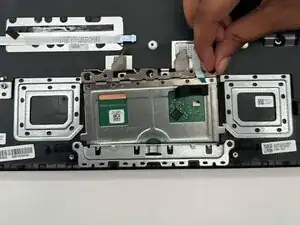
    • Slide the ribbon cables off the locks.

  9. lQRYkG2fUtDVrdHA
    lQRYkG2fUtDVrdHA
    2D66EAQuoevHAGnx
    • Lift the ribbon cable and peel off the black tape on the trackpad.

  10. L2riviVXE3lgbUhc
    L2riviVXE3lgbUhc
    fALhMGiQsNnQDQRb
    • Peel off the beige colored tapes on the trackpad.

  11. GJBsIX5l1WQ26UFT
    GJBsIX5l1WQ26UFT
    PXbbBvJCVGHVqCen
    • Gently lift the trackpad and remove it.

Conclusão

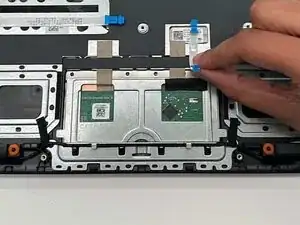
To reassemble your device, follow these instructions in reverse order.

Purnima Sanjel

Membro desde: 09/09/25

637 Reputação

0 comentários