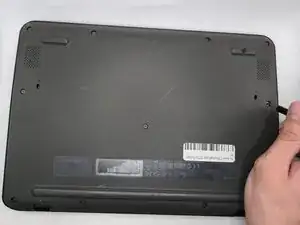
Introdução
This is a removal/replacement guide for the speakers of the Acer Chromebook C731 T-C42N.
If your speakers are not working, making crackling sounds, or sound distorted, this guide will help you remove them so you can replace one or both of them.
You can do these steps in reverse order in order to replace the speakers as well.
Hazard Statements:
If your laptop/battery is smoking, swollen, or emitting a bad smell, stop working and back away. Please refer to this guide: Swollen Battery Safety
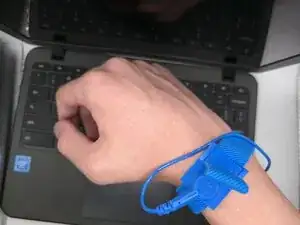
To properly don the anti-static wrist strap, follow this guide. If this guide is not properly followed, you risk damage to your laptop.
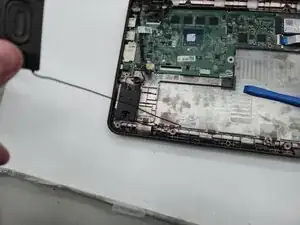
Make sure to apply even pressure when lifting the speakers off of their holding pins, and gently pull the wires routed through the frame to prevent damage.
-
-
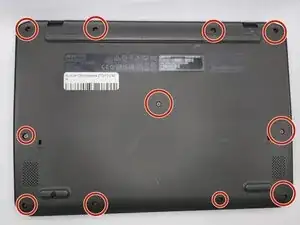
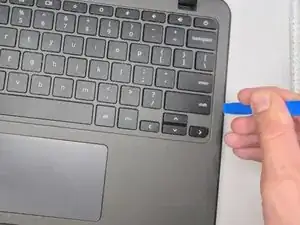
Insert an opening tool between the chassis and keyboard/palm rest assembly.
-
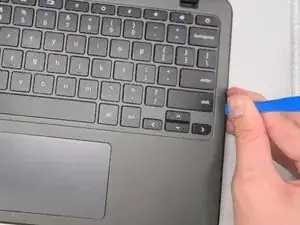
Pry around the entire perimeter until the assembly releases.
-
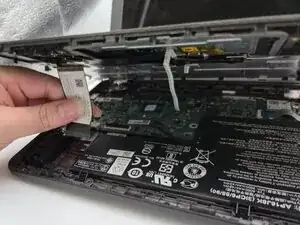
Slightly lift the assembly, with care not to strain the two connected ribbon cables.
-
-
-
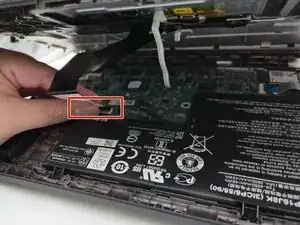
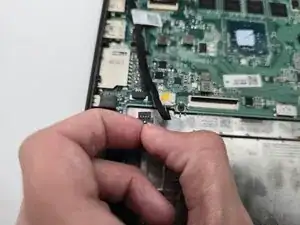
Flip up the locking tab on the left ZIF connection and pull the cable out parallel to the to the socket.
-
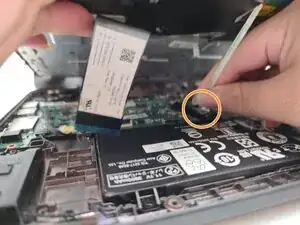
Disconnect the second ribbon cable.
-
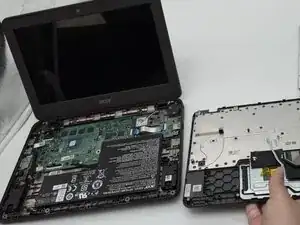
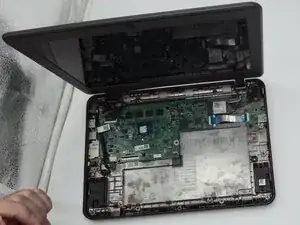
Remove the keyboard and palm rest assembly.
-
-
-
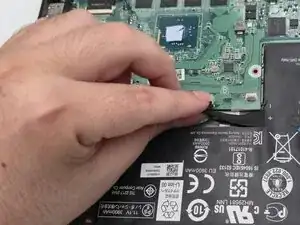
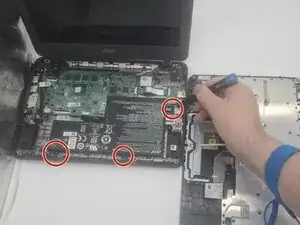
Use a Phillips #0 screwdriver to remove the three 3.6 mm-long screws securing the battery.
-
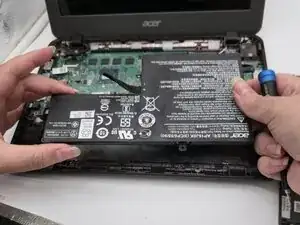
Lift the battery up and out.
-
-
-
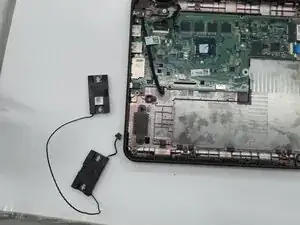
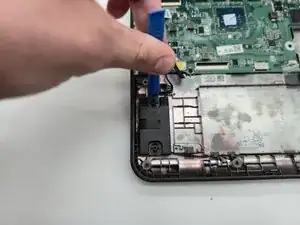
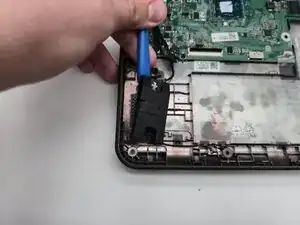
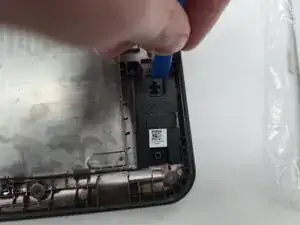
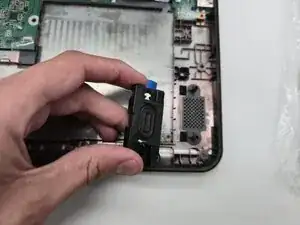
Remove the left speaker using the iFixit Opening tool, by prying it from the frame.
-
Keep the force even while pulling the speaker off of the two pins.
-
The speaker itself is held by adhesive. Force will be required when removing the speaker.
-


To reassemble your device, follow the above steps in reverse order.
Take your e-waste to an R2 or e-Stewards certified recycler.
Repair didn’t go as planned? Try some basic troubleshooting or ask our Answers community for help.