Introdução
This is a removal/replacement guide for the screen of the Acer Chromebook C731 T-C42N. You may need this guide to replace the laptop's screen if the screen is broken, cracked or not displaying anything.
This guide includes the pre-requisite guide for removing the battery.
Hazard Statements:
If your laptop/battery is smoking, swollen, or emitting a bad smell, stop working and back away. Please refer to this guide: Swollen Battery Safety
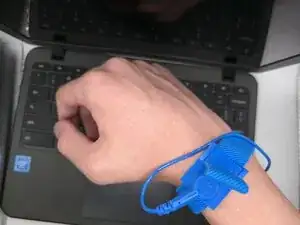
To properly don the anti-static wrist strap, follow this guide. If this guide is not properly followed, you risk damage to your laptop.
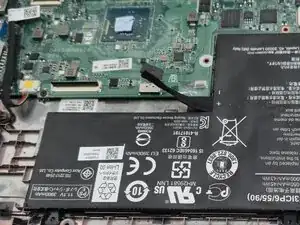
-
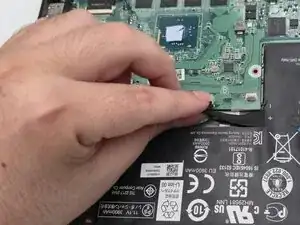
-
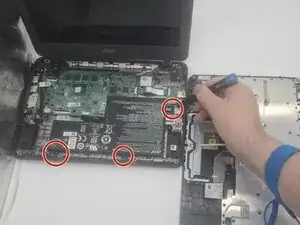
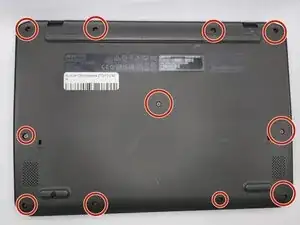
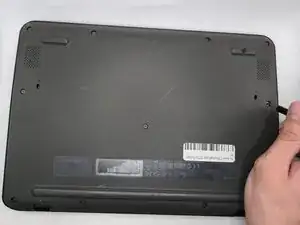
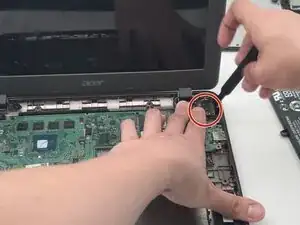
Use a Phillips #0 screwdriver to remove the three 3.6 mm-long screws securing the battery.
-
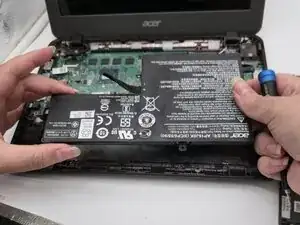
Lift the battery up and out.
-
-
-
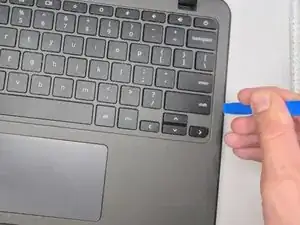
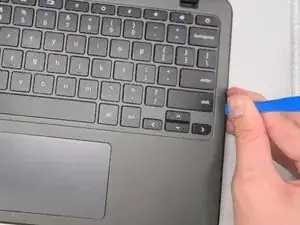
Insert an opening tool between the chassis and keyboard/palm rest assembly.
-
Pry around the entire perimeter until the assembly releases.
-
Slightly lift the assembly, with care not to strain the two connected ribbon cables.
-
-
-
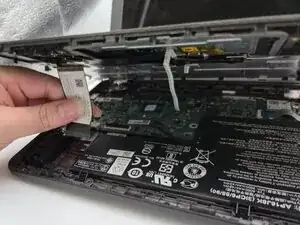
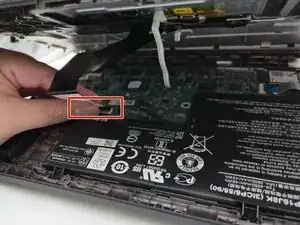
Flip up the locking tab on the left ZIF connection and pull the cable out parallel to the to the socket.
-
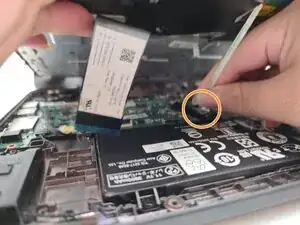
Disconnect the second ribbon cable.
-
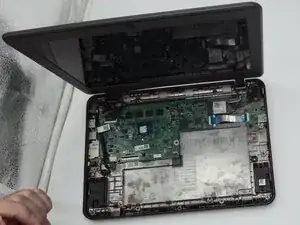
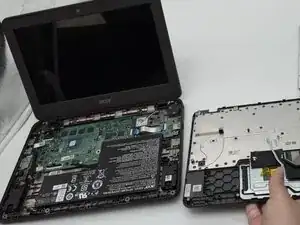
Remove the keyboard and palm rest assembly.
-
-
-
Flip up the locking flap securing the display connector ribbon cable.
-
Disconnect the display ribbon cable.
-
-
-
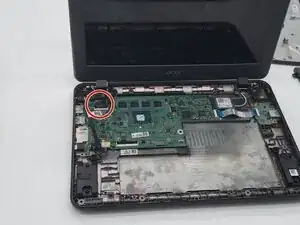
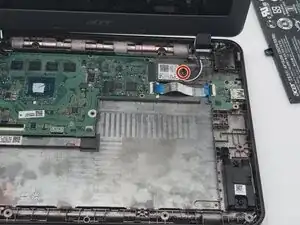
Remove the single 4.6 mm-long screw securing the wireless card.
-
Use the pointed end of a spudger to pry up and disconnect the two antenna cables.
-
Remove the Wi-Fi card.
-
-
-
Use a Phillips screwdriver to remove the screws securing the right and left hinges.
-
Remove the display assembly.
-
-
-
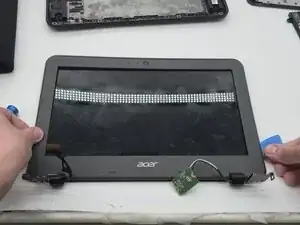
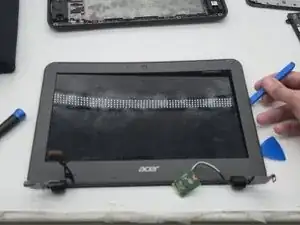
Use the iFixit opening pick, and insert it into a hollow spot on the screen's seam.
-
Use an iFixit opening tool in conjunction with the pick, carefully sliding either of the two tools across the seam around all 4 edges of the screen.
-
-
-
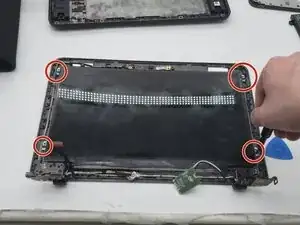
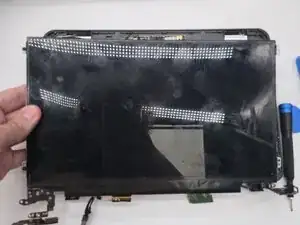
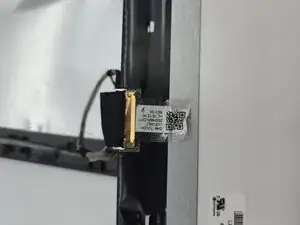
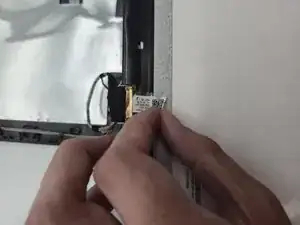
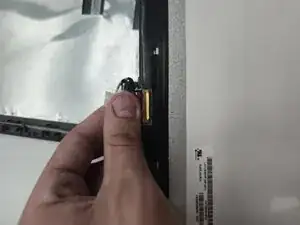
Peel the sticker off of the cable which is plugged into the backside of the screen part that was unscrewed from the frame.
-


To reassemble your device, follow the above steps in reverse order.
Take your e-waste to an R2 or e-Stewards certified recycler.
Repair didn’t go as planned? Try some basic troubleshooting or ask our Answers community for help.