Introdução
This guide demonstrates how to quickly and safely replace the up arrow key on a 2019 Macbook Air. The instructions provided can also apply to any third generation butterfly keyboard on a MacBook.
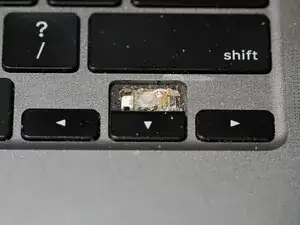
The up arrow key is essential for navigation, and if that key is not working, the entire device can become unusable. An arrow key on a MacBook may need replacement if it is unusable due to being snapped off, is loose or sticky, or has debris stuck under it. A key that is unresponsive to being pressed most likely needs to be replaced. This guide provides a fast, cheap solution to getting your MacBook’s keyboard working properly.
Ferramentas
Peças
-
-
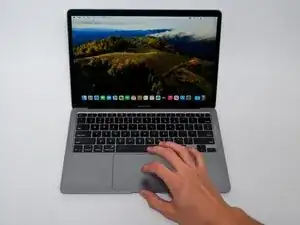
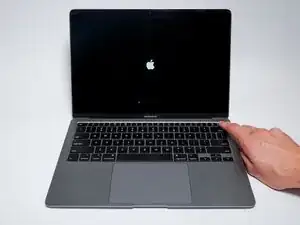
Completely shut down the MacBook before you begin the repair.
-
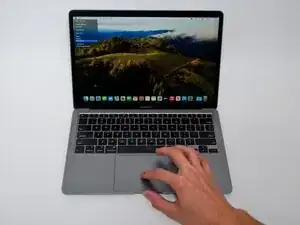
Click the Apple logo in the top right corner of the screen.
-
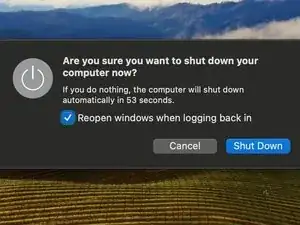
Find and click the "Shut Down" button.
-
Wait for the MacBook to completely power off.
-
-
-
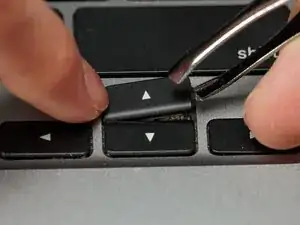
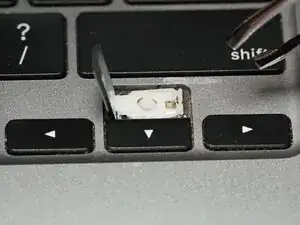
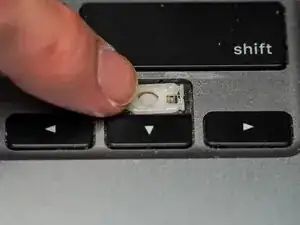
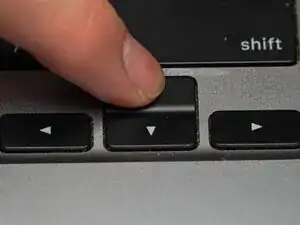
Use tweezers or a small thin tool to lift the right side of the key.
-
Lift gently until the right side detaches from the clip.
-
Push the black keycap, from right to left, then lift gently until it is fully detached.
-
-
-
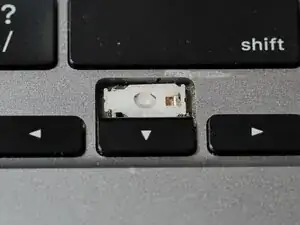
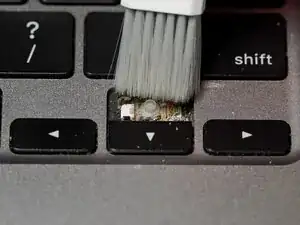
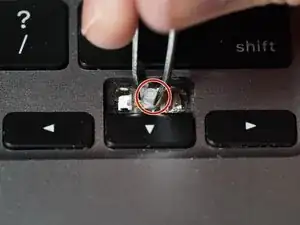
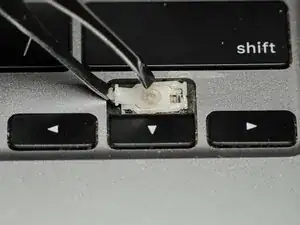
Brush away any debris/dust within the key.
-
Be careful with the rubber sensor; it is very delicate and can come off.
-
-
-
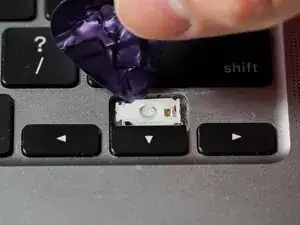
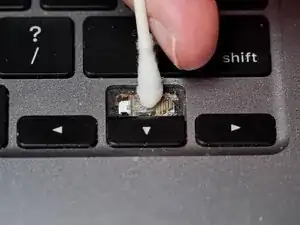
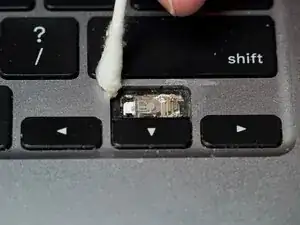
Use keyboard cleaner or rubbing alcohol on the end of a cotton swab to wipe any loosened dirt in the key space.
-
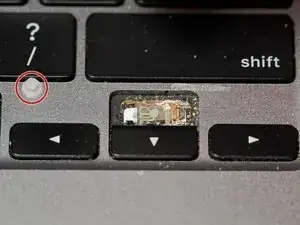
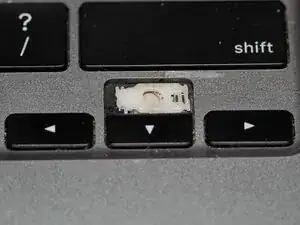
Place the rubber sensor back into place if it moved during this process.
-
-
-
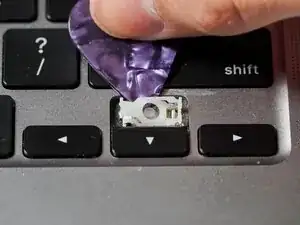
Slide the replacement clip into the space from the left.
-
Attach the wider, right side of the clip onto the hooks on the right side of the space.
-
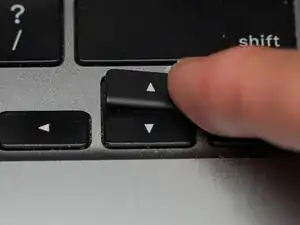
Gently press the new white clip into place until you hear a click.
-
-
-
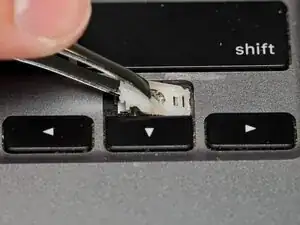
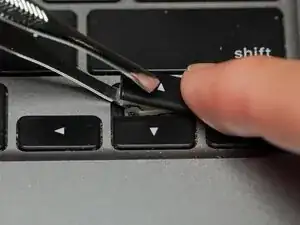
Using tweezers or a thin tool, lift the left side of the clip.
-
Place the right side of the replacement key over the right side of the clip.
-

To prevent the keys from needing replacement in the future, regularly clean your MacBook with a keyboard cleaner or brush and keep drinks away from the device.