Introdução
This guide provides clear, step-by-step instructions for performing a 12 volt battery replacement on a 2011 Toyota Prius. While the Prius relies on its high-voltage hybrid battery to start the engine, the small 12V battery still plays an important role, powering the vehicle’s computers, lights, door locks, and starting the hybrid system initialization. When this battery weakens, you may notice symptoms such as dim interior lights, the car failing to enter the “Ready” mode, or new dashboard warnings. Because a failing 12V battery can mimic more serious hybrid system issues, replacing it should be the first step in troubleshooting electrical problems. This guide is designed to help you work safely, efficiently, and with confidence.
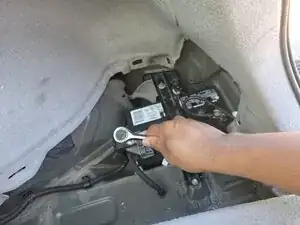
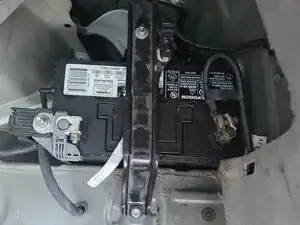
Before getting started, it’s important to know that the 12V battery on a 2011 Prius is located in the right rear corner, under the trunk floor, not under the hood. Reaching it requires removing a few panels, so make sure you have enough room to work and a place to set them.
While the job is straightforward, being mindful, as in any automotive or electrical repair, is key. Always take proper precautions when working around high-voltage hybrid components, and consult the vehicle’s service manual when necessary.
You will only need a couple of basic tools. You’ll need one 10 mm wrench and one 12 mm wrench. A ratchet with one 10mm and one 12mm socket also works well. You will also need a compatible 12V AGM replacement battery.
Caution: Because the battery is located inside the Prius, ensure the replacement battery has the correct connector for the ventilation tube that vents toxic fumes outside the car.
Ferramentas
Peças
-
-
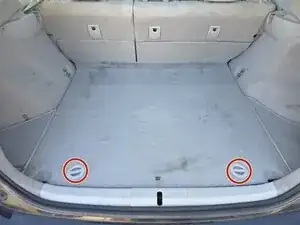
Open the trunk.
-
Turn the two locks on the floor pane to the unlocked position.
-
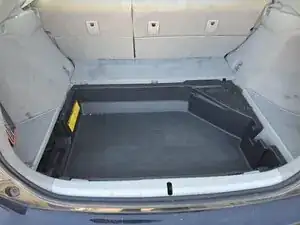
Lift the rear cargo floor panel and set it aside.
-
Remove the storage bin if you have one.
-
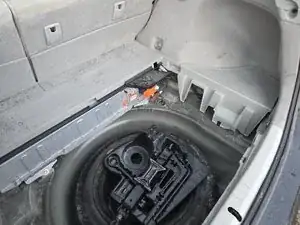
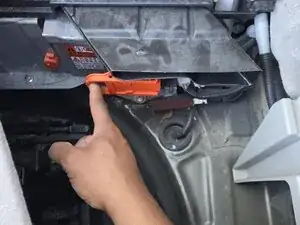
On the right side of the cargo area, remove the carpeted panel.
-
-
-
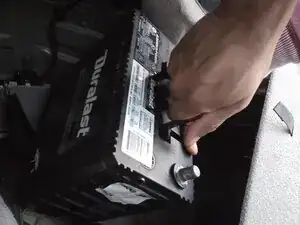
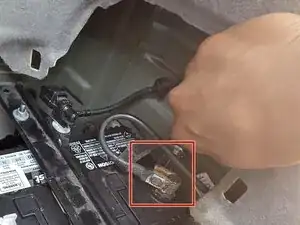
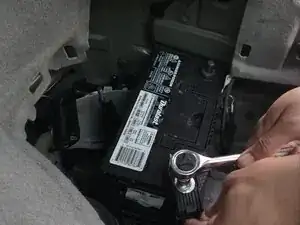
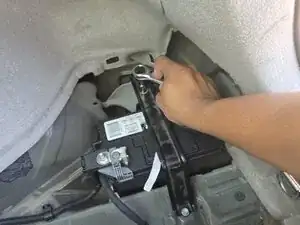
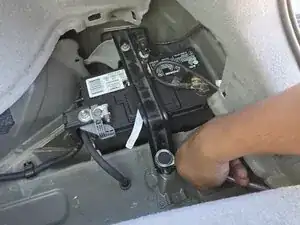
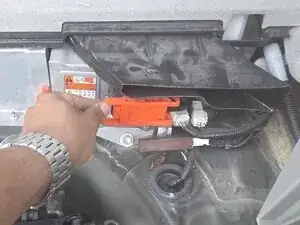
Use a 10 mm socket/wrench to loosen the nut on the negative terminal (-) clamp.
-
Carefully lift the clamp off the terminal and move it aside so it cannot spring back and touch the post.
-
-
-
Use a 12 mm socket/wrench to loosen the positive clamp (it normally has a red cover with a "+" symbol).
-
Lift the positive clamp off the post and tuck it safely aside as well.
-
-
-
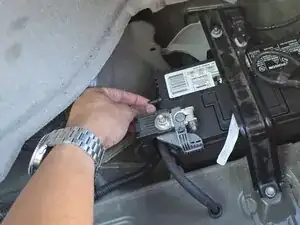
Gently pull the small vent tube connected to the side of the battery out from the battery’s vent port.
-
-
-
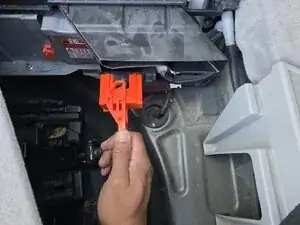
Remove the 10 mm bolts securing the hold-down bracket.
-
Lift the hold-down bracket out and set it aside.
-
-
-
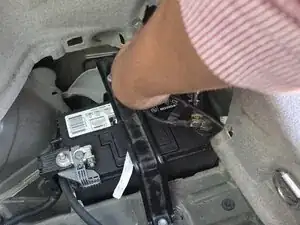
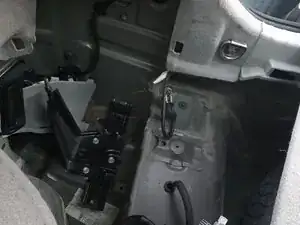
Carefully lift the battery straight up and out of the compartment.
-
Set it down on the ground in a safe, stable place.
-
-
-
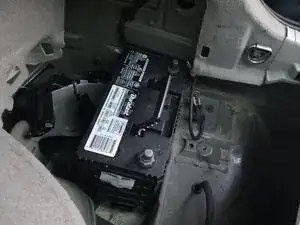
Place the new battery in the empty compartment with terminals oriented the same way as the old one.
-
Lower the new battery into the tray, making sure it sits flat and snug.
-
Reinstall the hold-down bracket and tighten the 10 mm bolts securely, but don’t over-tighten.
-
Reattach the vent tube on the left side of the battery.
-
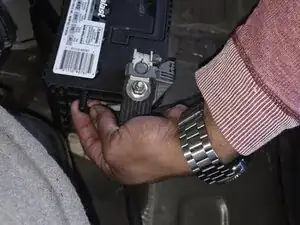
Push the positive (+) clamp onto the positive terminal. Tighten the 12 mm nut.
-
Replace the red cover if present.
-
Push the negative (-) clamp onto the negative terminal. Tighten the 10 mm nut on the negative clamp.
-

Now reassemble your trunk and verify the battery is up and running by starting the car. If there are no unusual warning lights you should be ready to go!
Take your e-waste to an R2 or e-Stewards certified recycler.