Introdução
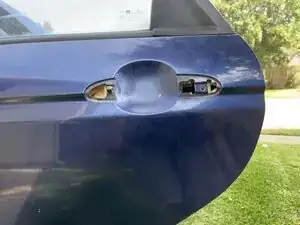
Have you ever tried to open your Kia Spectra's door and the handle came off? With time and wear, car handles can break down. Thankfully, it's not too hard to replace the 2007 Kia Spectra door handle. It only takes a few hours—and everything you need to replace the handle can be found at your local auto shop or online.
This guide demonstrates how to replace a broken exterior handle on the rear driver-side door of a 2007 Kia Spectra. It'll take you through the process of removing several parts of the door, including the visible car interior (so you can get to the internal components), the track that the window slides on, and the opening and locking mechanism.
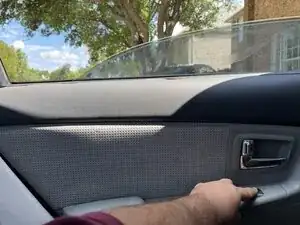
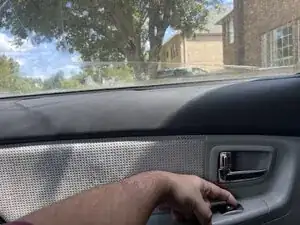
Before you begin, make sure the window is fully up and the car is off and in Park.
-
-
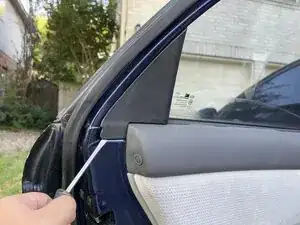
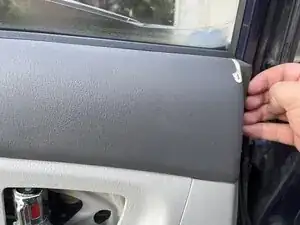
Pry the small triangular plastic cover on the left side of the window interior with a spudger or trim tool.
-
Work clockwise from the bottom edge to release the clips and remove the cover.
-
-
-
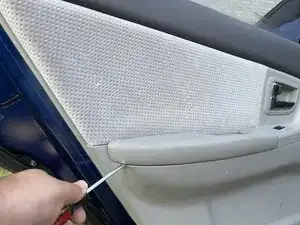
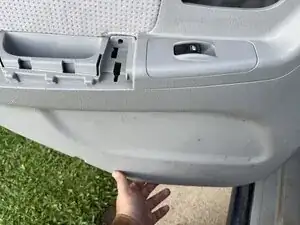
Use a spudger or trim tool to pry off the plastic and foam armrest from the door interior.
-
Work from the left edge inward until you are near the center of the door, then lift up the piece from there.
-
-
-
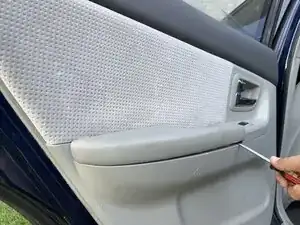
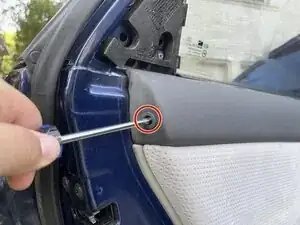
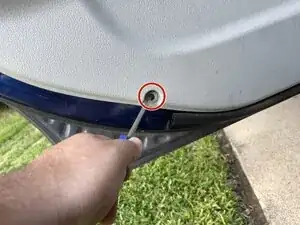
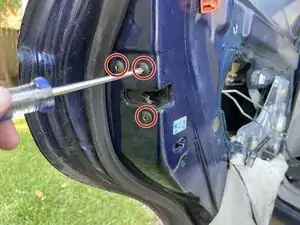
Pry off the small screw covers near the left edge of the door and the bottom edge.
-
Pry off the hinged screw cover near the handle using a spudger on its left edge.
-
-
-
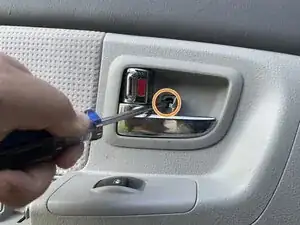
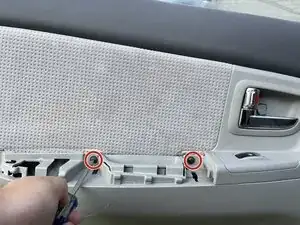
Use a Phillips #2 screwdriver to remove the three screws that were just uncovered.
-
Two 19.1 mm-long screws on the edges of the door interior
-
One 15.9 mm-long screw securing the handle assembly cover
-
-
-
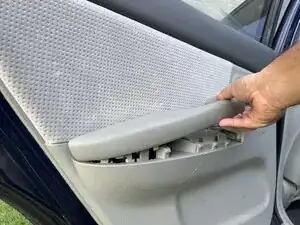
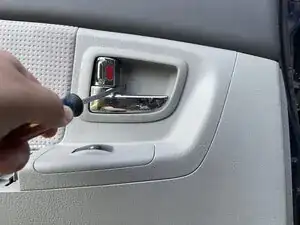
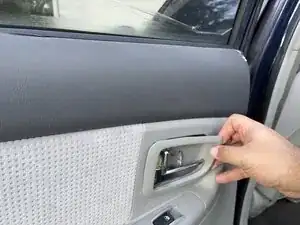
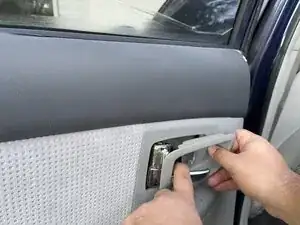
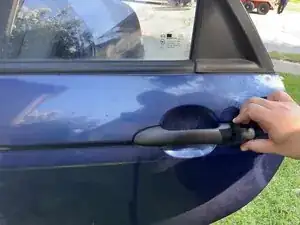
Use a spudger or trim removal tool to release the clips and remove the plastic cover around the handle.
-
Move the cover off to the right while threading the handle through.
-
-
-
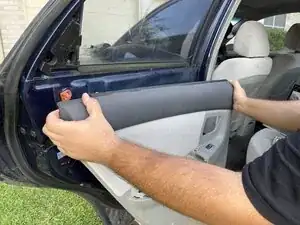
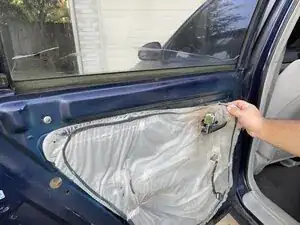
Work around the door’s interior cover with a spudger and your hands, prying up the snap-in hooks that hold it in place.
-
-
-
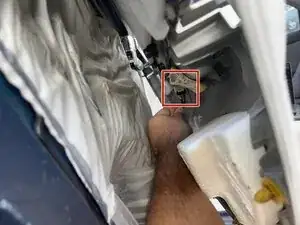
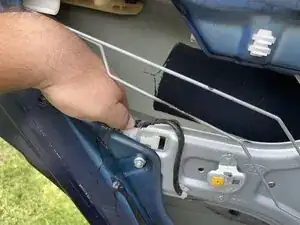
Reach under and disconnect the cable that powers the door's window controls.
-
Squeeze the tab on the cable and gently wiggle the cable from side to while lightly pulling down to remove it without damaging the connector.
-
-
-
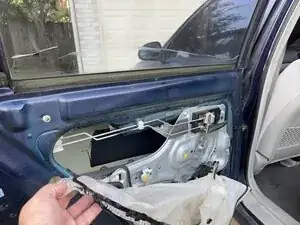
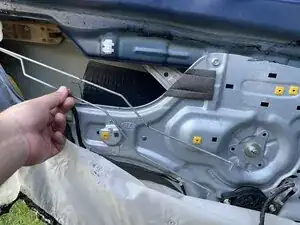
Carefully remove the plastic splash guard, keeping the black adhesive attached if possible.
-
-
-
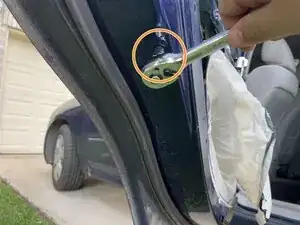
Use a 10 mm socket wrench to remove the following bolts:
-
The bolt below the left edge of the window
-
The bolt at the bottom of the outer edge of the door
-
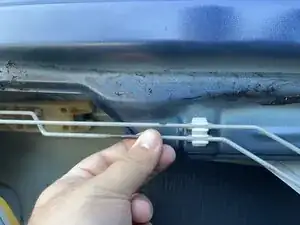
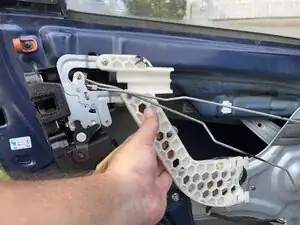
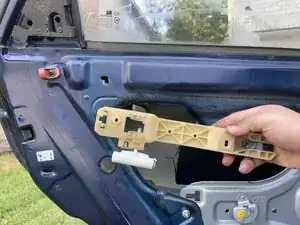
Remove the window track from the interior of the door.
-
-
-
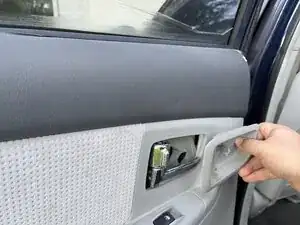
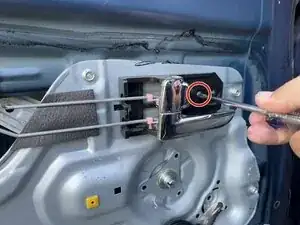
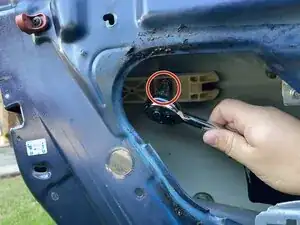
Use a Phillips #2 screwdriver to remove the 15.9 mm screw securing the handle assembly to the door.
-
Unhook the plastic pins attaching the metal latches to the handle assembly.
-
Slide the handle assembly to the left and off the door, rotating the lock and handle as needed. Then remove the latches from the handle assembly.
-
-
-
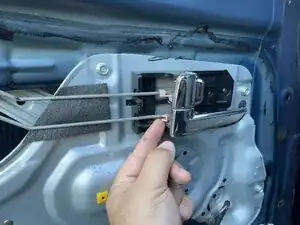
Release the latches from the plastic hooks midway along the door and let them hang to the side.
-
-
-
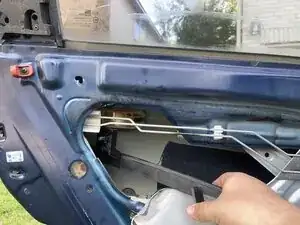
Use a Phillips #2 screwdriver to remove three 22.2 mm screws from the middle of the outside edge of the door, just above the child lock switch.
-
Press the tab near the cable connector to unplug the cable, then pull it out and to the right.
-
There is a white clip holding in the actuator near the cable at the bottom left of the door. Push it inwards and slide the actuator to the right to unhook it.
-
Take out the actuator and set it aside with its screws.
-
-
-
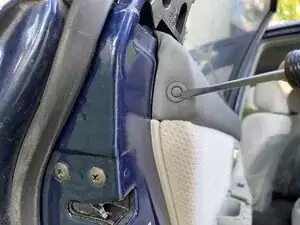
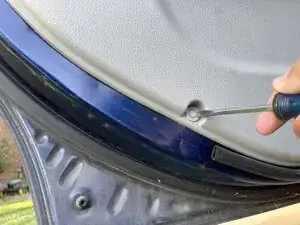
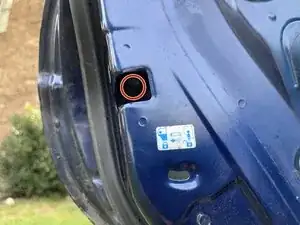
Use a socket wrench to remove the bolt inside the door cavity and the bolt accessible through the hole above the child lock.
-
-
-
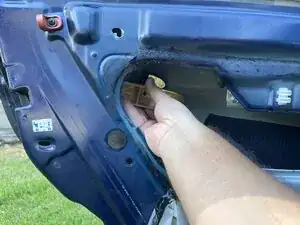
Remove the door handle cover and any broken pieces from the handle assembly.
-
Snap the assembly back into place on the interior of the door when finished.
-
-
-
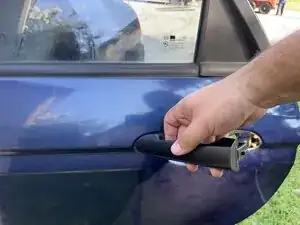
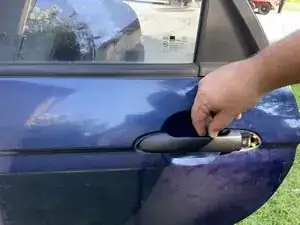
Slot the new handle in from the left side first, then position the right side.
-
Slide the handle to the left until you hear a click, indicating it is properly hooked in place.
-
-
-
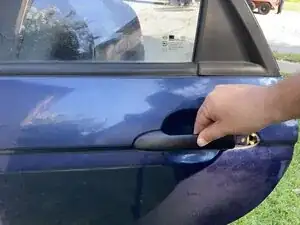
Snap the handle cover back on.
-
Hook it in by its right side first, then push down on the left to click it into place.
-


To reassemble the door, follow these instructions in reverse order from step 16.