Introdução
This guide will walk you through the process of replacing the Optima YellowTop battery in a 2009 Toyota Tacoma. Over time, a vehicle’s battery naturally loses its ability to hold a charge due to age, temperature changes, and repeated engine starts. A weak or failing battery can cause slow cranking, difficulty starting the truck, dim lights, or complete loss of electrical power. Replacing the battery restores reliable engine starts and helps maintain the overall health of the vehicle’s electrical system.
Before beginning this repair, make sure the truck is parked on a level surface with the engine turned off and the key removed from the ignition. Battery replacement is considered a beginner-friendly repair, but it does involve handling electrical components. Avoid touching the positive and negative terminals at the same time, and be cautious when removing the battery because it is heavy and contains acidic materials.
This step-by-step guide will show you how to safely remove the old battery and install a new Optima YellowTop. With clear photos and instructions, you’ll be able to complete this repair even with little or no automotive experience. Follow each step carefully to ensure a smooth, safe, and successful battery replacement.
Afterward, run the car for at least 15 minutes. Reset the clock, radio, and power window presets. Depending on the model year, you may also need to reset the battery management system.
Ferramentas
Peças
-
-
Park the truck on a flat, level surface.
-
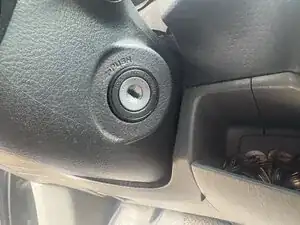
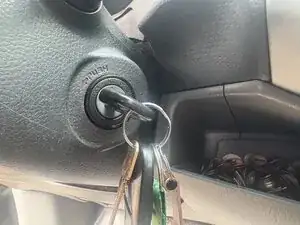
Turn off the engine and remove the key from the ignition. Make sure the truck is in Park to prevent any movement during the replacement.
-
-
-
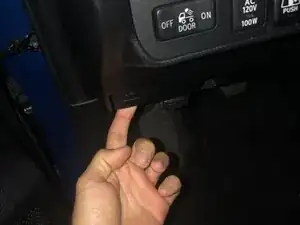
Pull the hood latch on the lower-left side of the dashboard near the kick panel.
-
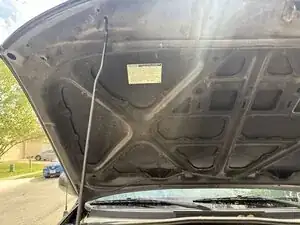
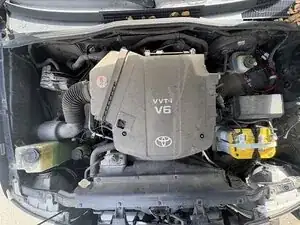
Lift the hood slightly, release the safety latch in the center, then raise the hood fully and secure it with the prop rod.
-
-
-
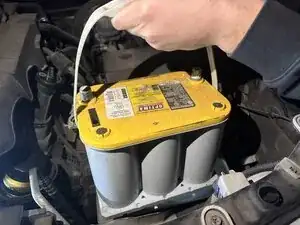
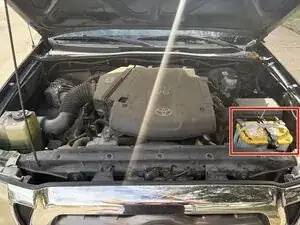
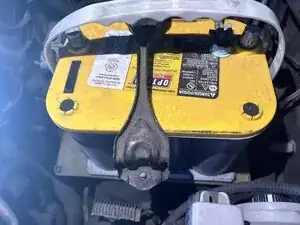
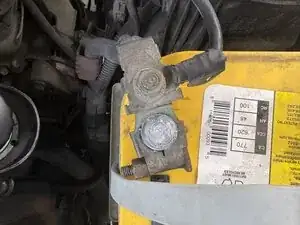
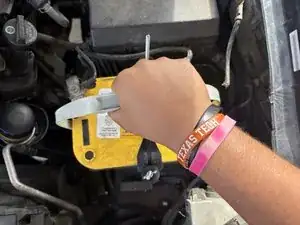
Find the battery on the front passenger side of the engine bay. It's located near the fender and is held in place by a metal hold-down clamp.
-
-
-
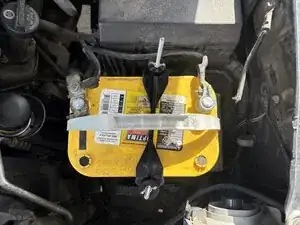
The battery has two terminals. The positive terminal (+) has a red cover or a red cable. The negative terminal (–) has a black cable and connects to the truck’s metal frame.
-
-
-
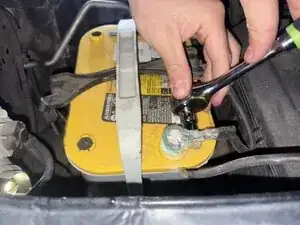
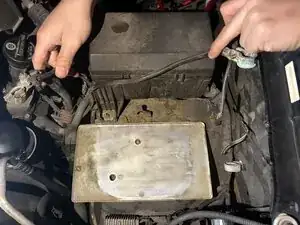
Loosen the negative terminal nut with a 10 mm wrench.
-
Slide the negative (–) cable off the battery post and move it aside so it cannot spring back into contact.
-
-
-
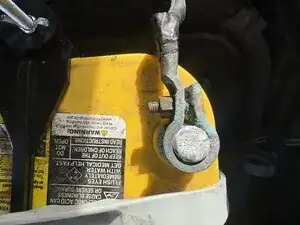
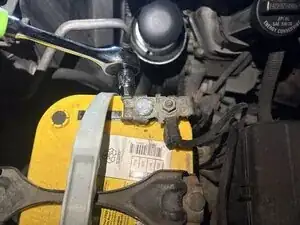
Loosen the positive terminal nut with the 10 mm wrench.
-
Remove the positive (+) cable from the battery post and secure it away from the battery.
-


To reassemble your device, follow these instructions in reverse order. Take your e-waste to an R2 or e-Stewards certified recycler.
