Introdução

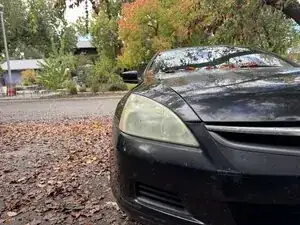
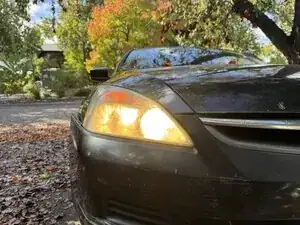
The high beams are an essential part of any motor vehicle. They allow you to see in poorly-lit areas, such as country roads, mountains, etc. Over time, the life of the bulb runs out, leading to potential endangerment whilst in these areas of travel. This guide will show and explain, step-by-step, how to replace the high beam headlights on a 2003-2007 Honda Accord, to working order for your safety.

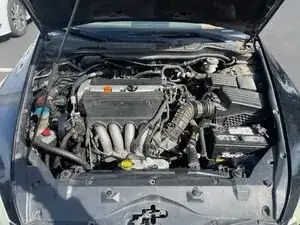
If the car has recently been driven, wait AT LEAST an hour for the engine to cool down to avoid burning yourself.

  1. x2QSMINxHRLymDxd
    x2QSMINxHRLymDxd
    hHENALctnVk14lqh
    • Turn the engine off, put the e-brake on, and wear gloves (recommended, not required).

  2. PCCVLjhjpCCANQKM
    PCCVLjhjpCCANQKM
    kQsNRRZneyVuDByU
    iTiOBMwRoHGFJKn3
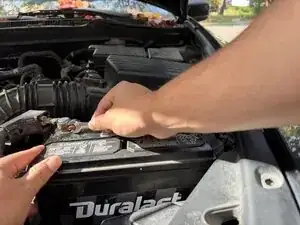
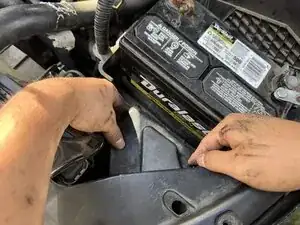
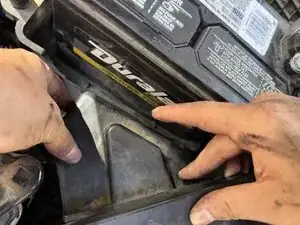
    • Loosen and remove both the positive and negative connectors before lifting and removing the battery.

    • Always remove the negative terminal first.

  3. rxZaH4UFgMSZK6Lx
    rxZaH4UFgMSZK6Lx
    APiRBRjxQWAbB3RV
    HLIsEIKTwTyDHXna
    • Remove the cover next to the battery to reveal the connector by pulling out the pin(s).

    • Depending on the year of your Honda Accord, there may be 2-3 little pins holding the cover in place.

  4. 5vOP5fSPhN11JpYp
    5vOP5fSPhN11JpYp
    dSrwTFMiPuEFa2SI
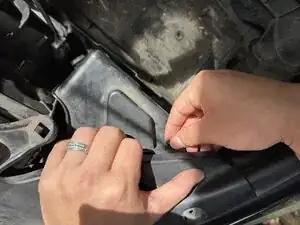
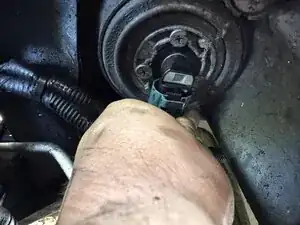
    • The passenger side connector will be more accessible, found straight down from the headlight.

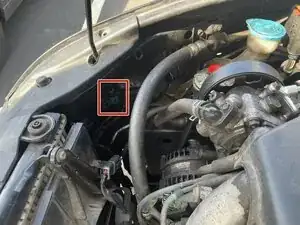
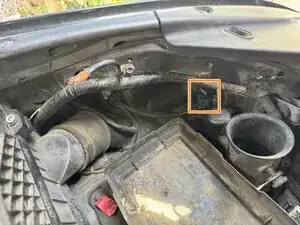
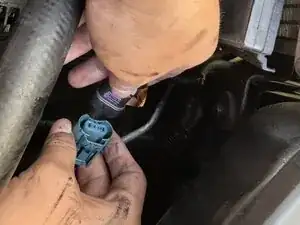
    • The driver’s side is accessible after removal of the battery and cover. It is also found straight behind the headlight.

    • We will be showing the removal and replacement of the passenger high beam. The same steps apply to the driver's side.

  5. 4fPlgqvPUp1DMfGT
    4fPlgqvPUp1DMfGT
    Kuj21Pjqi6VhmamK
    tBFsYH1GelUHL51I
    • Turn the old bulb counterclockwise and pull out to remove it.

  6. QumXv1EOqilFD5vQ
    QumXv1EOqilFD5vQ
    5lSuQpAvGjraSjnx
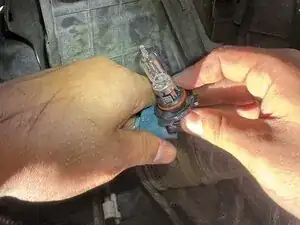
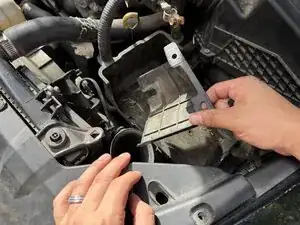
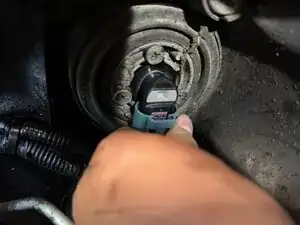
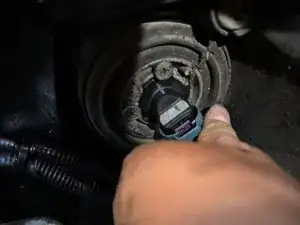
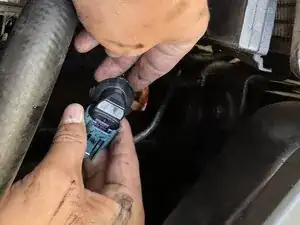
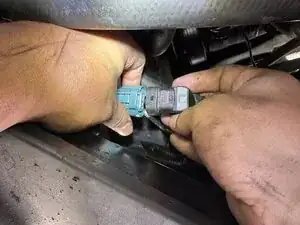
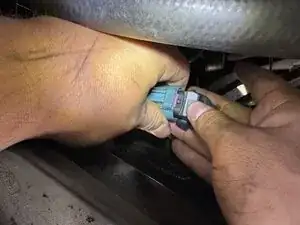
    • To remove the connector, press the tab, wiggle side to side, and pull down until it detaches.

    • These things can get stuck pretty good, so don’t give up!

  7. T2gTYiihhqJibsAe
    T2gTYiihhqJibsAe
    D1Kxs2AlfNQtiRnh
    u22aYhvEdsHCLeAR
    • Align the connector and new bulb, and push it into the port.

    • You should hear a clicking noise.

    • Avoid touching the bulb with your hands, as the oil on your hands can be damaging and cause the bulb to fail prematurely.

  8. JDvqXJgeOqtc3WvK
    JDvqXJgeOqtc3WvK
    NYCpA2JmXUp1mha1
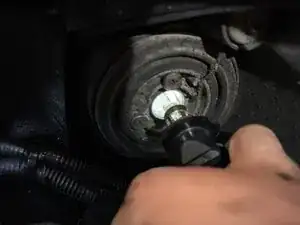
    • Insert the bulb back into the slot, and turn clockwise to lock in place. When the bulb is in, you will hear a click, and it should stay in place.

    • Repeat steps 5 through 8 for the driver's side.

    • You want to insert the bulb at a 45-degree angle, so when you turn it clockwise, it will stand up straight.

  9. heHQdPlOS1Lab35M
    heHQdPlOS1Lab35M
    G2scYImcLKDStbjO
    VQTSwg2ooCQ4QAdZ
    • Place the battery back, attach the terminals back in place, and fasten with a wrench (10 mm).

    • Attach the positive terminal first to minimize the risk of sparks or a short circuit!

  10. mv2kBXquJQCUCmsM
    mv2kBXquJQCUCmsM
    W6PkSAY1GtjYnOLG
    • Place the cover back on over the driver’s side that was removed previously.

  11. H5mYKZVBMYH1ti5K
    H5mYKZVBMYH1ti5K
    AxSIFDeNTNAyVCRm
    • Turn on the car, flash the bulbs, and if they work, you are done!

Conclusão

Congratulations, you have successfully replaced your high beams!

Seth Sarmiento

Membro desde: 09/10/25

193 Reputação

0 comentários