Introdução
Screw locations
-
-
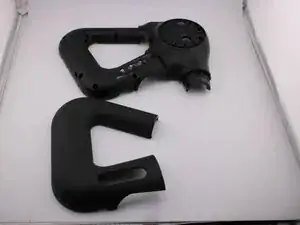
You can see that the cover has 2 pieces. There is a cover that snaps over the larger piece that conceals the fasteners. Pry apart, it will separate just like all the modern assemblies.
-
-
-
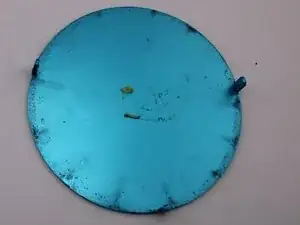
Once you have removed the cover off the larger bezel, there are a few more fasteners underneath that aluminum plate. It is slightly glued and held in place by bending the tabs. Comes out fairly easily.
-
-
-
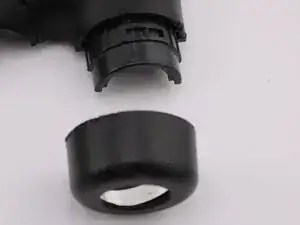
This is the KEY to the whole thing. That cover is a vital mechanical component that is pressed in place. You will need to pry it off. I damaged mine slightly, with a bit of gentle heating I think you may be able to avoid damage.
-
-
-
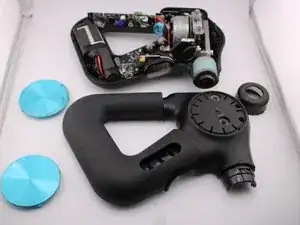
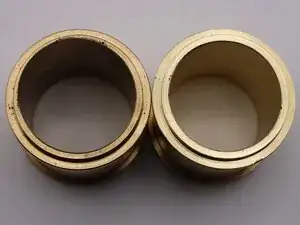
Mine had a worn bushing, on the left that caused the unit to be unbearably loud. You can see the top left of the first bushing is severely worn. I had a friend with a CNC machine make a few of these bushings. I have a few extras, contact me if you are in need of this part.
-