Introdução
Beware: The Battery is not commonly used/purchasable in a simple convenient store, and the device must be glued together ffor further use, once you opened and successfully repaired the tracker. Even then is still a chance, that the App refuses to acknowledge the battery change of your previously conected tile. Avoid puncturing the battery at all costs. Short Tools like a Spunger are preferred, to avoid battery-damages.
Ferramentas
-
-
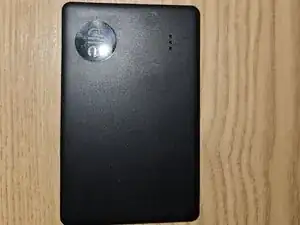
Lay down the slim tracker on a flat surface with the button upward.
-
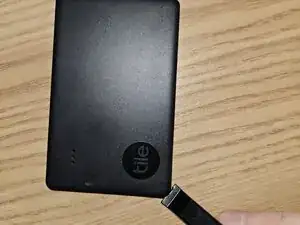
Use a "Spudger" on the corner, where the button is nearest, to carefuly pry the casing open. This will just be a entry-Point, so there is no rush.
-
-
-
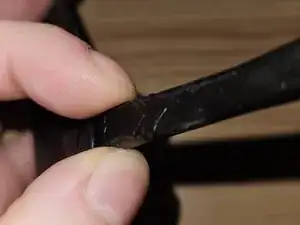
Follow the Edges from here with the "Spudger" to resume prying, until both plastic sides are seperated.
-
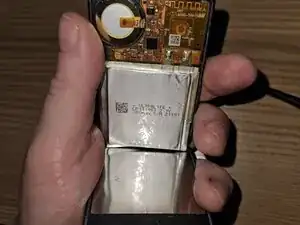
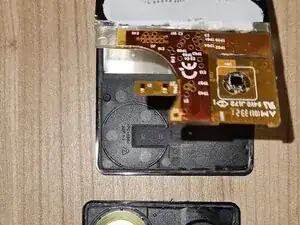
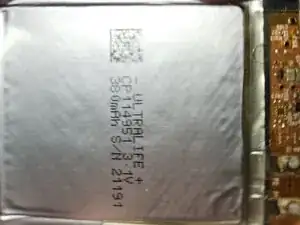
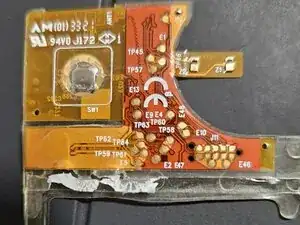
You can see a flat, !bendable! battery, the speaker on the plastic-half and the circuit board.
-
There is Aluminium-Foil glued down to both sides of the plastic sheets half's. Its smell (Glue?) is quite extreme, almost like a battery leakage in my case.
-
-
-
There is a transparent holder between circuit and battery at the edge of the whole battery, yet the contacts seem to be soldered on the same.
-