Introdução
Today, I will show to how to remove battery compartment
You will need a #000 Philip screwdriver and some tweezers
Ferramentas
-
-
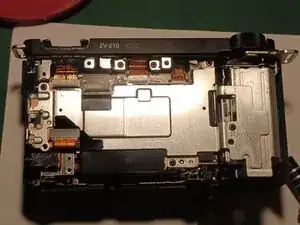
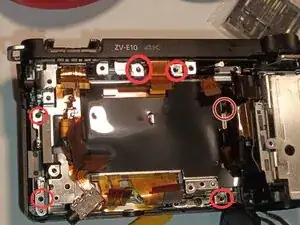
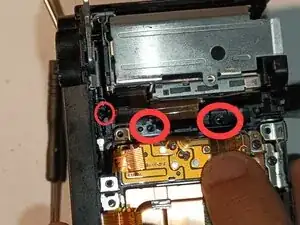
Remove the 4 screws of these metal cover (remember the placement of screws since one of it has a different size)
-
-
-
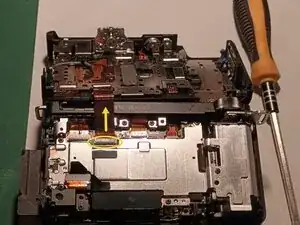
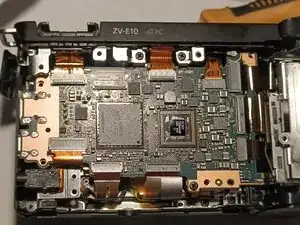
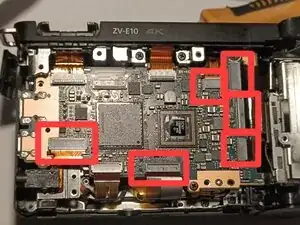
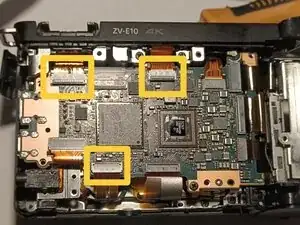
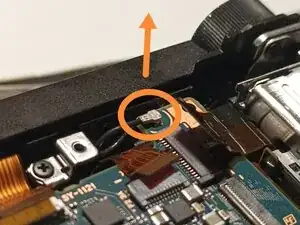
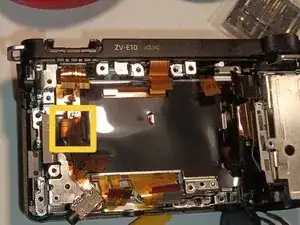
Gently pull these cables (in red box). Be careful pulling the other cables! (the yellow ones) since they have locks, you might damage the cable if you pull it directly
-
-
-
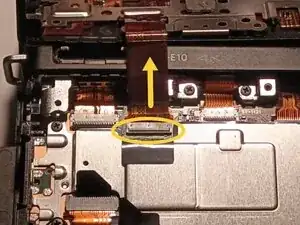
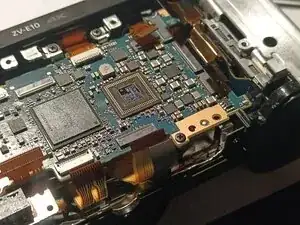
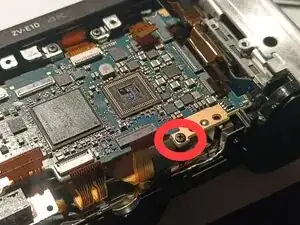
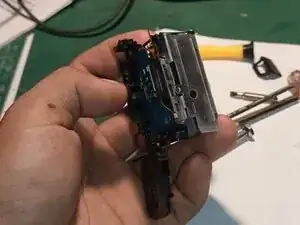
At lower and upper right part of the board, there's an additional screw and cable to remove and pull
-
-
-
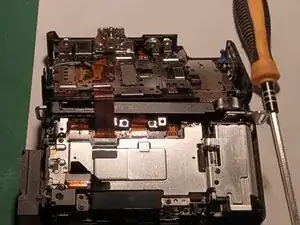
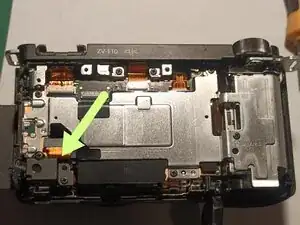
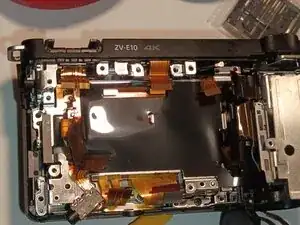
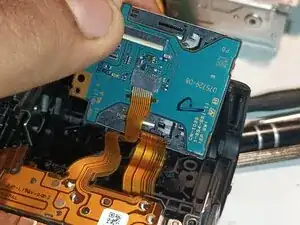
After you remove the motherboard from step 6. Now, remove these 5 screws (again remember the placement of the screw since they have different sizes). Also there's another flex cable to pull gently.
-
-
-
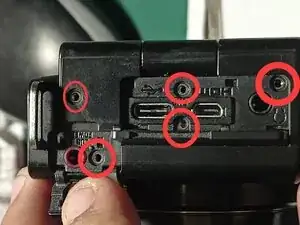
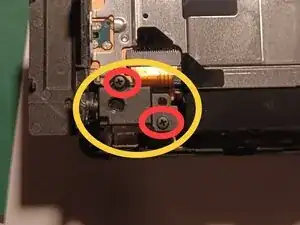
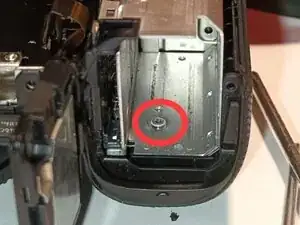
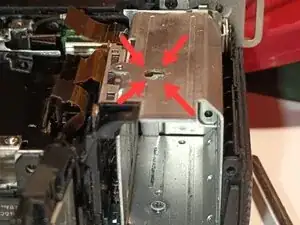
After you removed the metal plate cover from step 7. Now remove these 2 screws. One is located inside battery compartment (you insert your Philip screwdriver in this hole where arrows are pointing). The other screw is located at right side face of the battery compartment.
-
-
-
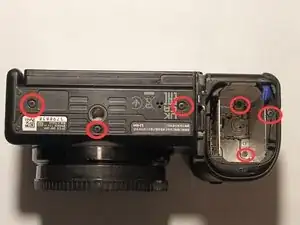
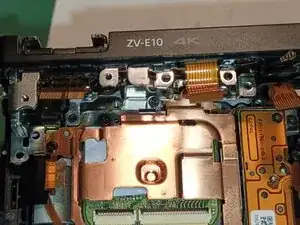
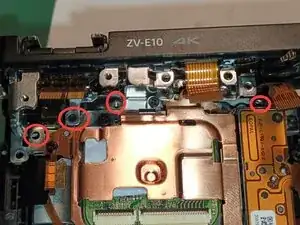
Now back in this part. Locate and remove these screws to disassemble or to remove the top cover of the camera.
-
-
-
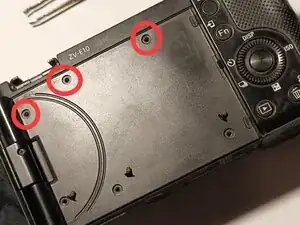
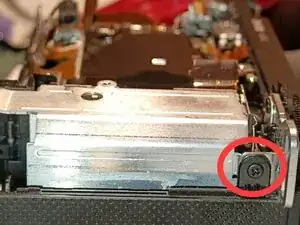
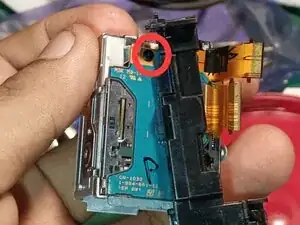
Now, locate and remove these screws (locate especially the small encircled screw — it's a little hard to see)
-
-
-
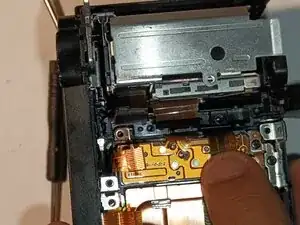
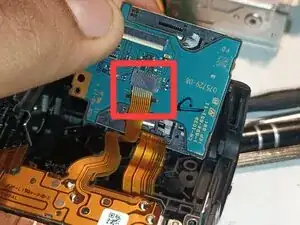
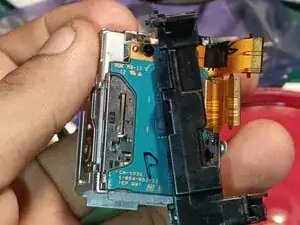
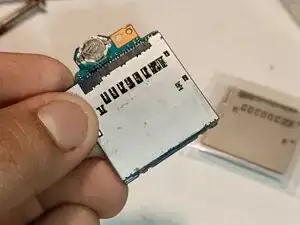
Before you remove the battery door and compartment. Gently pull first this flex cable that connects the sd card slot
-
-
-
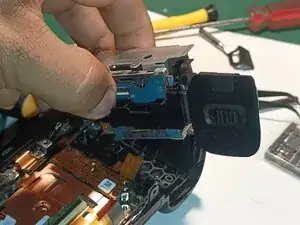
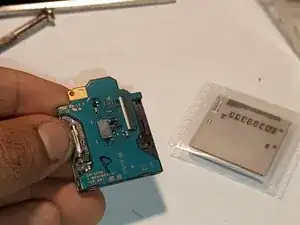
Now carefully remove the battery compartment and battery door to the camera. Be careful removing the battery door and compartment (they are connected to each other by a thin cable — you might not want to break it)
-