Introdução
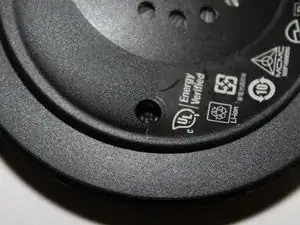
The SteelSeries Arctis 1 Wireless Gaming Headset was released on September 3, 2019. It retailed for $99 on release. It comes with the Headset, microphone, USB-C Reciever, and Micro-USB charger.
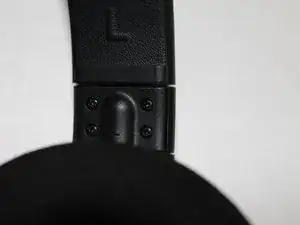
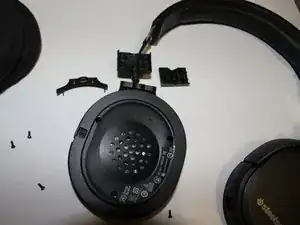
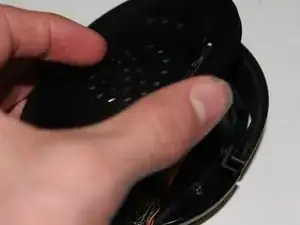
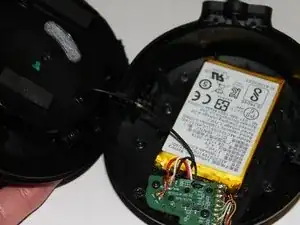
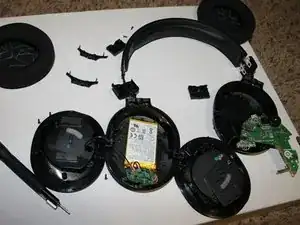
These are my personal pair, so I will be attempting to do this in the most non-destructive way possible.
This is also my first guide ever, so I apologize for any inaccuracies in information.
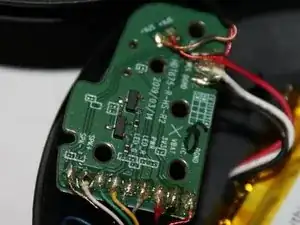
Note: I will be updating this teardown soon, and possibly making a repair guide or two, but until then, I have flagged this teardown as In Progress.
Have fun!
-
-
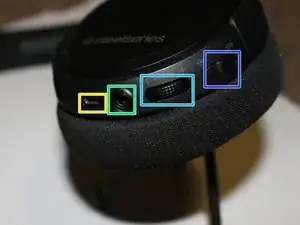
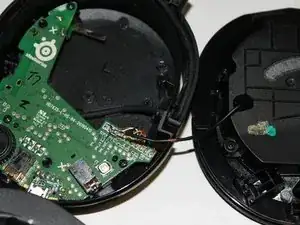
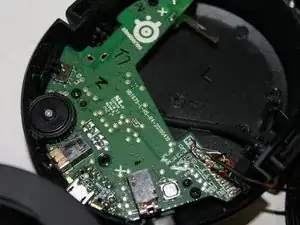
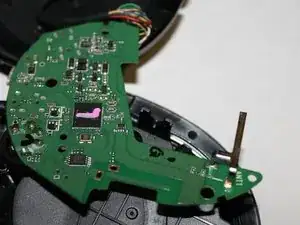
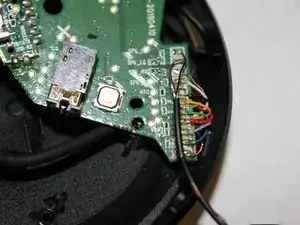
The Basics:
-
Microphone port
-
Power button and LED
-
Micro-USB port
-
AUX cord IN
-
Volume wheel
-
Microphone mute/unmute
-
-
-
Thank you for reading. As mentioned above, this is my first guide, so please feel free to make suggestions or list inaccuracies. Thank you!
-