Introdução
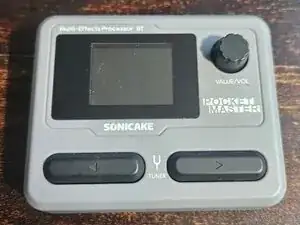
Teardown of Pocket Master device
-
-
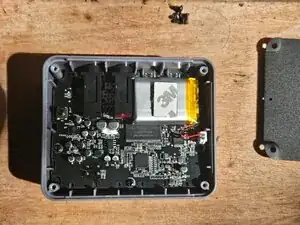
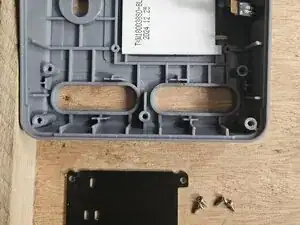
4 screws hold on the back plate; in the corners. Remove them. They are equally sized so you don't have to keep track. There are two screws for the belt-clip and can be ignored.
-
-
-
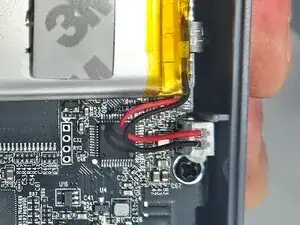
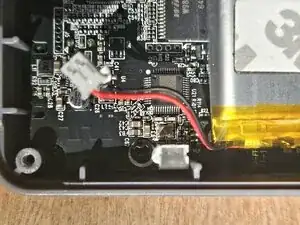
Battery connector can be carefully removed. Pull straight on the connector and not the wires. It may have a small spot of hot glue.
-
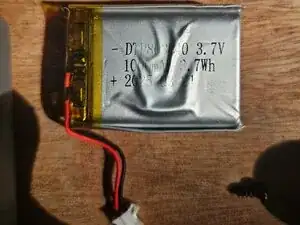
Battery details: DTP803040 3.7v 1000mAh 3.7Wh (date code)
-
CAUTION: Battery is attached to motherboard with moderately strong adhesive. Use caution to not pierce or damage battery.
-
-
-
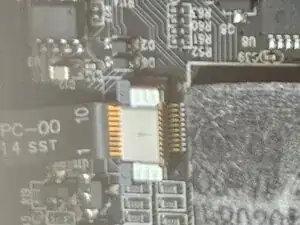
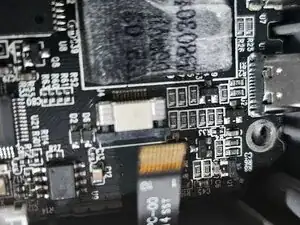
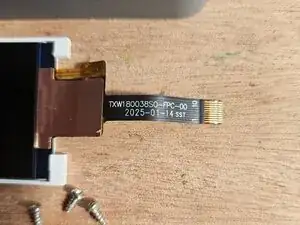
Carefully remove the screen connector using plastic (guitar pick?) and gently pull the ribbon cable out of the connector. This step can be skipped, and the screen will fold out while connected. See last image.
-
-
-
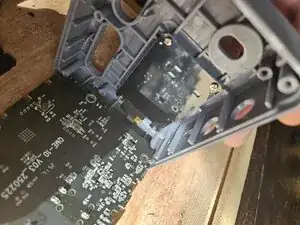
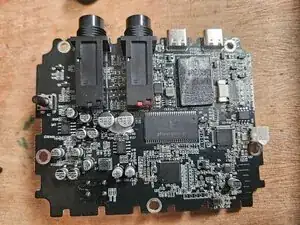
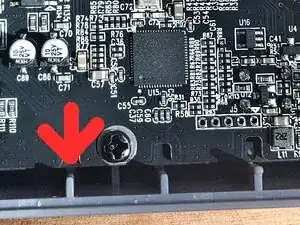
6 screws hold in the motherboard. Remove them. Slide the motherboard towards the bottom of the housing to release the 1/4" jacks from the housing. This allows the board to pull out.
-
-
-
Remove four screws from the back plate holding the screen in place. Lift out screen from housing.
-
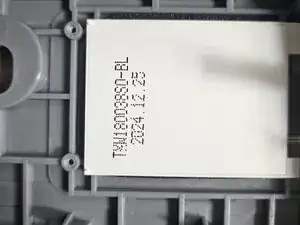
Screen details: TXW180038SO-BL (date)
-

Um comentário
Obrigado por compartilhar conhecimento.