Introdução
-
-
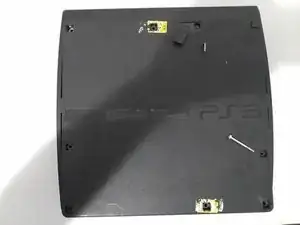
Flip the PlayStation 3 over to have the bottom facing up. It helps to have the disk drive towards you. Remove the three removable feet on the corners hiding the screws.
-
Remove the 7 long screws and single short screw on the base of the Playstation.
-
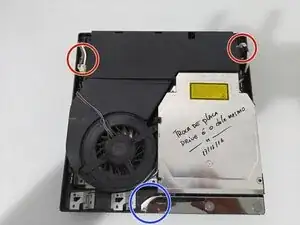
There are 4 short black screws that are on the underside of the disk drive that need to be removed.
-
Flip the Playstation back over to remove the top of the Playstation 3.
-
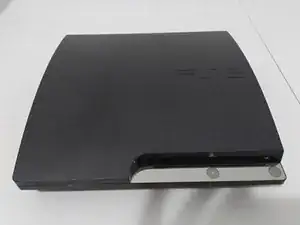
On the outside of the PS3 slim we find a matte black finish and a build that is noticeably not as wide as the original Playstation 3.
-
-
-
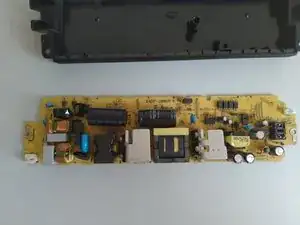
Unplug 2 wires from power supply.
-
Remove 2 screws next to the removed wires
-
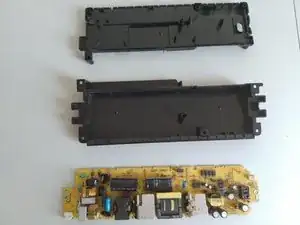
Lift power supply up and out
-
Pry up power and eject button module. Careful of ribbon cable.
-
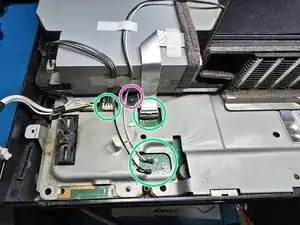
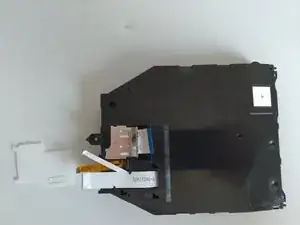
Unplug antenna wires and remove cable to disk drive. Lift grey tab on ribbon wire connector and unplug cable.
-
Remove screw holding down the disk drive. Remove wires from white tape where necessary to remove disk drive, try to keep intact for reuse.
-
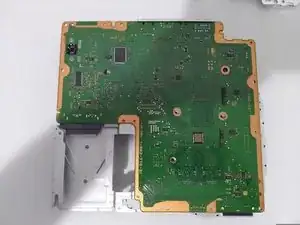
Unplug power button ribbon Cable. Remove screws retaining motherboard. (Yellow has a screw present on a cech-2001a, but not on the model pictured) Lift motherboard up in the front and remove.
-
-
-
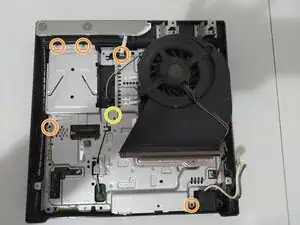
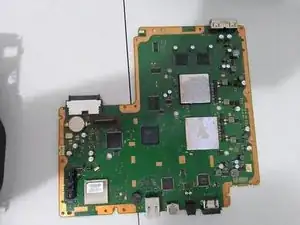
Remove screws holding motherboard shield together.
-
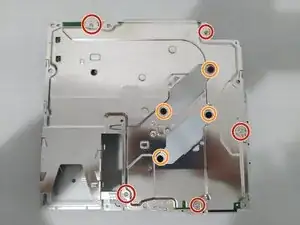
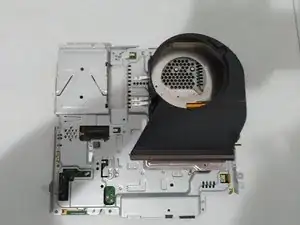
Remove screws holding the heat sink to board, and remove bottom side of motherboard screws.
-
-
-
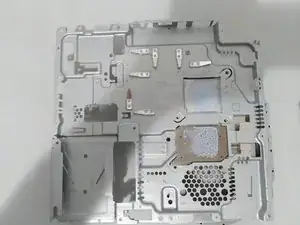
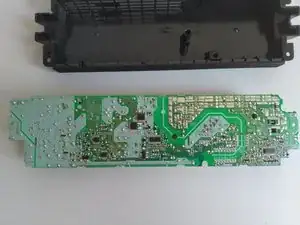
Carefully pry up front of motherboard, it will be effectively glued by the thermal paste especially if dried out. Take your time and it will come loose.
-
Clean off thermal paste on both sides with Isopropanol to prepare for repasting/reassembly.
-

Um comentário
mi ps3 si prende pero no da imagen ni sonido
-el cable HDMI si funciona
thomas -