Introdução
A simple teardown with some cables that may snag when removing the board, so be careful to avoid damaging them.
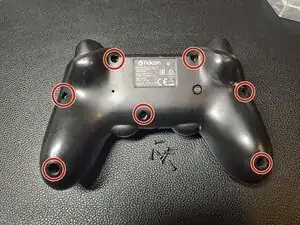
Note: This device was preowned and has some scratches and marks, such as a missing right bumper.
Ferramentas
-
-
There are 7 screws in total, and all require a J00 screw bit.
-
The bottom two screws are set somewhat deep and may require a longer screwdriver.
-
-
-
When the screws are removed, the shell should come off by itself. If not, gently apply some pressure.
-
In my case, the shell simply dropped off as soon as I removed the last screw.
-
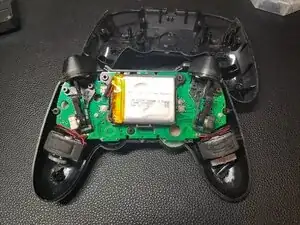
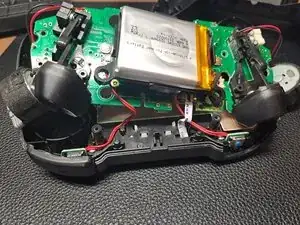
The left and right sticks can be easily removed by lifting them up. They just need a bit of pressure, which then gives access to the potentiometers.
-
Note: The broken part in the bottom right grip/handle should not be present on your controller.
-
-
-
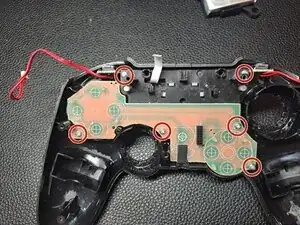
There are 2 screws securing the board to the top shell cover. Again, you’ll need the J00 screw bit for these.
-
Be careful when lifting, as there are ribbon cables and rumble electric motors attached.
-
-
-
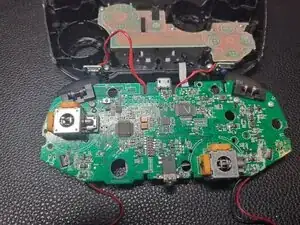
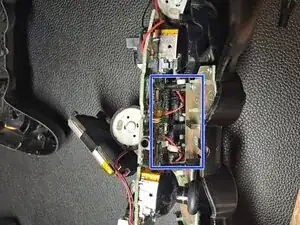
Before lifting the board off the top of the shell, remove the ribbon cables. They are tucked into plastic clips and plugged into the main board.
-
Lift and move the battery to access and disconnect the left and right bumper button ribbon cables from the main board.
-
Be careful, as these cables can easily break.
-
-
-
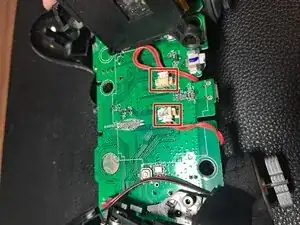
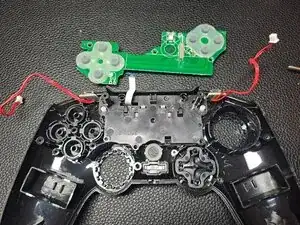
To remove the last ribbon cable, pull the black plastic tab outward (towards you) to release the ribbon cable.
-
-
-
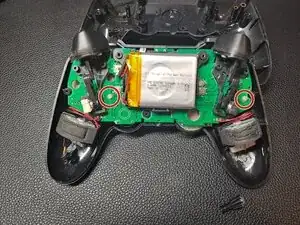
There are 4 screws on the board that need to be removed to access the buttons. There are also 2 screws securing the touchpad in the controller. Again, you can use the J00 screw bit.
-
To remove the smaller bumper boards, simply pull them off.
-
-
-
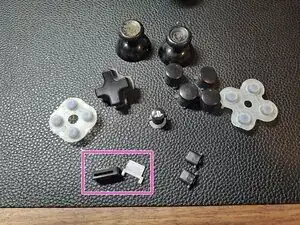
These are all the buttons and button membranes.
-
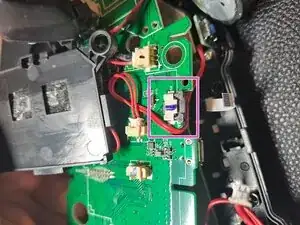
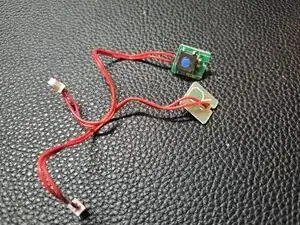
The parts inside the pink square are the light and its housing.
-
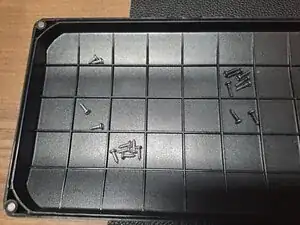
And the screws that belong to the device.
-

2 comentários
I have a problem, my Pad is not responding I have a problem, my Pad isn't working? It doesn't respond to being turned on, and it shows no signs of life even when plugged in. Can someone help?
You mention the Dpad not working, but also that the controller shows no signs of life even when plugged in. Before troubleshooting individual buttons, confirm that the controller powers on at all. Try testing it with a different cable and power source, and see if it shows any response when plugged in.
Id that doesn't help the issue is probably power related.
Qhixe -