Introdução

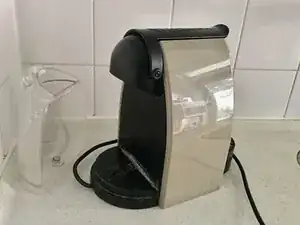
Symptom: coffee flows out very slowly, coffee/water leaks through the machine.

This can be caused by a blocked spout, clogged with coffee residue built up over time.

This guide shows how to clean the Nespresso's spout.

  1. B24llEMqBGRTJlPa
    B24llEMqBGRTJlPa
    IZhPDbBvEPctJdEq
    • Unplug the device from the mains to begin.

    • Remove the water container and tray.

  2. S3JdosAtomCk4c2F
    S3JdosAtomCk4c2F
    Fjhu3KljksFm5IqN
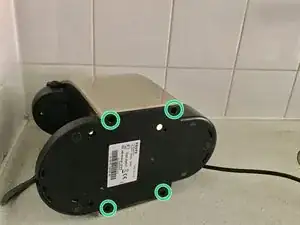
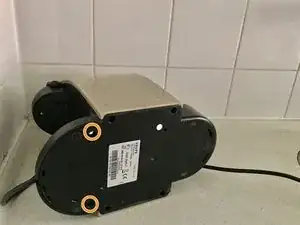
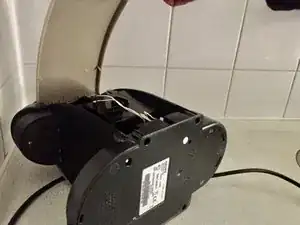
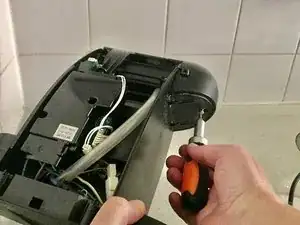
    • Remove the 4 bottom screws that hold the side panels. You need the oval drive bit for this.

    • Leave the other 2 bottom screws in place, these hold the bottom plate in place.

    • When reassembling, take care not to over tighten these screws. When in doubt, take 1/4 turn back.

    • Improvement: As these oval head screws are (intended to be) a nuisance, you may want to replace them with similar screws with a more common head.

  3. ucD1qyxJvW5Asubm
    ucD1qyxJvW5Asubm
    GZuiGLBKtFcXvRqO
    ThV6mJhkdisiKtdK
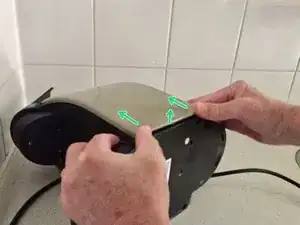
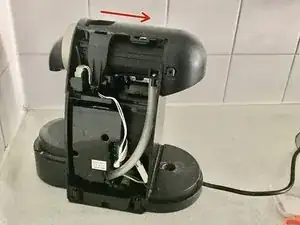
    • Put the machine on one side, gently push the bottom edge of the side panel towards the top and lift it out.

    • Unhook the panel from the top.

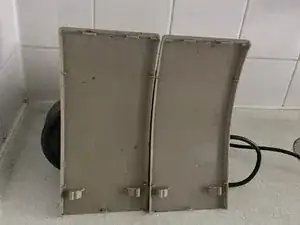
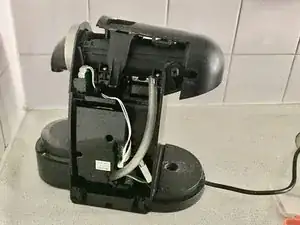
    • Repeat with the other side panel.

    • The panels are identical, so there's no need to remember which was left or right.

    • When reassembling, make sure the bottom of the panel clicks fully closed before inserting the screws.

  4. Wu6WOToTnVUwTfnP
    Wu6WOToTnVUwTfnP
    MBln1YxFq4OFnA3Y
    WyS3fWrE52c54ZUH
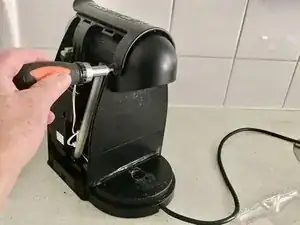
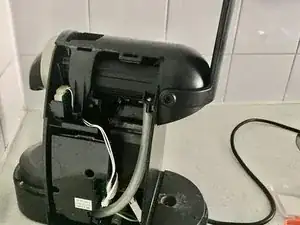
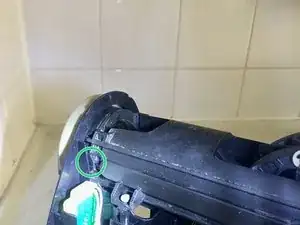
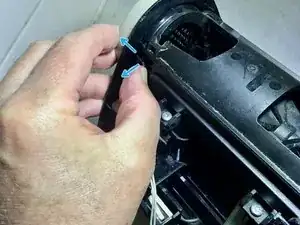
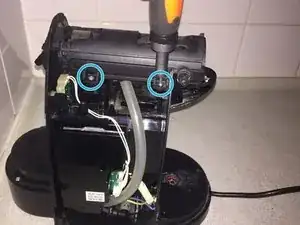
    • Use a Torx T120 to remove the two black screws that hold the lever, one on each side.

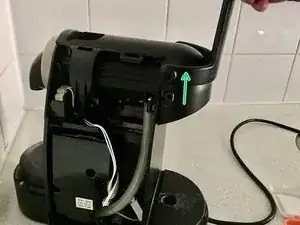
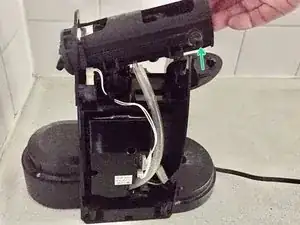
    • Open the lever and slide it upwards from its axle.

    • When reassembling, the axle needs to be turned vertical before you can slide the lever back into place.

    In my case, the screws were very tightly glued in with threadlock and one broke off when I unscrewed it.

    Ronny Seime -

    Never seen that before, and the is no need for threadlock... If you know who did it, (s)he owes you a Nespresso!

    Altijd Ellende -

  5. TJbiJQvoHQ6QVoeV
    TJbiJQvoHQ6QVoeV
    rPZrH2nLPHLA4CfF
    T3hKKcxCvh3WCJDL
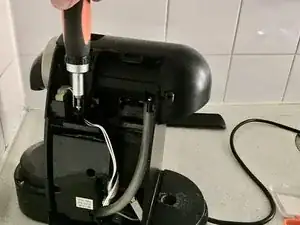
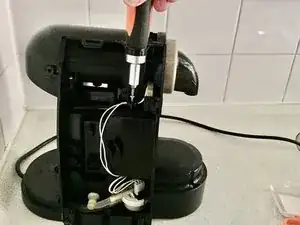
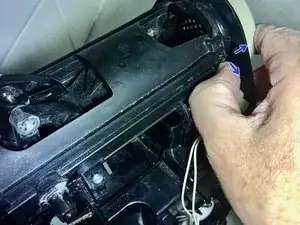
    • Use a Torx T10 to remove the 2 screws that hold the cover of the brew unit at the front

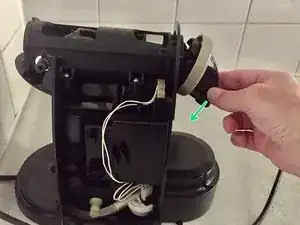
    • Remove the last screw (T10) of the cover, located at the back and underside.

  6. Isx26gas1LE4KXcf
    Isx26gas1LE4KXcf
    iaQaFNPWqQFIfh3W
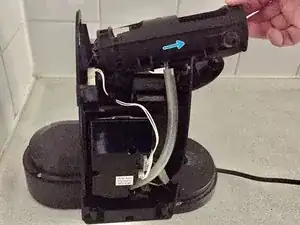
    • Slide the brew unit cover back so that it comes free.

    • No force needed, some manipulation will do the trick.

  7. xmO4LSwklp5TdjHQ
    xmO4LSwklp5TdjHQ
    DRvPLobAGHPKBgU2
    XX4bRircUU5NIDuw
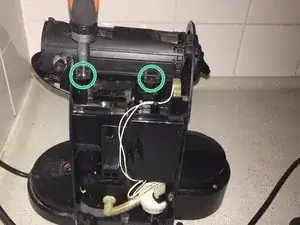
    • Locate the clips that hold the brew unit, one on each side.

    • With your thumb(nail), push one sideways and and forward so that it frees the clip.

    • This takes a bit of force, but does not need to move the clip far.

    • Repeat on the other side.

  8. sSwdxOBBXSwaNbqy
    • With both clips unlocked, remove the spout with a tilting downward motion.

    • When reassembling, you might want to temporarily loosen the front screws from the next step (9) to give the spout more room.

  9. i1lyqpBnNQHmAfnQ
    i1lyqpBnNQHmAfnQ
    UZxLAcZ3XfZUpPZl
    • Use a Torx T10 ro remove the 4 screws that hold the the brew unit, 2 on each side.

  10. pAGEGMsVs3yIWv4m
    pAGEGMsVs3yIWv4m
    Zr4rkaVJBSGMkEtM
    • Do NOT remove the hose

    • Lift the back of the brew unit.

    • Pull it backward until free.

    • Put it next to the machine, but do not put much strain on the hose.

    • Clean the spout, the front of the brew unit and anything that needs cleaning.

    • Once dry, it is ready to reassemble.

Altijd Ellende

Membro desde: 29/03/21

237 Reputação

9 comentários

Thanks, @farmyardgaming for cleaning up my grammar!

Altijd Ellende -

Anytime, I'm glad I could help!

FarmYard Gaming -

Is it possible to change the o rings of the brew units?

Martin Müller -

Hi Martin, I am not sure which o rings you refer to. Can you be more specific (photo perhaps)?

Altijd Ellende -

Zeer fijn van deze info al gedaan en is terug in orde ok dank u.Marcel

Marcel -

This worked for me. The spout was clogged up with dried coffee and metal residue from the pods… Thank you for the guide @altijdell

honakrisi -

Glad it helped!

In my experience, 9 out of 10 times cleaning solves the leakage, but the design does not allow you to clean the spout without taking the Nespresso apart :-(

Altijd Ellende -

Nell'unità d'infusione di questa macchina c'è una guarnizione in gomma a forma di anello diametro esterno 32 mm per 10 che quando la gomma si secca perde acqua nella vaschetta. Questa guarnizione è introvabile!

Bom -

Indeed. And the de/reassembly is not easy -- during a RepairCafé we do not have enough time for this.

Luckily, in my experience, 9 out of 10 leakages are fixed by cleaning.

Altijd Ellende -