Introdução
Use this guide to disassemble all or any of the parts of the Game Boy Advance.
Ferramentas
-
-
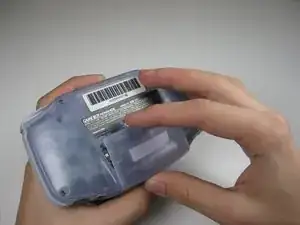
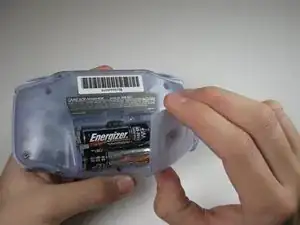
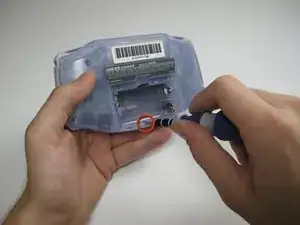
Remove the back panel by pulling away with one hand and the front secured in the other hand.
-
-
-
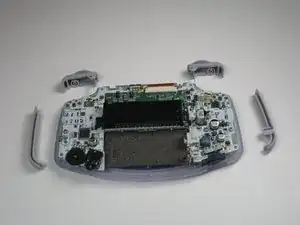
Remove left and right triggers by lifting and pulling them away from the system.
-
Do the same for side panels.
-
-
-
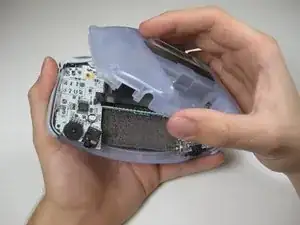
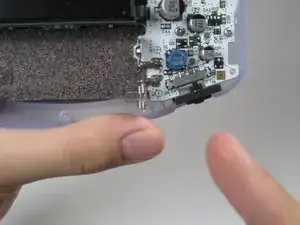
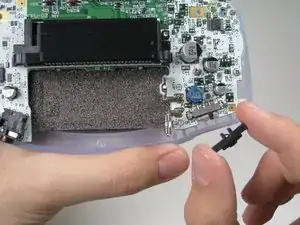
Remove the gray On/Off Switch by pulling up and away from the unit. Replace with another switch if necessary.
-
-
-
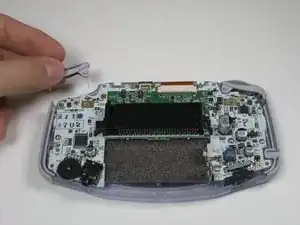
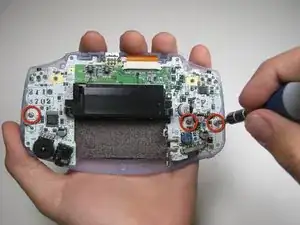
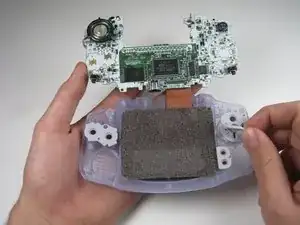
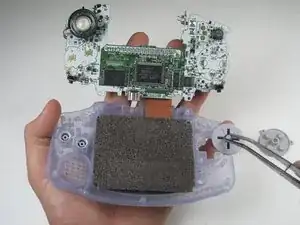
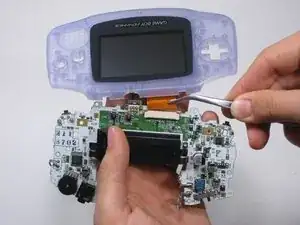
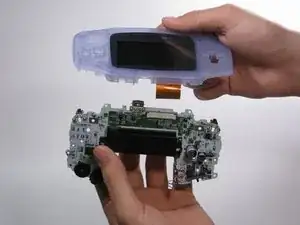
Pull circuit board away from the front panel by pulling up at the bottom of the circuit board, keeping the top ribbon still connected.
-
-
-
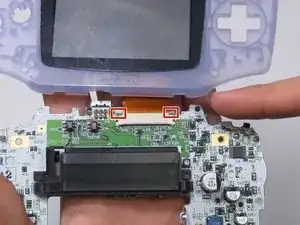
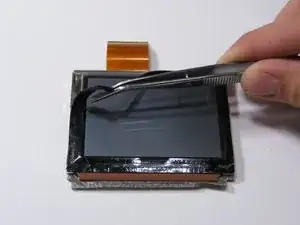
Use a spudger/tweezers/fingernail to unlatch the LCD ribbon port by pulling the grey tabs on the sides upwards (towards the top edge of the PCB).
-
Once the LCD ribbon port has been unlatched, the LCD ribbon should very easily slide out and can be removed with zero force using fingers or tweezers.
-
-
-
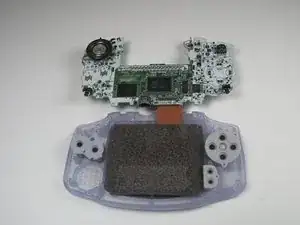
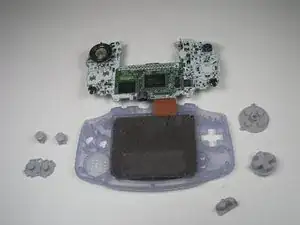
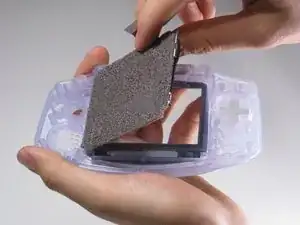
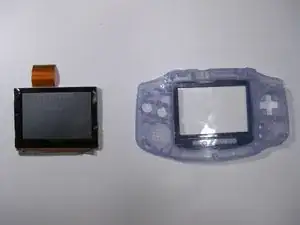
Use the spudger to lift the screen from the front panel. Place the spudger in the space directly left of the D-pad.
-


8 comentários
used this to replace the case and buttons on my GBA worked like a charm thanks!
Josh -
I dont understand. The items in “Tools featured in this teardown" is different from the tools written on the article e.g. Y0 in “featured" but Y1 in the “article”.
Buy a small electric tool kit and test both, they will probably be different sizes in different models of the console
Gaget -
Bruh thx for