Introdução
Ferramentas
-
-
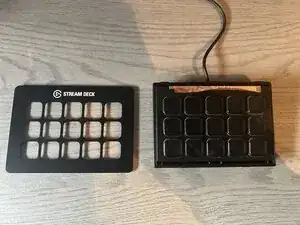
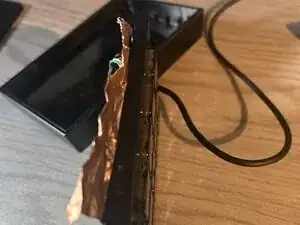
Pull up from the bottom its held on by some clips and adhesive. All you need are your hands
-
Slowly pull up until the entire front cover is off
-
-
-
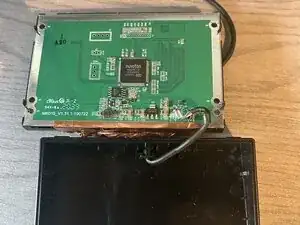
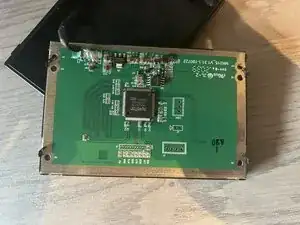
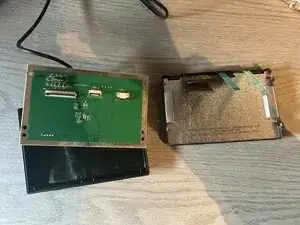
Remove the yellow tape to access the ribbon cable connectors
-
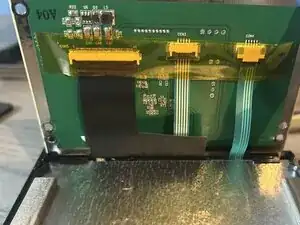
The connector on the left and middle you pull up on the black piece to remove the cable
-
The connector on the right you pull the black connector away from the white part (it should look like the picture)
-
-
-
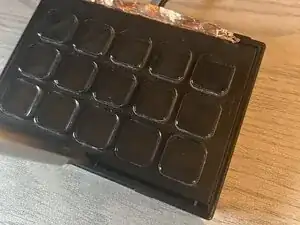
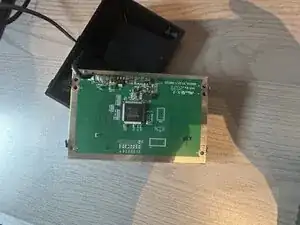
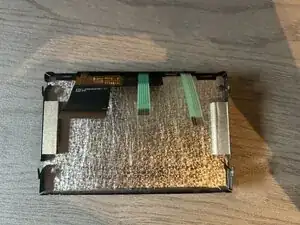
Bend all the latches out of the way.
-
The 4 on the sides (2 on opposite sides) bend outwards like the ones before
-
The 2 on top bend upwards.
-
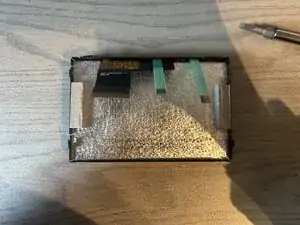
Push up on the buttons to get the screen module up until you can pull it out.
-
DO NOT pull on the cables as you risk damaging them
-
-
-
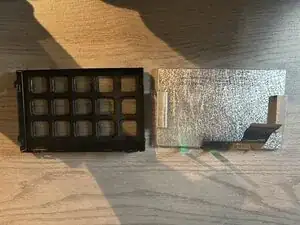
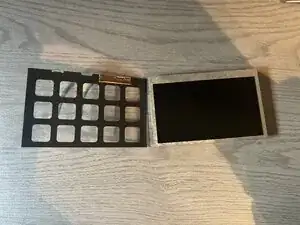
Carefully peal up on the black film.
-
The 2 smaller ribbon cables are attached to the black film
-