Introdução
This guide is for anyone with a dell d500.
-
-
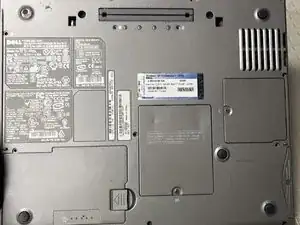
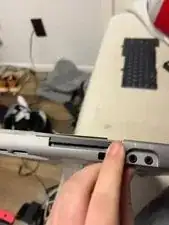
Start by taking out the screws on the bottom. Mine already has them mostly removed, but yours most likely won’t.
-
-
-
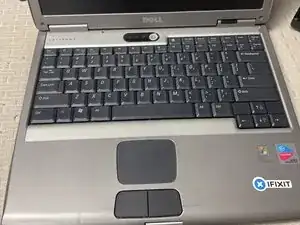
Next, you are going to remove the panel with the power button. For this, I recommend a flathead screwdriver. After that cover is off, remove all of the screws. Once the screws are gone, pull the keyboard out. There is a ribbon cable connecting it to the board, but it has an easy to remove pull bar on it.
-
-
-
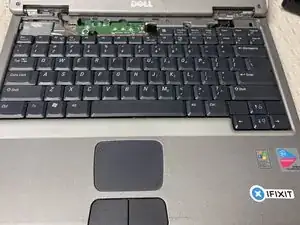
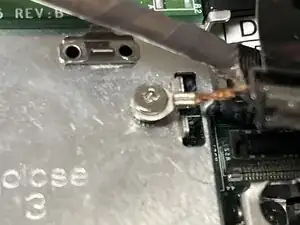
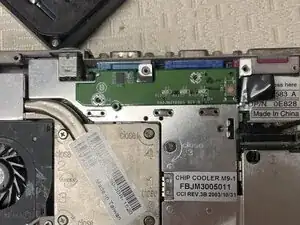
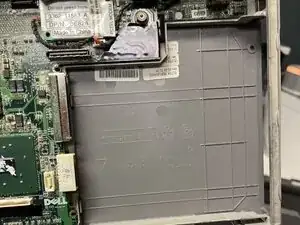
To remove the screen, just pull the connector out of the board. There is a screw holding it in place, but it is easy to remove. The screw is shown in the photo.
-
-
-
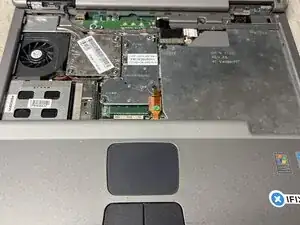
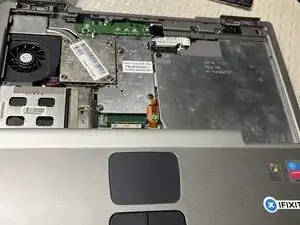
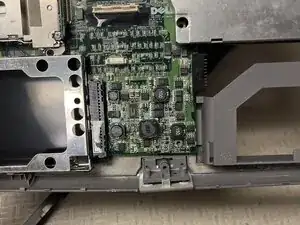
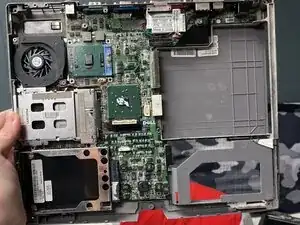
To remove the upper casing, you will need to remove the connector for the trackpad. It is shown in photo two being removed. Be careful, the casing is slightly fragile. Mine has yet to break, but it could.
-
-
-
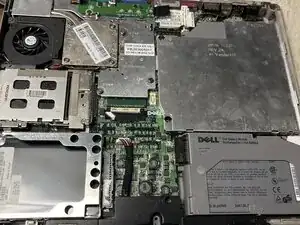
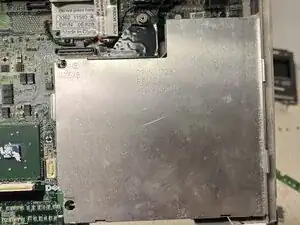
Remove the screws holding the speaker in place. You have to remove the bios battery, but I don’t have one. If someone could make a tutorial for that, that would be nice.
-