
Introdução
This guide will show you how to replace a broken collision detection bumper. This process should take only 10 minutes and require a size one Philips Head Screwdriver and a Flat Edge/Blade Cleanup Tool.
Ferramentas
-
-
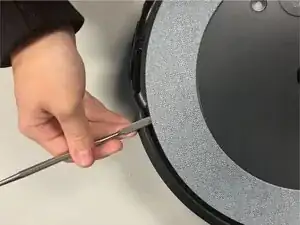
Insert a spudger between the top plate and chassis.
-
Pry around the entire perimeter of the top plate to disengage the retaining clips.
-
Remove the top plate.
-
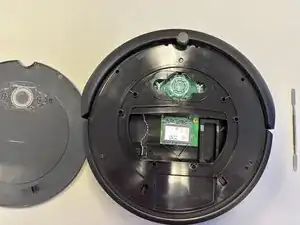
Afterwards flip the Roomba over on its now exposed back.
-
-
-
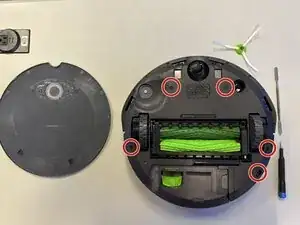
Use a Phillips #1 screwdriver to loosen the five 7 mm-wide captive screws from the lower plate.
-
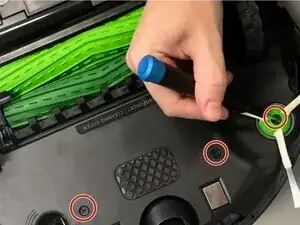
Remove the brush rolls.
-
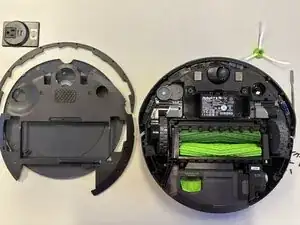
Remove the lower cover from the Roomba body.
-
-
-
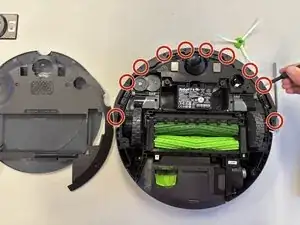
Use a Phillips #1 screwdriver to remove the ten small screws with a width of 4.7 mm and length of 11.3 mm on the underside of the bumper.
-
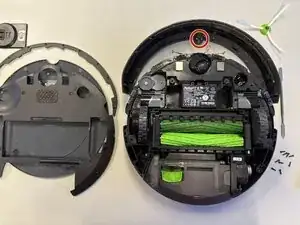
Remove the crescent cover from the underside of the bumper.
-
-
-
Use a Phillips #1 screwdriver to remove the two 4.7 mm wide screws that secure the bumper sensor.
-
Remove the bumper.
-
To reassemble your device, follow the above steps in reverse order.
Take your e-waste to an R2 or e-Stewards certified recycler.
Repair didn’t go as planned? Try some basic troubleshooting or ask our Answers community for help.