Introdução

  1. gIMjDDNKaFOTL4AE
    gIMjDDNKaFOTL4AE
    bdbTJLWyeeNfeFaE
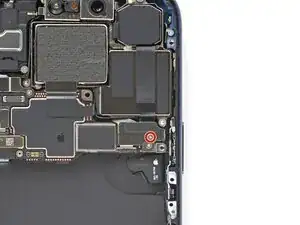
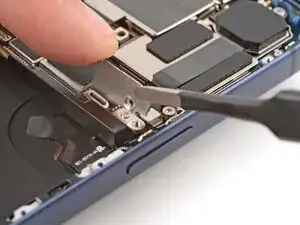
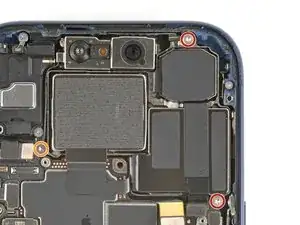
    • Use a tri-point Y000 screwdriver to remove the 1.0 mm‑long screw securing the rear camera connector cover.

  2. 1ftxoohNy2NIm1wU
    1ftxoohNy2NIm1wU
    sFoXw5xKONjEUxoh
    aSyUM1JYSNMUrrrU
    • Use tweezers to unlatch the rear camera connector cover from the logic board and remove it.

  3. bPPN4nPBwBI44LwK
    bPPN4nPBwBI44LwK
    e1XDcOp23cB4fPQ1
    jHjLNvVr3wPNePS2
    • Use the point of a spudger to pry up and disconnect the three rear camera press connectors.

    • One of the connectors is under the other.

  4. 44SQfdrOmdlXwNAl
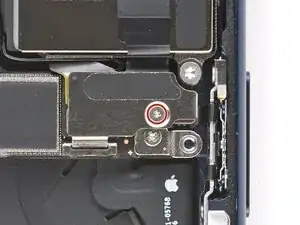
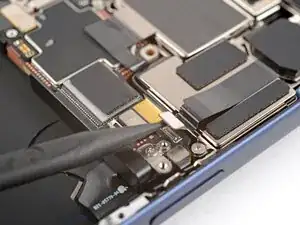
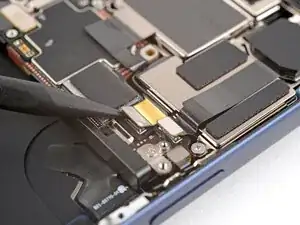
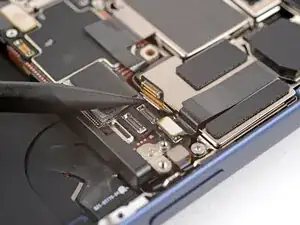
    • Use a Torx Plus 4IP screwdriver to remove the three screws securing the rear camera assembly:

    • Two 4.0 mm‑long screws

    • One 4.4 mm‑long screw

  5. ccFJ6nOjxjRx3dQ5
    ccFJ6nOjxjRx3dQ5
    TC3Av1TSNNfmHPTx
    BQEUqIuMUWIKAodn
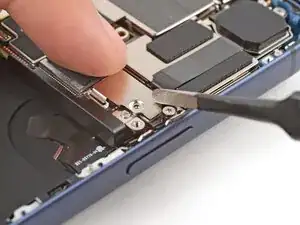
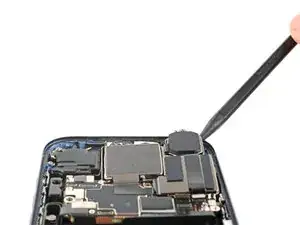
    • Use the point of a spudger to pry up the top edge of the rear camera assembly.

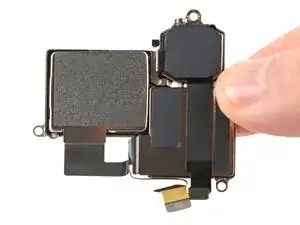
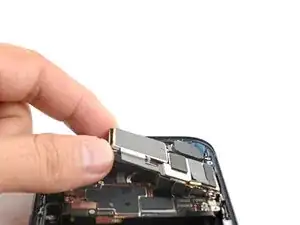
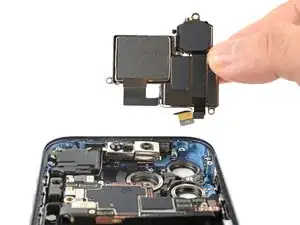
    • Grab the assembly with your fingers and remove it.

Conclusão

To reassemble your device, follow these instructions in reverse order.

Arthur Shi

Membro desde: 03/01/18

326111 Reputação

0 comentários