Introdução

  1. TC3Av1TSNNfmHPTx
    TC3Av1TSNNfmHPTx
    UlLvvtlk2UtZ1w1j
    • Lay the rear camera assembly in its recess.

  2. Z1FgFLKciUYs6m4b
    Z1FgFLKciUYs6m4b
    Xyjo1u55CcQRuYsN
    YRjxURyYjROdeIE1
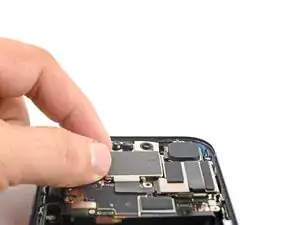
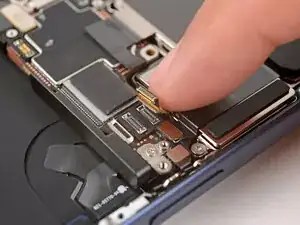
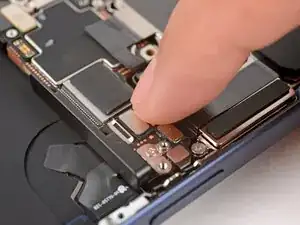
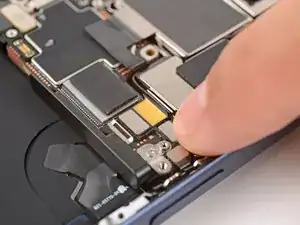
    • Use your finger to press and connect the three camera press connectors onto the logic board.

  3. oVJqRY5SOScIurvJ
    oVJqRY5SOScIurvJ
    S4JYUBjvEsHiwY6o
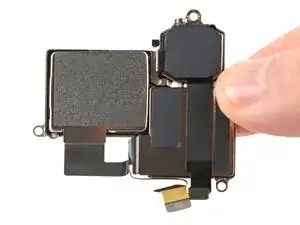
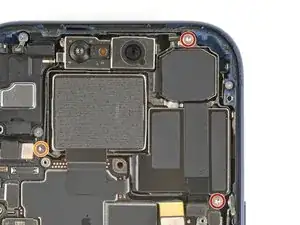
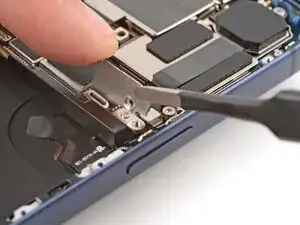
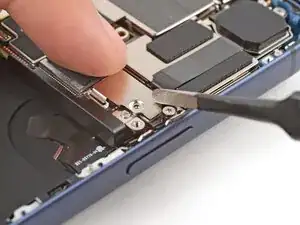
    • Use a Torx Plus 4IP screwdriver to install the three rear camera assembly screws:

    • Two 4.0 mm‑long screws

    • One 4.4 mm‑long screw

    • Make sure to install this in the proper screw hole.

  4. aSyUM1JYSNMUrrrU
    aSyUM1JYSNMUrrrU
    sFoXw5xKONjEUxoh
    1ftxoohNy2NIm1wU
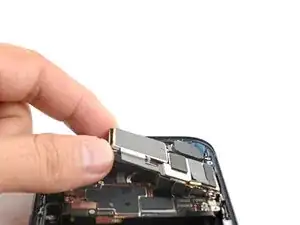
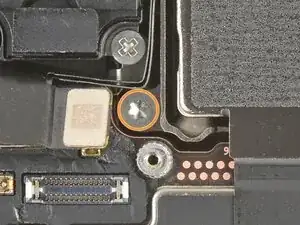
    • Use tweezers to latch the rear camera connector cover onto the logic board and lay it in place.

  5. fme5aEjcSIBGLyBk
    • Use a tri-point Y000 screwdriver to install the 1.0 mm‑long camera connector cover screw.

Conclusão

To reassemble your device, follow these instructions in reverse order.

Arthur Shi

Membro desde: 03/01/18

326111 Reputação

0 comentários