Introdução
-
-
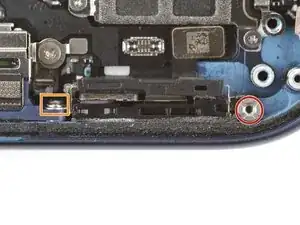
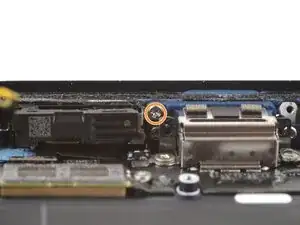
Remove the two screws securing the lower microphone:
-
One 3.2 mm-long standoff screw
-
One 3.1 mm-long JIS 00 screw attached to the bottom edge of the iPhone frame
-
-
-
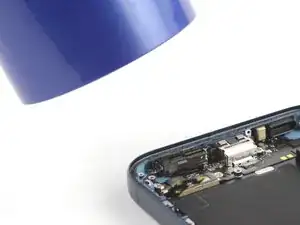
Use a hair dryer or an iOpener to heat the bottom-right corner of the iPhone until it's warm to the touch.
-
-
-
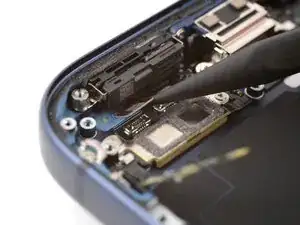
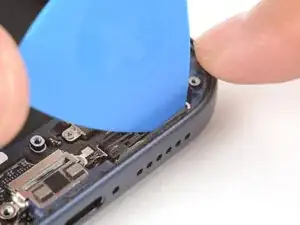
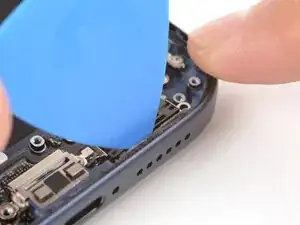
Insert the point of an opening pick between the lower microphone and the frame.
-
Slide the pick along the edge to create a gap between the microphone and the frame.
-
-
-
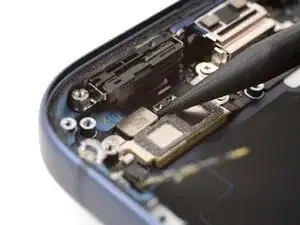
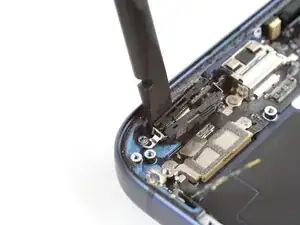
Insert the flat edge of a spudger into the gap between the lower microphone and the frame.
-
Twist the spudger slowly to pry the microphone off the frame.
-
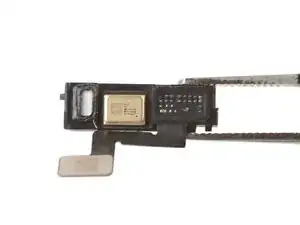
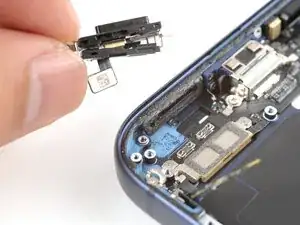
Remove the lower microphone.
-


Conclusão
To reassemble your device, follow these instructions in reverse order.
