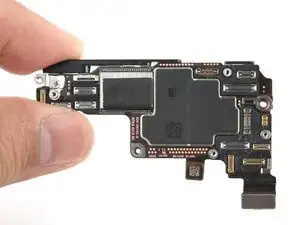
Introdução
Ferramentas
-
-
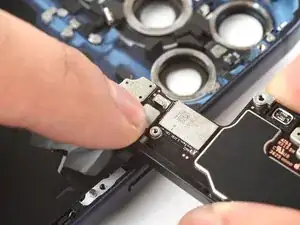
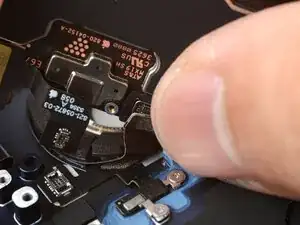
Use your finger to press and connect the wireless charging press connector to the logic board.
-
-
-
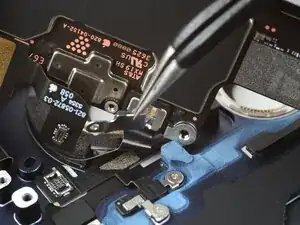
Tuck the wireless charging connector cover's tab into the lip on the logic board and lay it in place.
-
-
-
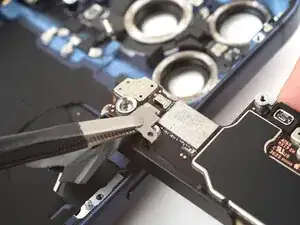
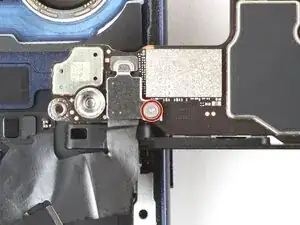
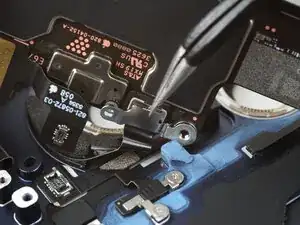
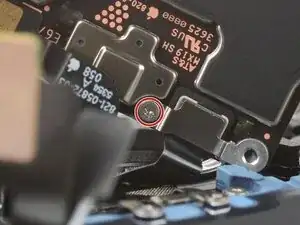
Use a tri-point Y000 screwdriver to install the 1.0 mm‑long wireless charging connector screw.
-
-
-
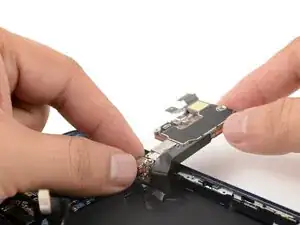
Carefully swing the logic board into the iPhone and rest it in place.
-
Skip the next three steps.
-
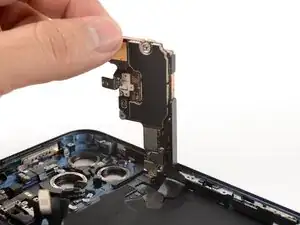
Carefully swing the logic board into the iPhone and angle it such that the mmWave cable can reach its logic board socket.
-
-
-
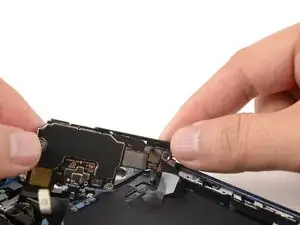
Use your finger to carefully align and press the mmWave antenna press connector onto the logic board.
-
-
-
Tuck the right end of the mmWave antenna connector cover under the lip next to the screw hole.
-
-
-
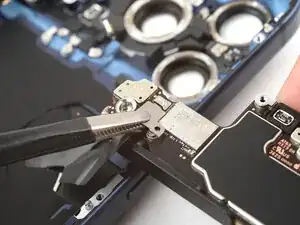
Use a tri-point Y000 screwdriver to install the 1.0 mm‑long mmWave antenna connector cover screw.
-

To reassemble your device, follow these instructions in reverse order.
