Introdução
Follow this guide to replace a broken or cracked back glass on an iPhone 17 Pro Max.
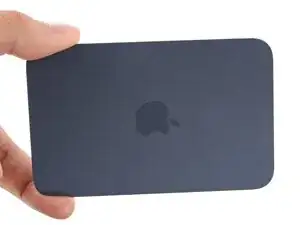
The back glass includes the wireless charging unit. If you're having issues with wireless charging, you may need to replace the back glass.
Note: You'll need replacement back glass adhesive to complete this repair.
-
-
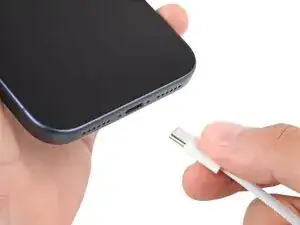
Unplug all cables from your phone.
-
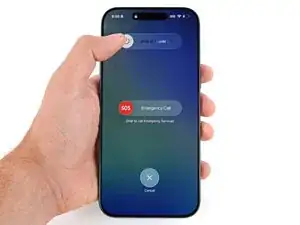
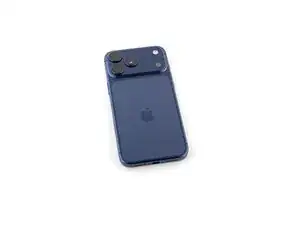
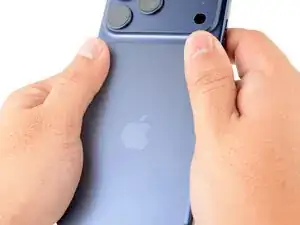
Hold the power and either volume button and slide to power off your phone.
-
-
-
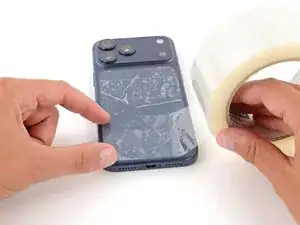
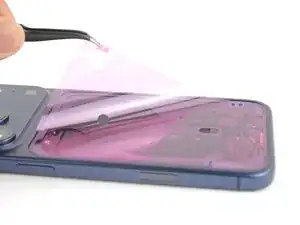
Apply strips of packing tape to the cracked glass until it's completely covered—this will help keep the glass contained and allow the suction cup to stick.
-
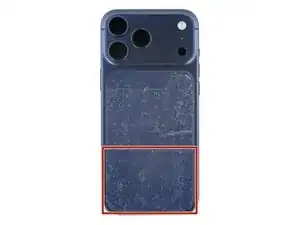
Make sure there's a single strip of tape (not overlapping) across the bottom edge, big enough for a suction cup to fit on.
-
-
-
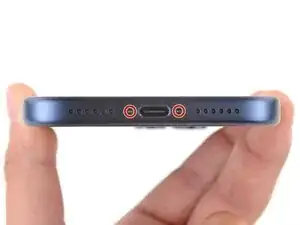
Use a P2 pentalobe screwdriver to remove the two 7.5 mm‑long screws on either side of the charging port.
-
-
-
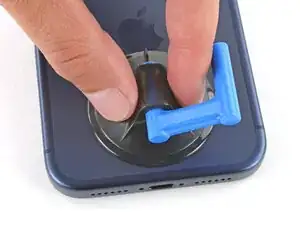
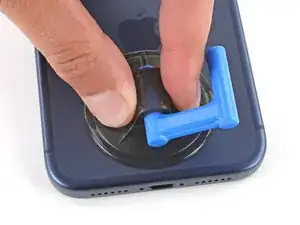
Apply a suction handle to the bottom edge of the back glass, as close to the edge as possible.
-
-
-
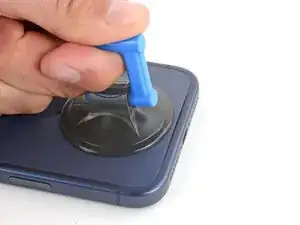
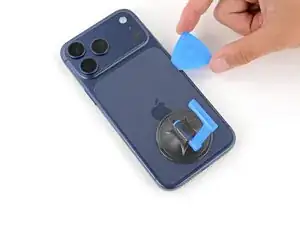
Pull up on the suction handle with strong, steady force until a gap forms between the back glass and frame.
-
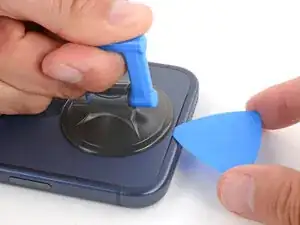
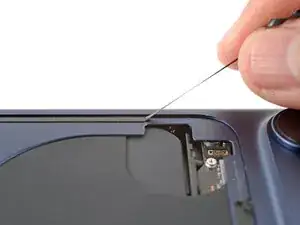
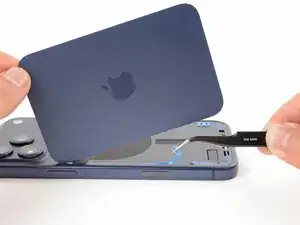
Insert the tip of an opening pick into the gap you just created.
-
-
-
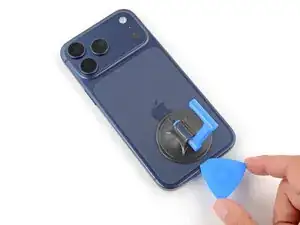
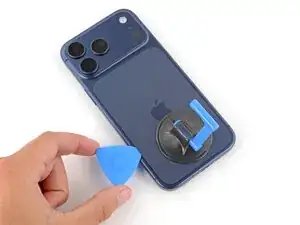
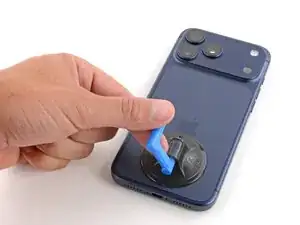
Slide the opening pick around the perimeter of the back glass to separate all the adhesive securing it.
-
-
-
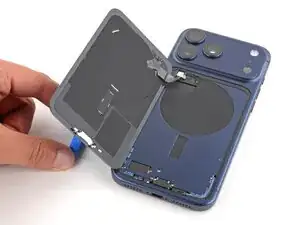
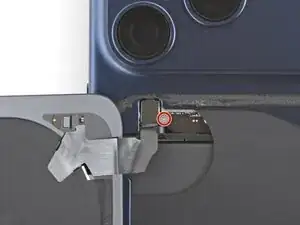
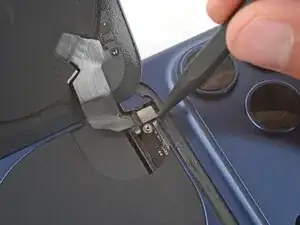
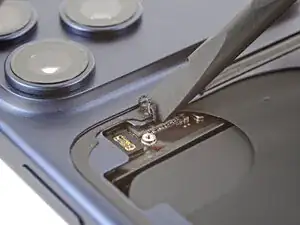
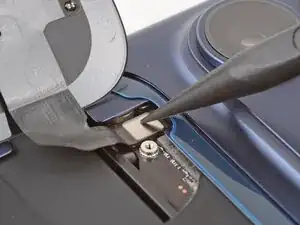
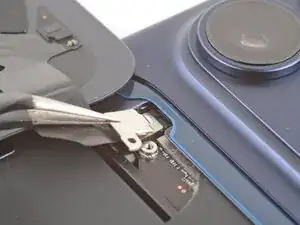
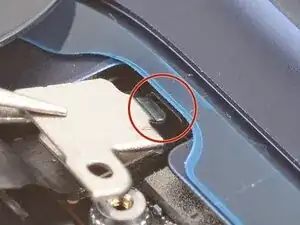
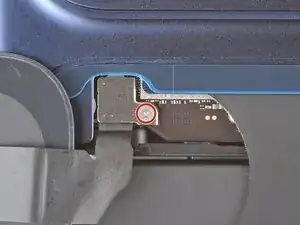
Use a tri‑point Y000 screwdriver to remove the 1.0 mm‑long screw securing the wireless charging connector cover.
-
-
-
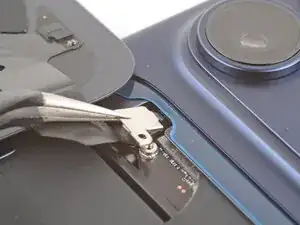
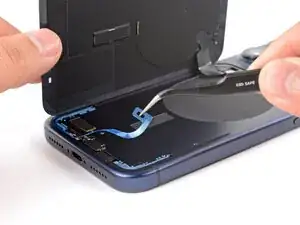
Use blunt-nose tweezers or your fingers to remove large pieces of adhesive from the frame.
-
Use a spudger to scrape the adhesive residue off the frame.
-
-
-
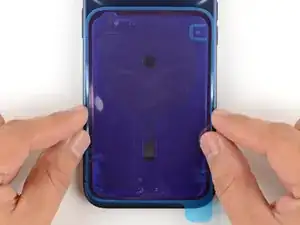
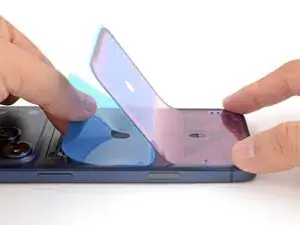
Without peeling any liners, lay the adhesive sheet over the frame to determine its proper orientation.
-
-
-
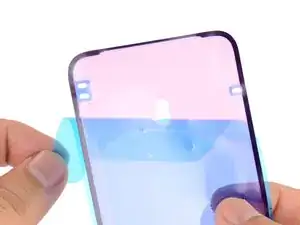
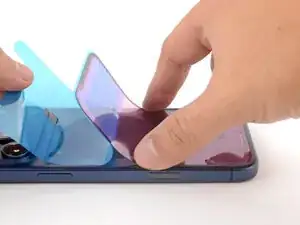
Grab the tab in the corner of the adhesive sheet and peel the liner to expose a third of the adhesive.
-
-
-
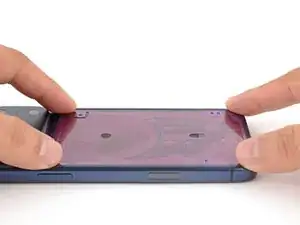
Carefully align and press the exposed edge of the adhesive strip onto the frame.
-
Continue peeling away the liner from the adhesive, gently pressing the adhesive into place.
-
-
-
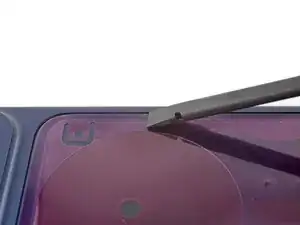
Use the pull tab to peel off the large front liner from the adhesive—the pull tab is often in a corner of the liner.
-
-
-
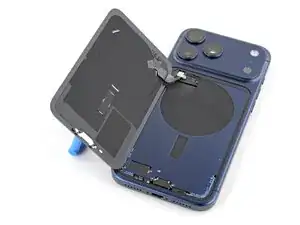
Position the back glass so you can comfortably reconnect it.
-
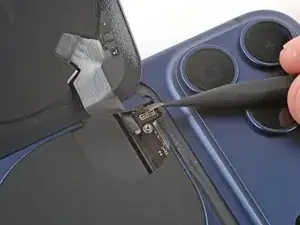
Use your finger or a spudger to press and connect the back glass press connector onto the logic board.
-
-
-
Use a tri‑point Y000 screwdriver to install the 1.0 mm‑long screw to secure the connector cover.
-
-
-
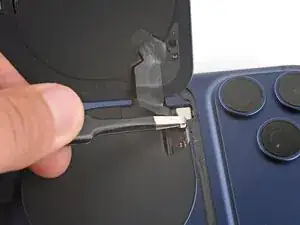
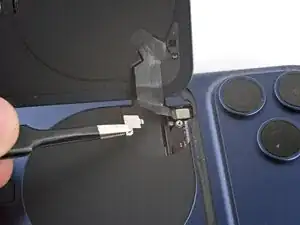
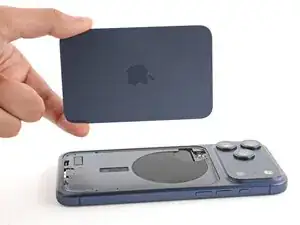
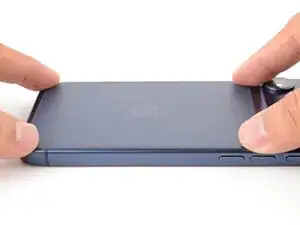
Use one hand to hold the back glass up. Be careful not to strain the cable.
-
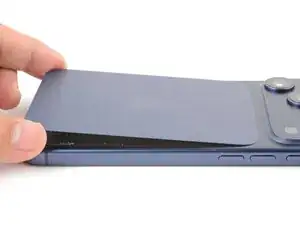
Use your fingers or tweezers to peel away all remaining liners, exposing the perimeter adhesive.
-
-
-
Use a P2 pentalobe screwdriver to install the two 7.5 mm‑long screws on either side of the charging port.
-


If you have trouble with wireless charging, try running Apple’s Repair Assistant.
Take your e-waste to an R2 or e-Stewards certified recycler.
Repair didn’t go as planned? Try some basic troubleshooting, or ask our Answers Community for help.