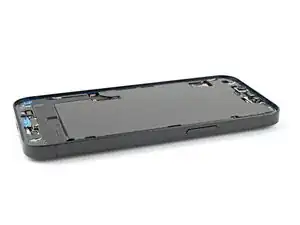
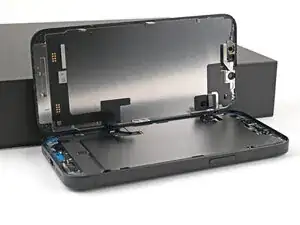
Introdução
-
-
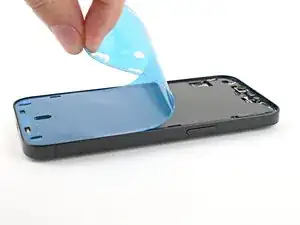
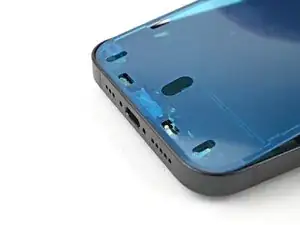
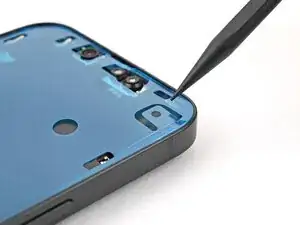
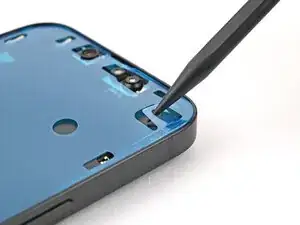
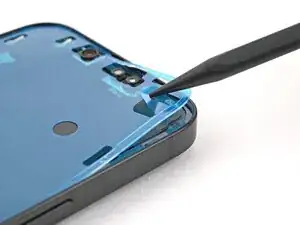
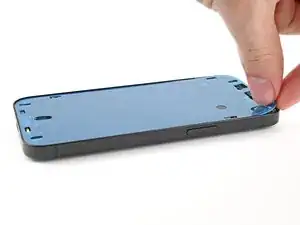
Use tweezers to remove the adhesive around the perimeter of the frame.
-
Use a coffee filter or a lint‑free cloth and high‑concentration isopropyl alcohol (>%90) to clean off any adhesive residue.
-
-
-
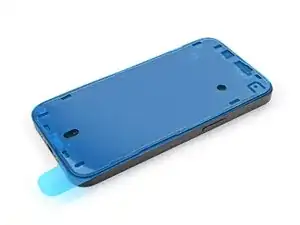
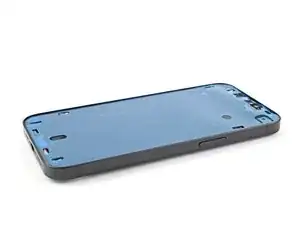
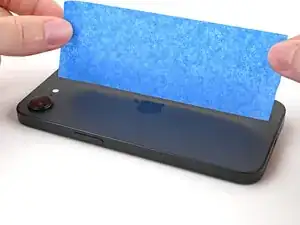
Lay the adhesive on top of the phone and use features like cutouts for spring contacts and the front‑facing camera to make sure the adhesive is oriented correctly.
-
-
-
Use the pull tab to begin peeling the back liner off the adhesive starting from the bottom, but don't remove the liner all the way.
-
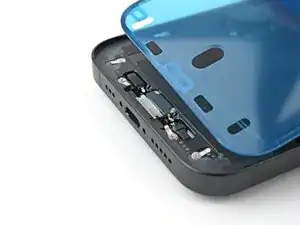
Hold the blue liner out of the way and align the adhesive with the bottom edge of the iPhone.
-
Lay the bottom edge of the adhesive into its recess in the frame, making sure the iPhone's spring contacts are aligned with their cutouts in the liner.
-
-
-
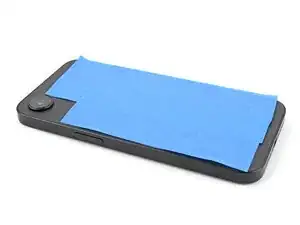
Continue peeling the back liner off the adhesive while pressing the adhesive into place along the edges of the iPhone's frame.
-
-
-
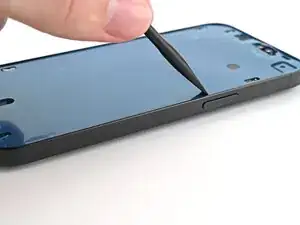
Use the flat end of a spudger to press the adhesive into place around the perimeter of the frame.
-
-
-
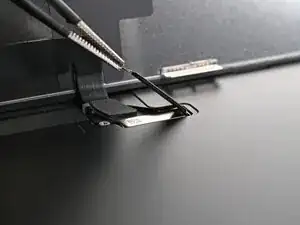
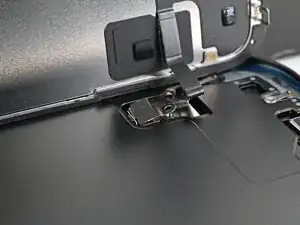
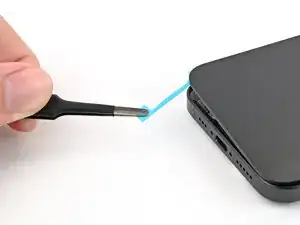
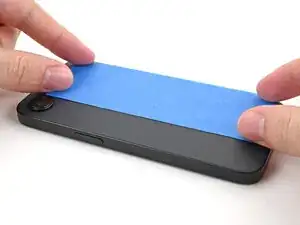
Use the tip of a spudger to lift up the pull tab on the top right corner of the blue adhesive liner until you can grip it with your fingers.
-
-
-
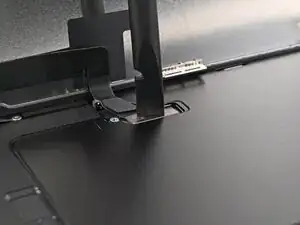
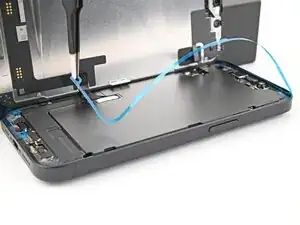
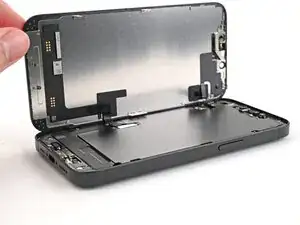
Prop up the screen along the left edge of the iPhone, using a box or similar sturdy object to support the screen.
-
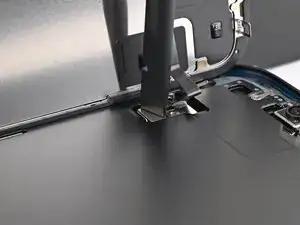
Use the flat end of a spudger or your finger to connect the screen press connector.
-
Repeat for the front sensor press connector.
-
-
-
Insert the top of the screen connector cover into its slot in the frame and lay it over the press connector.
-
-
-
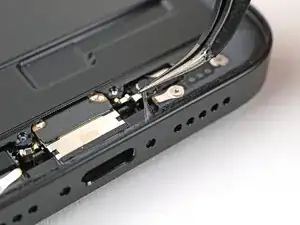
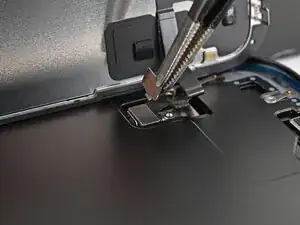
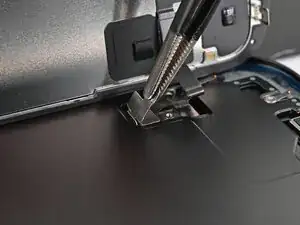
Angle the front sensor connector cover at a 90-degree angle and insert it into its slot in the frame.
-
Lay the cover over the press connector.
-
-
-
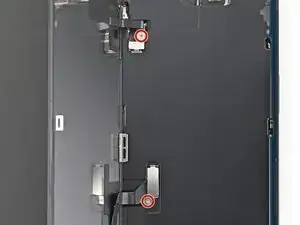
Use a tri-point Y000 screwdriver to install the two 0.9 mm‑long screws securing the front sensor connector and screen connector covers.
-
-
-
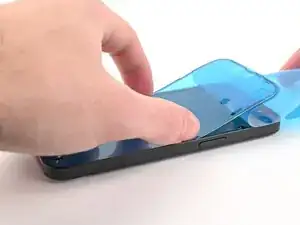
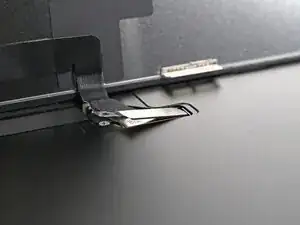
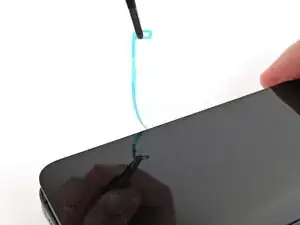
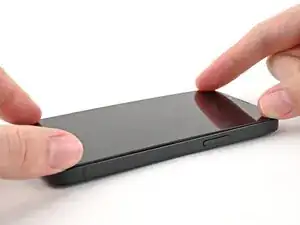
Use tweezers or your fingers to grip the blue pull tab and remove the liner along the right edge.
-
Without letting the screen touch the adhesive, hold the screen over the phone and remove the other two liners.
-
-
-
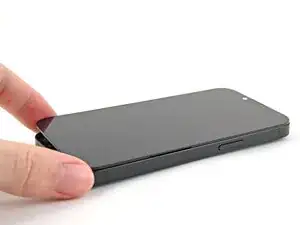
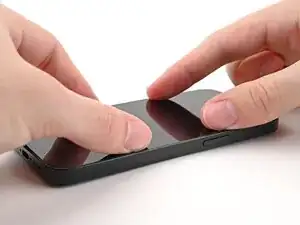
Lay the screen straight down onto the frame and press until the clips engage.
-
Press around the perimeter of the screen to engage all clips.
-
-
-
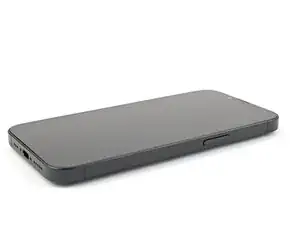
To help the adhesive bond, apply heat to the edges of the screen using an iOpener, hair dryer, or heat gun until it's hot to the touch.
-
If you have screen vise clamps, use them to strengthen the bond of your new adhesive. If not, keep reading for more ways to secure the screen.
-
-
-
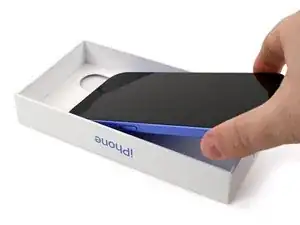
If you have the box your iPhone came in, take the lid and place it on a flat surface.
-
Place your iPhone screen-side-up in the lid of your box with the camera bump in its recess.
-
Find something close to the size of your iPhone, but taller than the sides of the box. Stack it on top of the iPhone, followed by a few heavy objects.
-
Leave the objects in place for at least thirty minutes. The lighter the objects, the longer they should be left. Ideally, leave them stacked overnight.
-
-
-
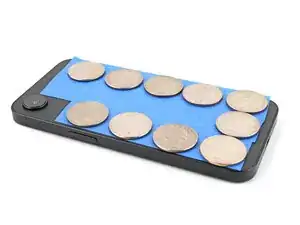
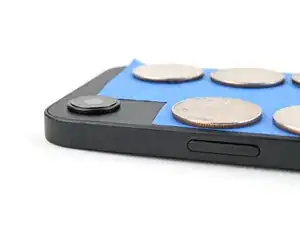
Place the iPhone screen-side-down on a soft, flat surface.
-
Apply tape to the back glass to protect its finish.
-
-
-
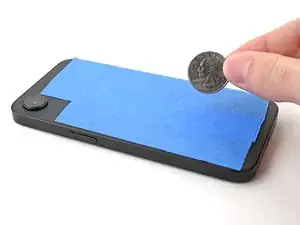
Place one layer of coins or similarly thick objects on the tape along the edges of the back glass.
-
Evenly distribute the coins and make sure they are at least as thick as the camera bump.
-
-
-
Stack multiple books or other heavy objects on the iPhone.
-
Leave the objects in place for at least thirty minutes. The lighter the objects, the longer they should be left. Ideally, leave them stacked overnight.
-


To reassemble your device, follow these instructions in reverse order.
