Introdução

  1. fUorWIQ2BjeQwkmV
    fUorWIQ2BjeQwkmV
    frKF1sbkvGEIMEtK
    • Use the tip of a spudger to pry up and disconnect the rear camera assembly press connector.

  2. Sv12m2PyOQGTLrQR
    Sv12m2PyOQGTLrQR
    CRHRdgffmPYqTMRY
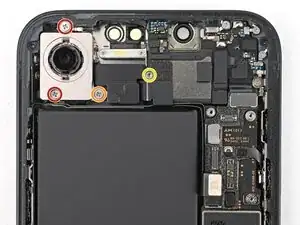
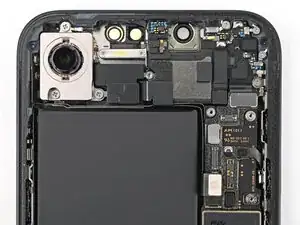
    • Use a Phillips screwdriver to remove the three screws securing the rear camera assembly:

    • Two 2.3 mm‑long screws

    • One 2.5 mm‑long screw

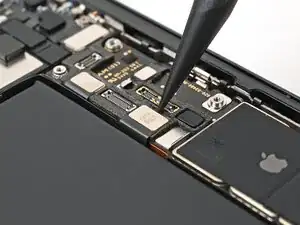
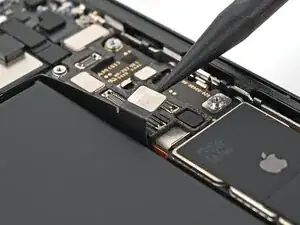
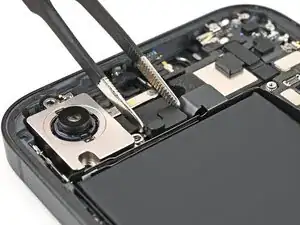
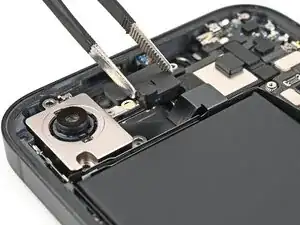
    • Use a standoff screwdriver to remove the 2.4 mm‑long screw securing the camera spacer.

  3. ipfi1khvL5cQpRiH
    ipfi1khvL5cQpRiH
    kIsBcJS2AueWwJUU
    • Use tweezers or your fingers to remove the camera spacer.

  4. lE5EXJAnONJTsVwW
    lE5EXJAnONJTsVwW
    gdDrIIFPYQAARNqf
    cSf5eRN14HdYYaJR
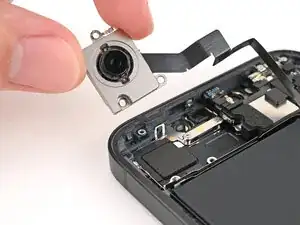
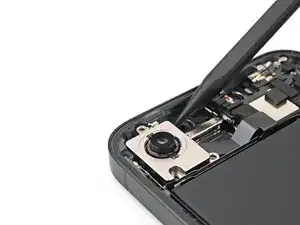
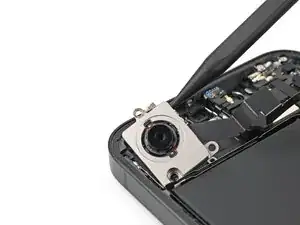
    • Use the tip of a spudger to lift the rear camera assembly out of the frame until you can grip it with your fingers.

    • Remove the rear camera assembly.

Conclusão

To reassemble your device, follow these instructions in reverse order.

Alex Diaz-Kokaisl

Membro desde: 16/01/22

227430 Reputação

0 comentários