Introdução
-
-
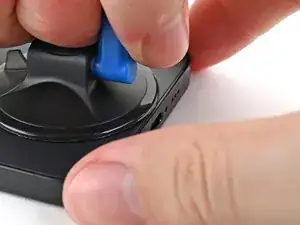
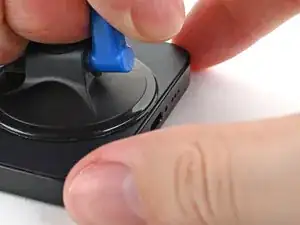
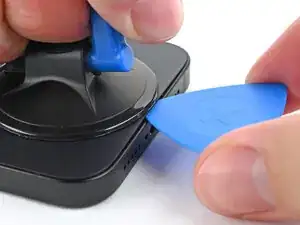
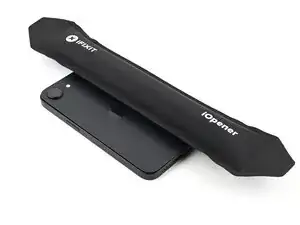
Apply a suction handle to the bottom edge of the back glass.
-
Pull up on the handle with a strong, steady force to create a gap between the back glass and the frame.
-
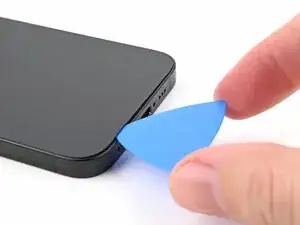
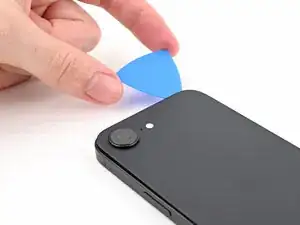
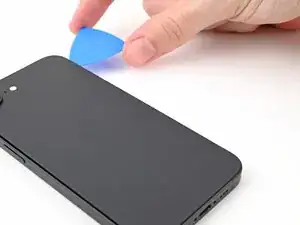
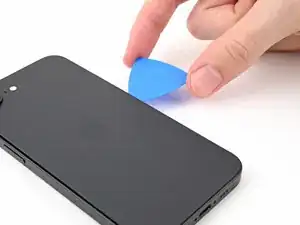
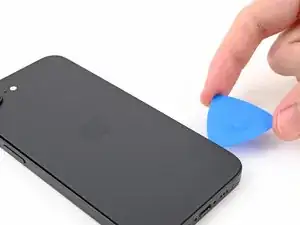
Insert the tip of an opening pick into the gap.
-
-
-
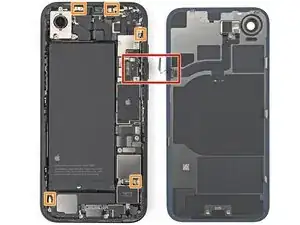
A delicate cable connecting the back glass to the phone, next to the volume up button.
-
Multiple spring contacts around the perimeter of the phone.
-
-
-
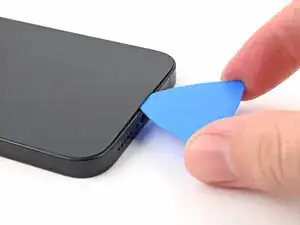
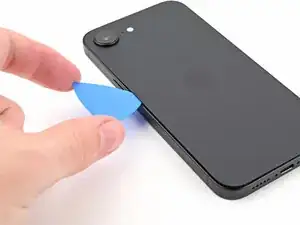
Slide the opening pick along the bottom of the back glass to separate the adhesive.
-
Leave the opening pick near the bottom left corner.
-
-
-
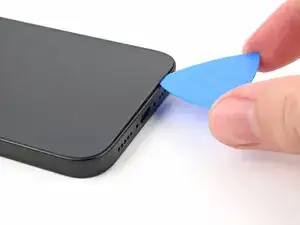
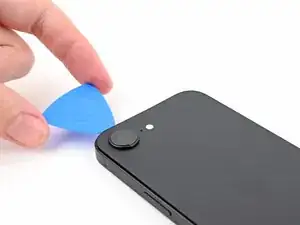
Rotate the opening pick around the bottom left corner and slide it along the left edge to separate the adhesive and release the metal clips.
-
Leave the opening pick near the top left corner.
-
-
-
Rotate the opening pick around the top left corner and slide it along the top edge to separate the adhesive and release the metal clips.
-
Leave the opening pick in the top right corner.
-
-
-
Rotate the opening pick around the top right corner and slide it along the right edge to separate the remaining adhesive and the metal clip.
-
-
-
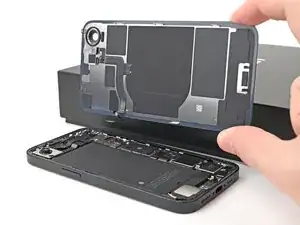
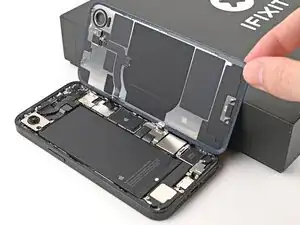
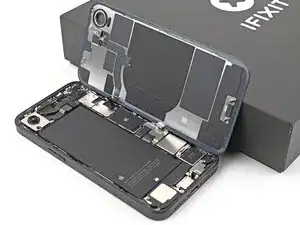
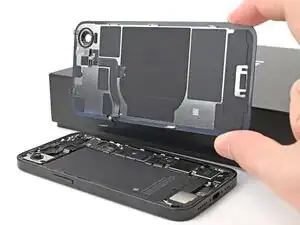
Swing open the back glass to the right of the phone and support it upright on a clean, sturdy object.
-
-
-
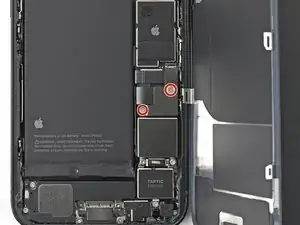
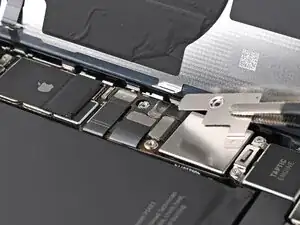
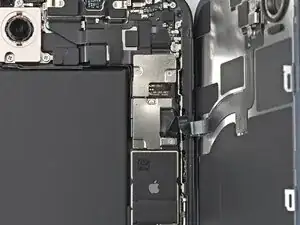
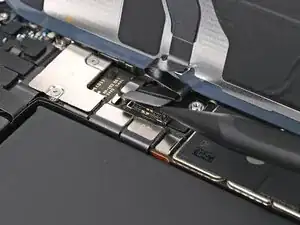
Use a tri-point Y000 screwdriver to remove the two 1.3 mm‑long screws securing the lower connector cover.
-
-
-
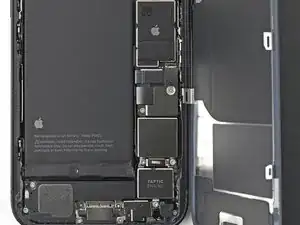
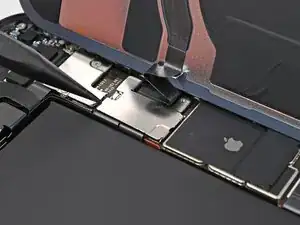
Use tweezers or your fingers to lift the lower connector cover and slide it toward the top of the phone to release it from its metal clip.
-
Remove the lower connector cover.
-
-
-
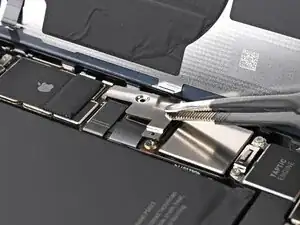
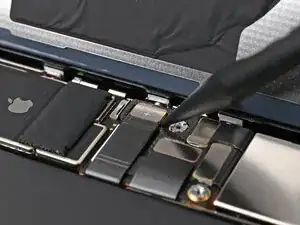
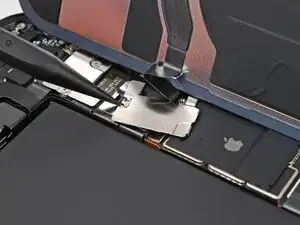
Use a tri-point Y000 screwdriver to remove the 1.0 mm‑long screw securing the middle connector cover.
-
-
-
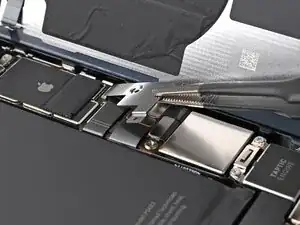
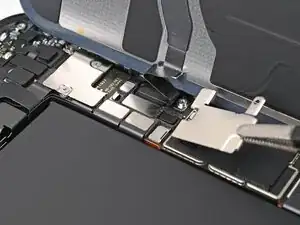
Use the point of a spudger to push the middle connector cover towards the bottom of the phone to release its clips.
-
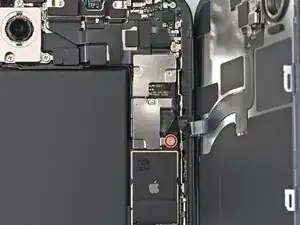
Use tweezers or your fingers to remove the cover.
-
-
-
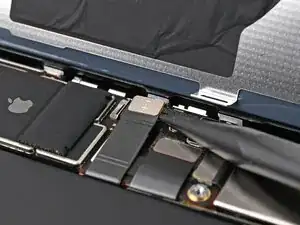
Use the point of a spudger to pry up and disconnect the wireless charging coil press connector.
-


To reassemble your device, follow these instructions in reverse order.
