Introdução

Reassembly steps to install the microphone in the iPhone 16 Pro.

  1. lPmjIr6yF4uYPtex
    lPmjIr6yF4uYPtex
    K3ntYdQ1xY4YYskP
    OiLaPuSsG52uWT1q
    • Use tweezers to remove the old microphone adhesive from the bottom of the frame.

  2. VYxMXrULx4OEpPEO
    VYxMXrULx4OEpPEO
    dCdtOCkTXUrlyFBS
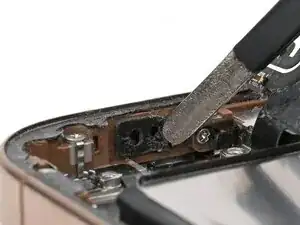
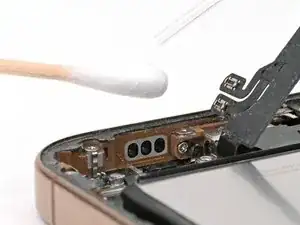
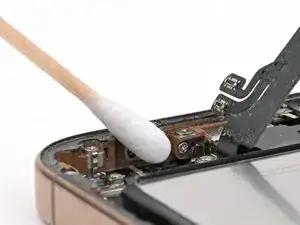
    • Use isopropyl alcohol and a cotton swab or lint-free cloth to clean any residual microphone adhesive from the frame.

  3. Cpc1u2PwryRlRmGb
    Cpc1u2PwryRlRmGb
    dxVyEnVRUtZDNmtV
    xj2ALssEdJvJWmHN
    • If your replacement microphone comes with adhesive pre-installed, skip this step.

    • The adhesive can't be removed and reused once it sticks to the microphone. Ensure it's perfectly aligned before adhering.

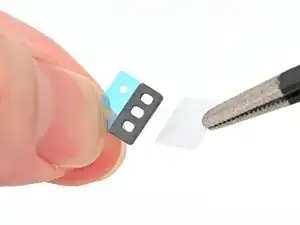
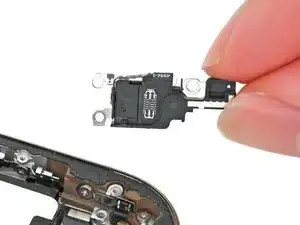
    • Remove the solid white adhesive liner from the new microphone adhesive.

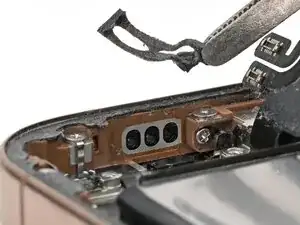
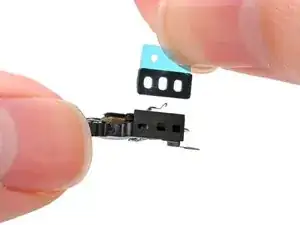
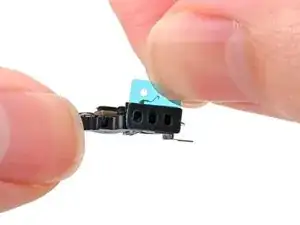
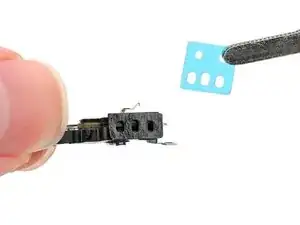
    • Align the holes in the adhesive with the three holes in the microphone, and stick it into place.

  4. TItbvK5yXyNjJuul
    TItbvK5yXyNjJuul
    GqIbWbBYgaNtmHdx
    • Remove the plastic backing from the microphone adhesive.

  5. PphwvNSvI4HljKga
    PphwvNSvI4HljKga
    DDVIZLqpbTC1H2KQ
    OkmFh5JTbYoeGMgQ
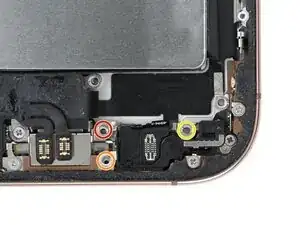
    • Set the microphone in the frame, aligned with its screw holes.

    • Partially install the three screws securing the microphone:

    • One 3.6 mm‑long standoff screw

    • One 2.9 mm‑long standoff screw

    • One 1.3 mm‑long tri-point Y000 screw

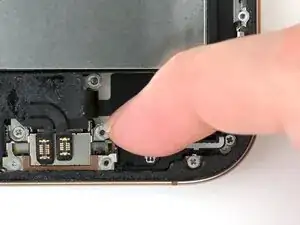
    • Press the microphone against the bottom of the frame, and hold it for 15 seconds to seal the adhesive.

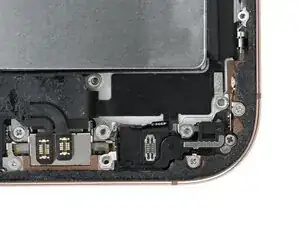
    • Fully tighten the microphone screws.

Nick Schultz

Membro desde: 24/03/24

45909 Reputação

0 comentários