Introdução

Reassembly steps for the Taptic Engine in the iPhone 16 Plus.

  1. PTZgBUxbRMFGgxpA
    PTZgBUxbRMFGgxpA
    IIVYBvQuy4FovqlI
    Q2TCpU3w15NZ1Bu6
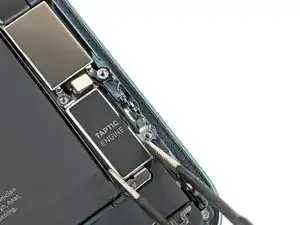
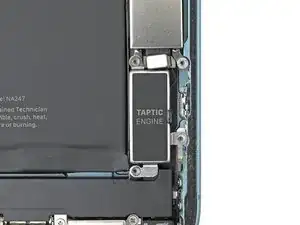
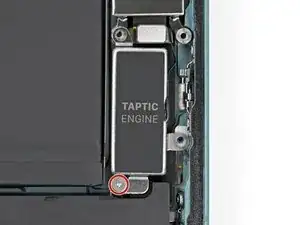
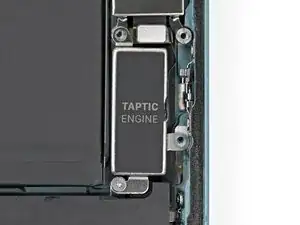
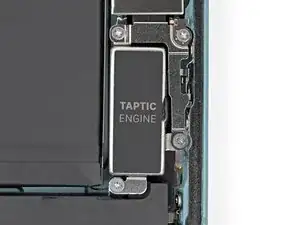
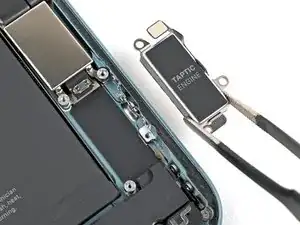
    • Use blunt-nose tweezers or your fingers to align the Taptic Engine with its screw posts and place it in the frame.

  2. QseiSIYQuiuMQyZI
    QseiSIYQuiuMQyZI
    FYNwKgqkpRaStPyH
    • Use your finger or a spudger to connect the Taptic Engine press connector.

    • To re-attach press connectors like this one, carefully align and press down on one side, then the other, until it clicks into place. Don't try to force the connector into place—if you're having trouble, reposition it and try again.

  3. OLRCFbcUJQUbPrx2
    OLRCFbcUJQUbPrx2
    H1Uc4wRkI34GVZTl
    • Use a Phillips screwdriver to install the 1.8 mm screw securing the Taptic Engine.

  4. PcYLJ1UgqEIWbRV2
    PcYLJ1UgqEIWbRV2
    RgIVsmx2M4Us5pKG
    • Align the Taptic Engine bracket with its screw holes and set it into place.

  5. cFCmnslfXMUaj56p
    cFCmnslfXMUaj56p
    gpMEPIFSPcGXO4Ig
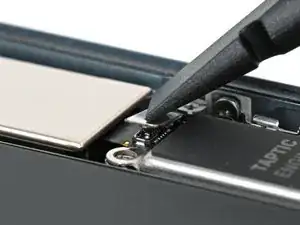
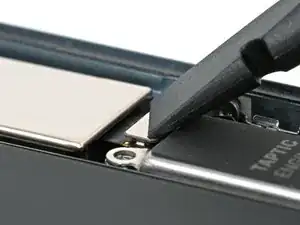
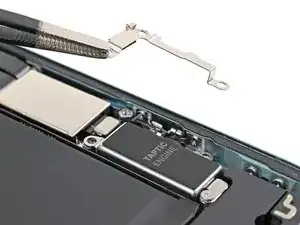
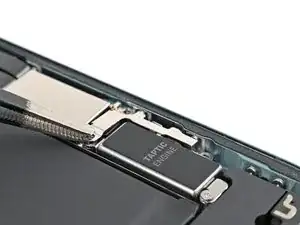
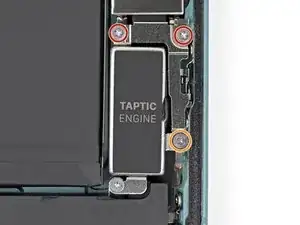
    • Use a Phillips screwdriver to install the three screws securing the Taptic Engine bracket:

    • Two 1.9 mm‑long screws

    • One 2.1 mm‑long screw

Nick Schultz

Membro desde: 24/03/24

45909 Reputação

0 comentários