Introdução
-
-
If the replacement USB‑C port includes new adhesive, use high-concentration (>90%) isoporopyl alcohol and a lint-free cloth to clean the adhesive residue from the iPad frame.
-
-
-
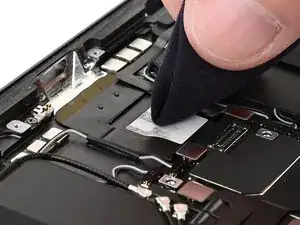
If the new port has adhesive pre-applied, remove any liners. If the adhesive securing the port to the frame is not yet applied, remove one liner, apply it to the port, then remove the other liner.
-
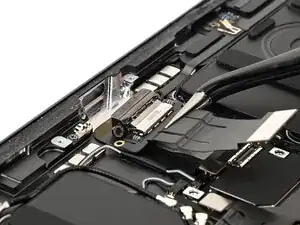
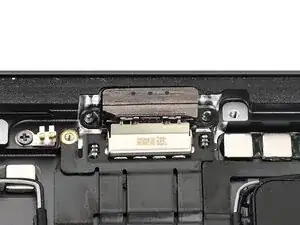
Place the USB-C charging port into its recess in the frame.
-
-
-
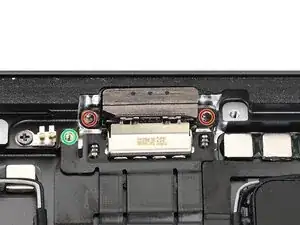
Use a JCIS or JIS 00 screwdriver to install the three screws securing the USB-C charging port:
-
Two 2.0 mm‑long screws securing the port to the frame of the iPad
-
One 1.4 mm‑long screw securing the ribbon cable to the iPad
-
-
-
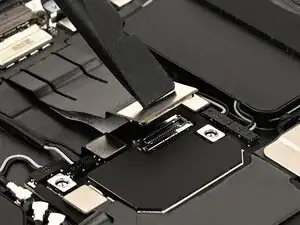
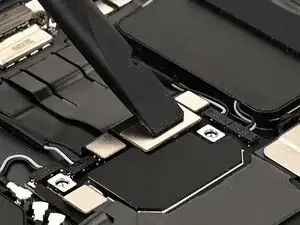
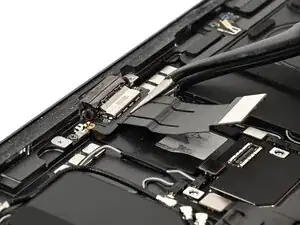
Use the flat end of a spudger or your finger to connect the USB-C charging port press connector.
-
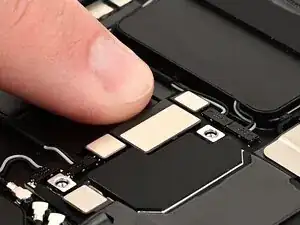
Press the ribbon cable down for 10 seconds to make sure it's adhered to the iPad.
-