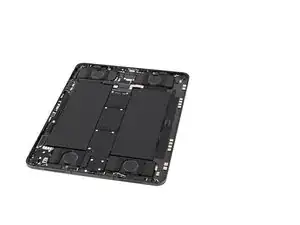
Introdução
-
-
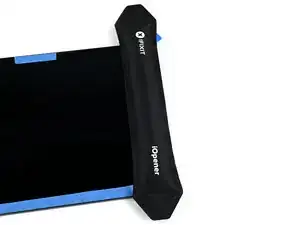
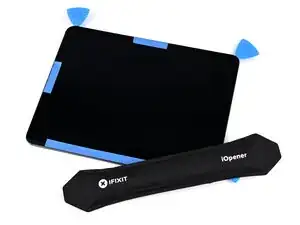
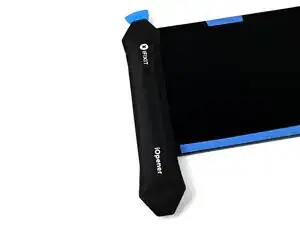
Apply a heated iOpener to the top-right corner of the screen for two minutes to soften the adhesive.
-
-
-
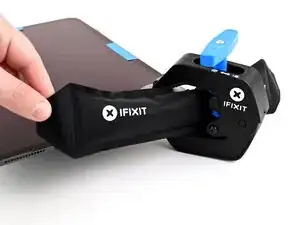
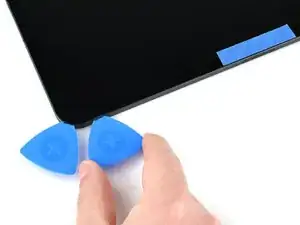
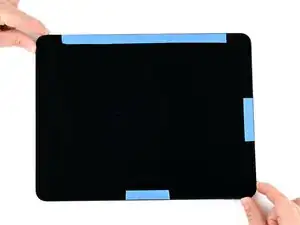
Unlock the Anti-Clamp by pulling the blue handle backwards, away from the suction cups.
-
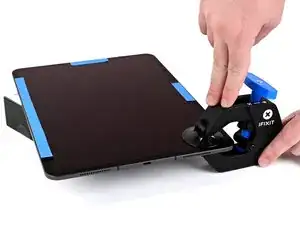
Place something under the bottom-left corner of the iPad to hold it level, then place the Anti-Clamp on your work surface and insert the top-right corner of the iPad between the Anti-Clamp's suction cups.
-
Hold the bottom of the Anti-Clamp and press down on the top arm to engage the suction cups.
-
Make sure the top and bottom suction cups are aligned, and remain aligned for this entire procedure.
-
-
-
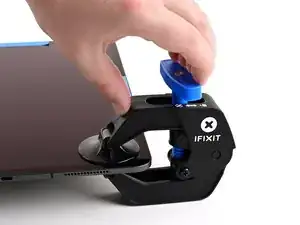
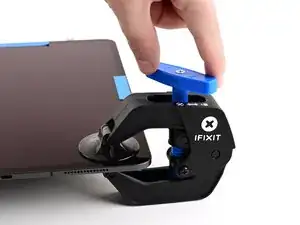
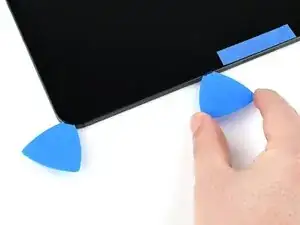
Pull the blue handle forward, towards the suction cups, to engage the twist mechanism.
-
Turn the blue handle clockwise one full rotation or until the suction cups start to stretch.
-
-
-
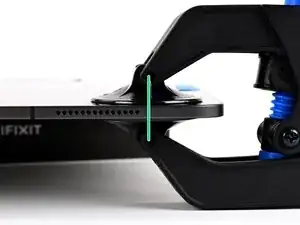
Wait at least one minute for the Anti-Clamp to pull the screen up until there's a small gap between the screen and the frame.
-
Make sure there's tension on the suction cups. Crank the handle just until you feel resistance, but don't crank too much or the suction cups will release.
-
Apply more heat while the Anti-Clamp is engaged. You can thread a heated iOpener through the Anti-Clamp or use a hair dryer or heat gun.
-
If the screen is still not releasing, crank the handle a half-turn and wait another minute while applying more heat periodically, still being careful not to overheat the iPad. Repeat as needed.
-
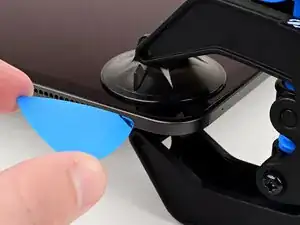
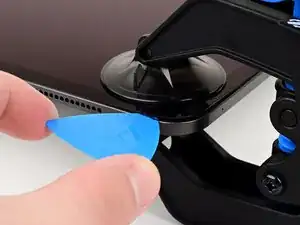
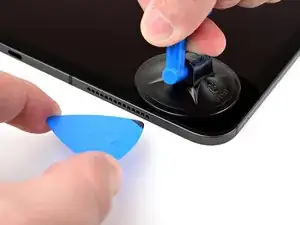
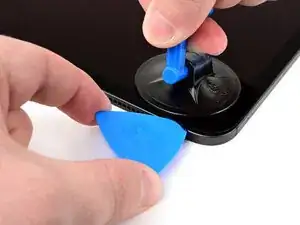
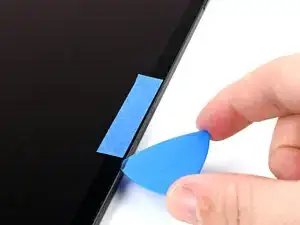
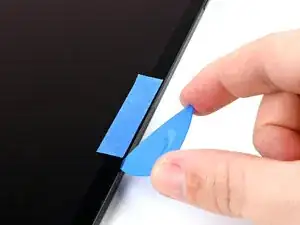
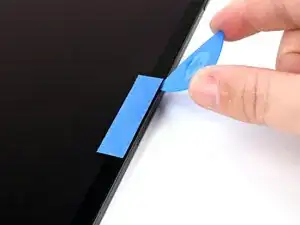
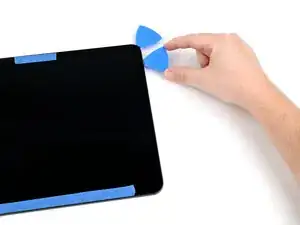
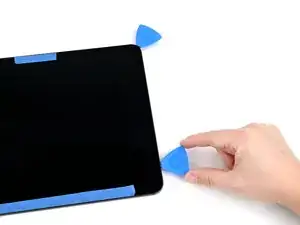
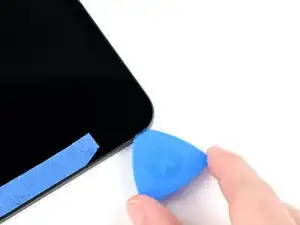
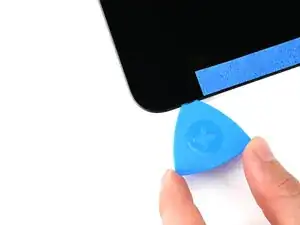
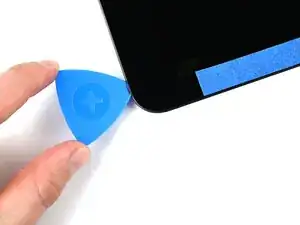
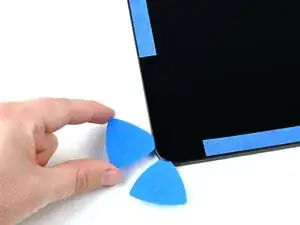
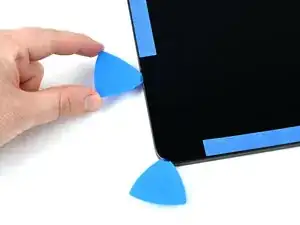
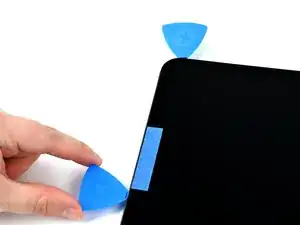
Once the screen lifts, insert a marked opening pick into the gap, no more than 3.5 mm deep.
-
Slide the opening pick around the corner and leave it inserted.
-
-
-
If you don't have an Anti‑Clamp, use a single suction handle instead.
-
Apply the suction handle near the top‑right corner with the open part of the handle facing away from the edge.
-
Hold the iPad down with one hand, away from the suction cup, and pull the suction handle up and towards the center of the iPad.
-
As soon as a small gap appears between the screen and the frame, insert a marked opening pick no more than 3.5 mm into the gap and release tension on the suction cup.
-
Slide the pick gently around the corner and leave it inserted.
-
-
-
Use an iOpener, hair dryer, or heat gun to soften the adhesive under the top edge of the screen.
-
-
-
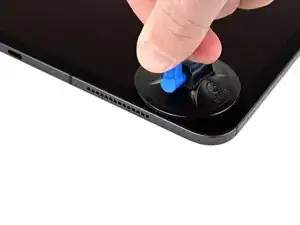
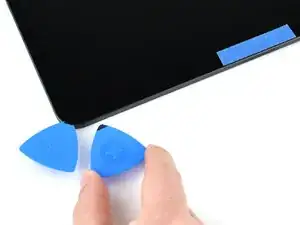
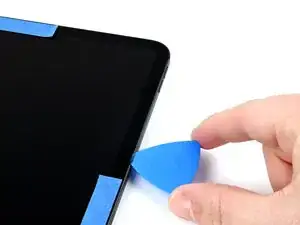
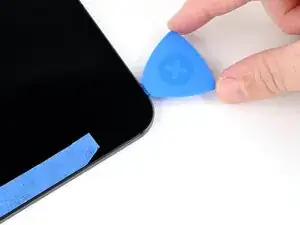
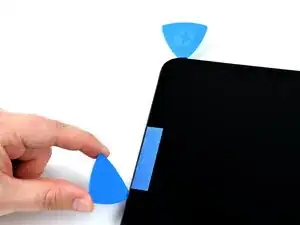
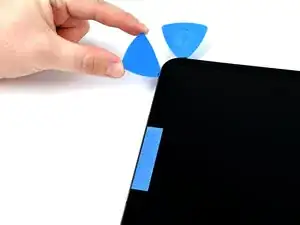
Insert an additional marked opening pick beside the first pick, on the top edge of the iPad, no more than 3.5 mm.
-
Slice the adhesive by slowly sliding the opening pick under the screen towards the front camera, stopping before you get to the masking tape.
-
-
-
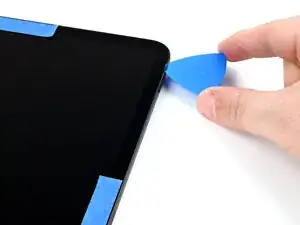
Lift the opening pick so it's at a sharp angle pointing into the iPad.
-
Slice the adhesive by sliding the pick under the taped section of the screen.
-
-
-
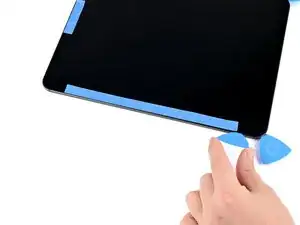
Finish slicing the adhesive by sliding the opening pick to the top-left corner.
-
Leave the opening pick inserted.
-
-
-
Heat the right edge of the iPad.
-
Insert an opening pick beside the first opening pick you inserted, on the right edge.
-
Working in small sections, slice the adhesive, applying more heat as needed.
-
-
-
Heat the bottom-right corner of the iPad.
-
Carefully slide the opening pick from the previous step around the bottom-right corner.
-
Leave the pick inserted.
-
-
-
Heat the bottom edge of the iPad, focusing on the right end.
-
Insert an opening pick beside the pick in the corner, on the bottom edge, no more than 3.5 mm deep.
-
Lift the pick so it enters the iPad at a sharp angle.
-
Carefully slide the pick under the screen across the bottom edge of the iPad.
-
-
-
Heat the bottom-left corner of the iPad.
-
Carefully slide the opening pick around the bottom-left corner.
-
Leave the pick inserted.
-
-
-
Heat the left edge of the iPad, focusing on the bottom end.
-
Insert an opening pick above the pick already inserted near the bottom-left corner.
-
Carefully slide the pick to the beginning of the masking tape.
-
-
-
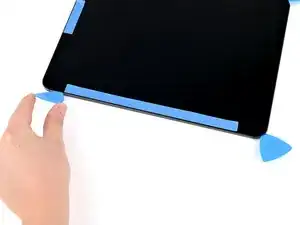
Lift the pick so it enters the iPad at a sharp angle.
-
Slide the opening pick to the top-left corner.
-
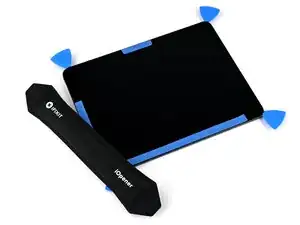
If the screen is still adhered anywhere, use heat and an opening pick to slice the adhesive. Use opening picks to keep the screen lifted while you work.
-
-
-
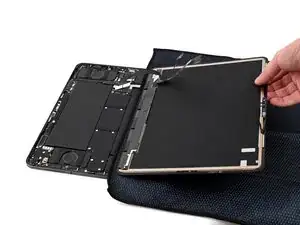
Once the screen is completely free of the adhesive, lift it about a half-inch and rotate it slightly counterclockwise so the screw next to the front camera is visible.
-
-
-
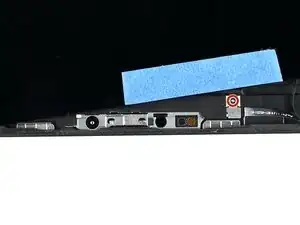
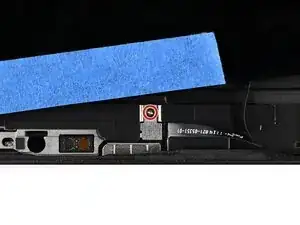
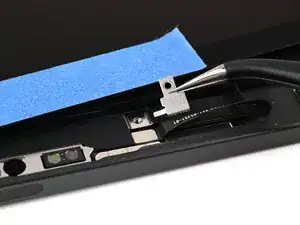
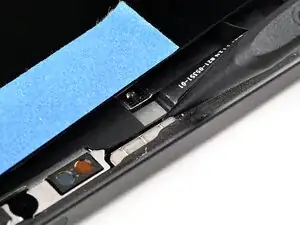
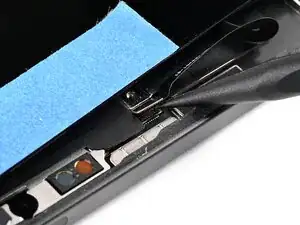
Use a JCIS or JIS 00 screwdriver to remove the 1.3 mm‑long screw securing the microphone connector cover.
-
Use tweezers or your fingers to remove the microphone connector cover. Be careful not to damage the foam on the back.
-
-
-
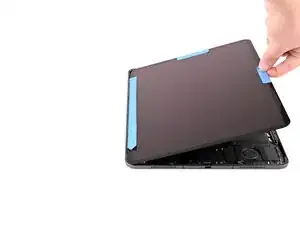
Open the iPad like a book from the top edge.
-
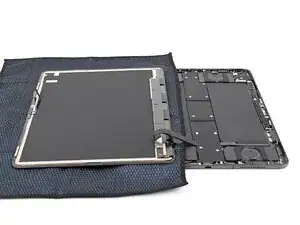
Hold the screen above the iPad body and place a soft cloth on top of the iPad to protect both the screen and the iPad body.
-
Place the screen face-down on the cloth, being careful not to strain the cables still attached to the iPad body.
-
-
-
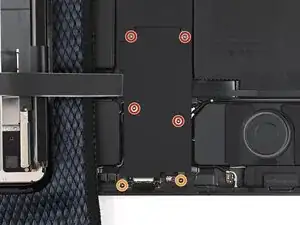
Place cloths over the batteries to protect them while you work.
-
Use a JCIS or JIS 00 screwdriver to remove the screws securing the display connectors cover:
-
Four 2.1 mm‑long screws towards the center of the iPad
-
Two 1.6 mm‑long screws near the edge of the iPad
-
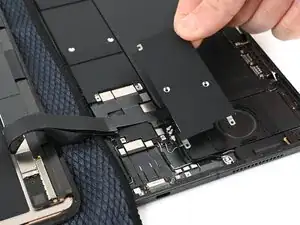
Use tweezers or your fingers to remove the display connectors cover.
-
-
-
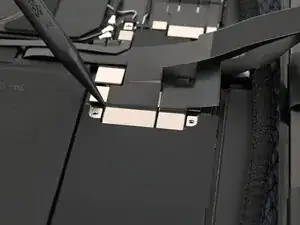
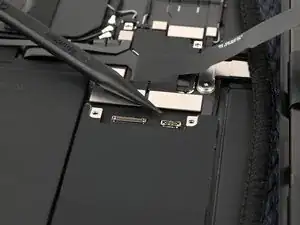
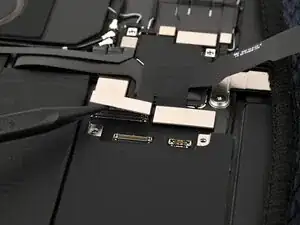
Use the tip of a spudger to pry up and disconnect the wide display cable press connector.
-
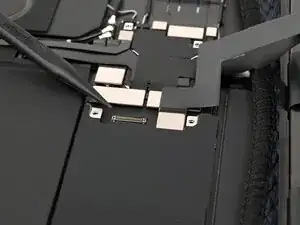
Then, use the tip of a spudger to pry up and disconnect the Multi‑Touch cable press connector.
-
-
-
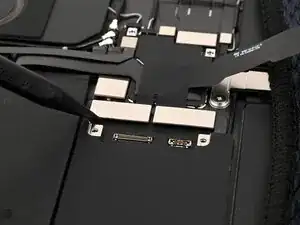
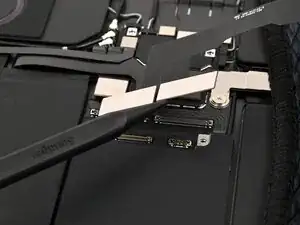
Use the tip of a spudger to pry up and disconnect both of the display power cable press connectors.
-