Introdução
-
-
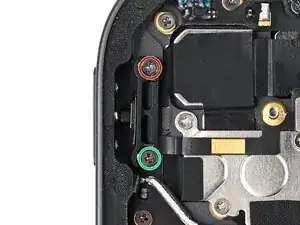
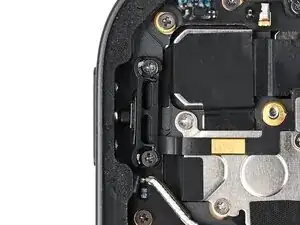
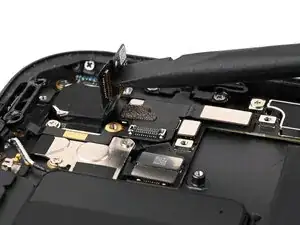
Use a JCIS or JIS 00 screwdriver to remove the two screws securing the lock button and bracket:
-
One 2.0 mm‑long screw securing the top of the bracket.
-
One 2.5 mm‑long screw securing the bottom of the bracket.
-
-
-
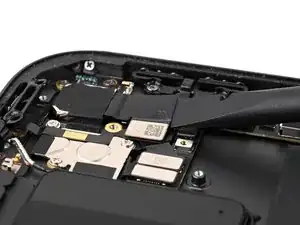
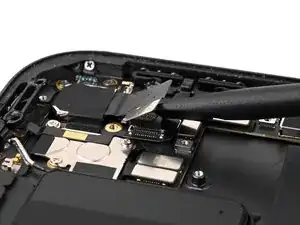
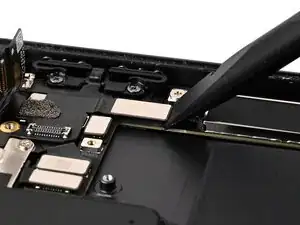
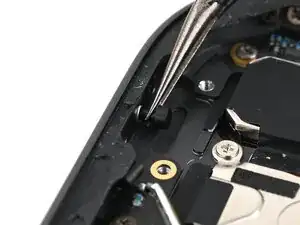
Place the flat end of a spudger between the camera ribbon cable and the top button ribbon cable, against the camera press connector.
-
While holding the top button ribbon cable down with the spudger, twist the spudger to disconnect the rear camera press connector.
-
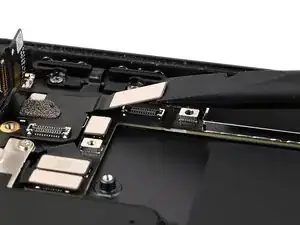
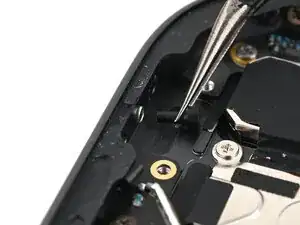
Lift the camera ribbon cable up so it's nearly vertical to keep it out of the way.
-
-
-
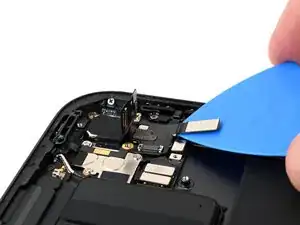
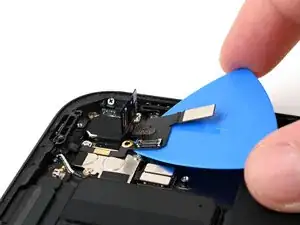
Slide an opening pick under the lock button press connector.
-
While pressing the opening pick up against the lock button ribbon cable, slide the pick under the cable to release the adhesive securing it to the iPad.
-
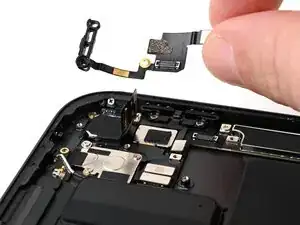
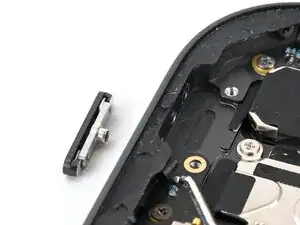
Remove the lock button and bracket.
-
-
-
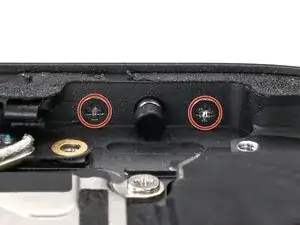
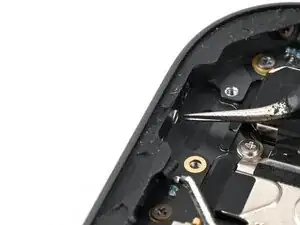
Use a JIS 00 screwdriver to remove the two 1.6 mm‑long screws securing the lock button retaining clip.
-
-
-
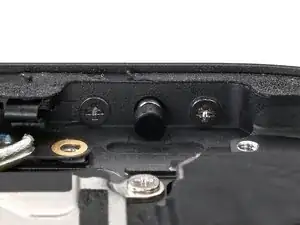
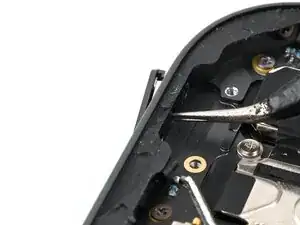
Use a pair of angled tweezers or a spudger to gently push the lock button cap and retaining clip out of the iPad frame.
-