Introdução
-
-
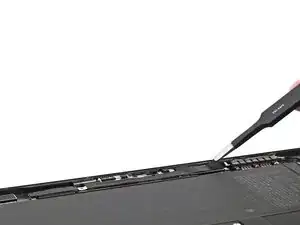
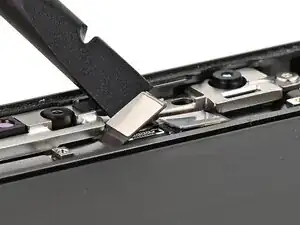
Use a heated iOpener, hair dryer, or heat gun to soften the adhesive securing the long, black rubber cover below the front camera assembly.
-
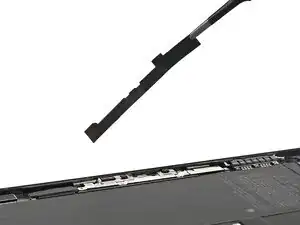
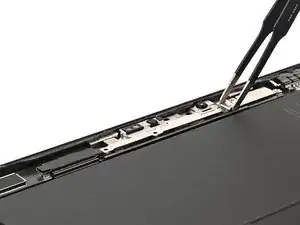
Use tweezers or your fingers to pry up and remove the cover from the right side. Work slowly to avoid tearing it—it'll be reused later.
-
-
-
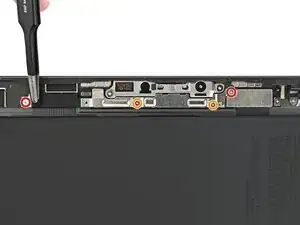
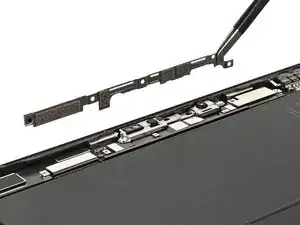
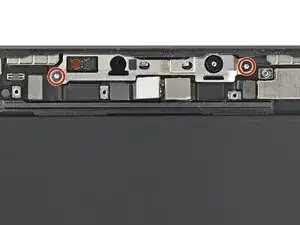
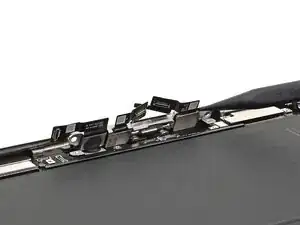
Use a JCIS or JIS 00 screwdriver to remove the four screws securing the front camera bracket:
-
Two 2.0 mm‑long screws on either edge.
-
Two 1.3 mm‑long screws in the center of the bracket.
-
-
-
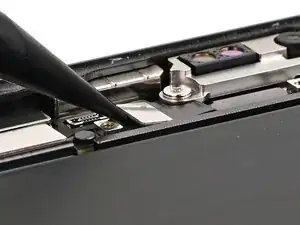
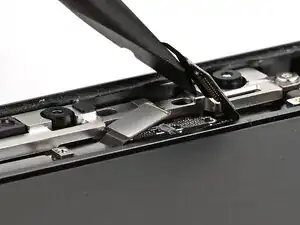
Use the point of a spudger to pry up and disconnect the front camera module's leftmost press connector.
-
-
-
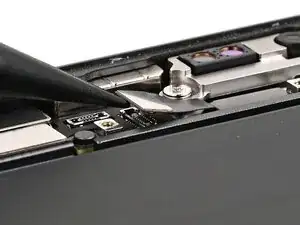
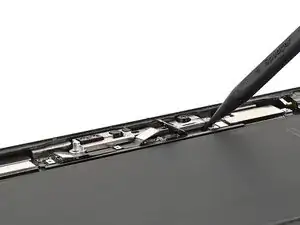
Use the flat end of a spudger to pry up and disconnect the front camera module's two central press connectors. Insert the spudger underneath the top edge of each connector.
-
-
-
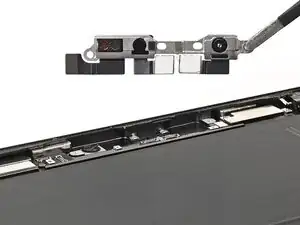
Use a JCIS or JIS 00 screwdriver to remove the two 2.0 mm‑long screws securing the front camera assembly.
-
-
-
Use your fingers or a spudger to pry up and remove the front camera assembly from its right edge.
-