Introdução
-
-
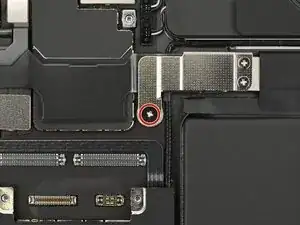
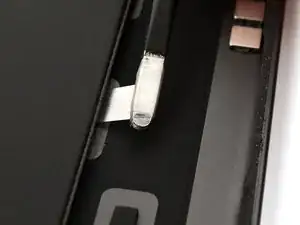
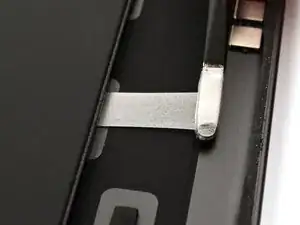
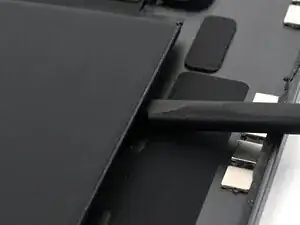
Use a JCIS or JIS 00 screwdriver to remove the 1.6 mm‑long screw securing the battery management system cover.
-
-
-
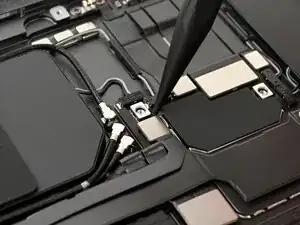
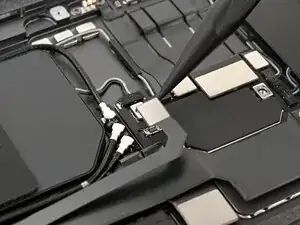
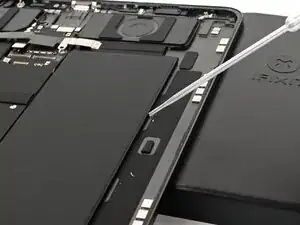
Slide an opening pick between the microphone ribbon cable and the battery to release the microphone ribbon cable from the battery.
-
-
-
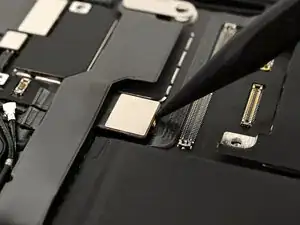
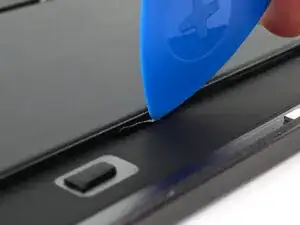
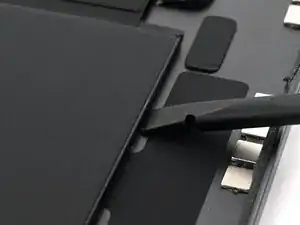
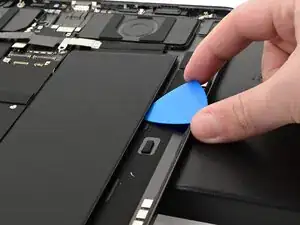
Use an opening pick or other plastic tool to separate the adhesive pull tab from the battery.
-
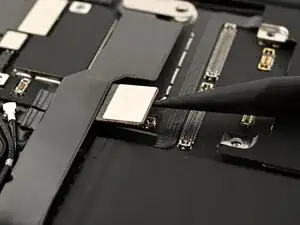
Use a pair of blunt tweezers to grab the adhesive pull tab and pull it away from the battery.
-
-
-
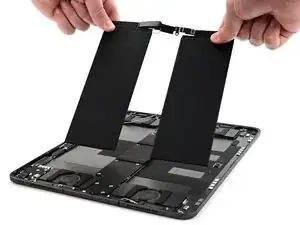
Roll the tweezers to wrap the adhesive around them.
-
Slowly pull the adhesive out, keeping it as close to the iPad as possible without touching it.
-
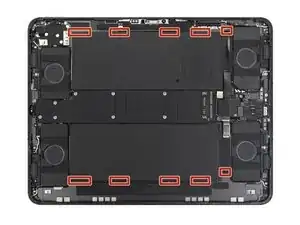
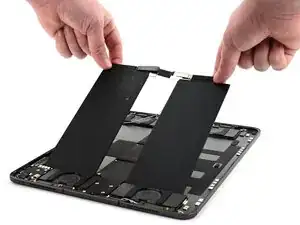
Repeat this procedure for all ten adhesive strips.
-
-
-
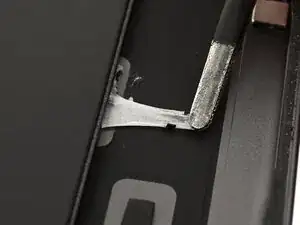
If a pull tab breaks, first try to retrieve the adhesive under the battery with your tweezers.
-
If you can't retrieve the broken adhesive, first remove as many other adhesive strips as possible.
-
Then try inserting the flat end of a spudger under the battery, about 3 inches or more from either end, to slowly pry it up.
-
-
-
Prop up the edge of the iPad closest to the edge of battery you're working on.
-
Apply a few drops of high-concentration (>90%) isopropyl alcohol to the iPad frame near the broken adhesive strip so the alcohol runs under the battery.
-
Wait at least one minute for the alcohol to dissolve the adhesive.
-
Use a spudger or opening pick to gently pry up the battery.
-
If the battery starts to bend at all, stop and apply more alcohol. Give the alcohol time to dissolve the adhesive.
-