Introdução

  1. Vrt3hgsJvIJawa13
    Vrt3hgsJvIJawa13
    HdQeV6MlDAo2KD1u
    • Use high-concentration isopropyl alcohol (>90%) and a microfiber or lint-free cloth to clean any adhesive residue from the iPad frame.

    • Alternatively, use our adhesive cleanup kit.

  2. FSvvZAGRHmbEObIW
    FSvvZAGRHmbEObIW
    SnooZNNa1xP3HHaM
    • Reposition the microphone cable so it's entirely outside of the iPad frame.

  3. iUYjrGQOG4M2SByB
    iUYjrGQOG4M2SByB
    PrpfTfmXF3s4cxut
    u3ePHs2lsPTJaGQM
    • Your new battery should come with adhesive pre-applied. It might also come with a protective casing attached to it, as pictured. In this step, make sure you're only removing the film covering the battery adhesive.

    • Peel the clear film off of the battery adhesive.

  4. CsNERhPSPLOrgEGi
    CsNERhPSPLOrgEGi
    NevADgQ5jyqCLfo2
    5b3uDUgfiX4wSyBf
    • The battery adhesive is very sticky! Be careful as you align the battery in its recess—once it sticks, you won't be able to realign it.

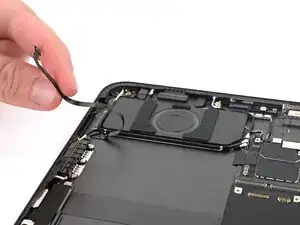
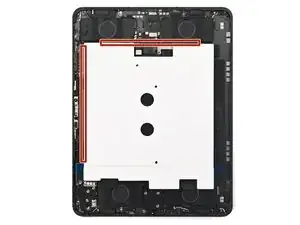
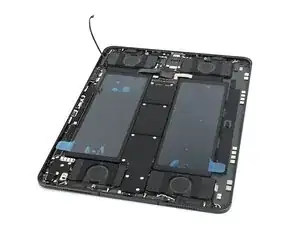
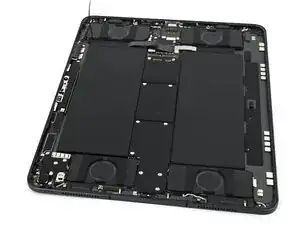
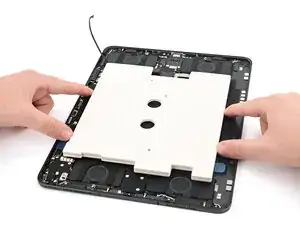
    • Align the battery over the iPad, making sure the battery connector is over its socket. The battery should be aligned against the front camera and the speakers closest to the USB-C port.

    • Lower the battery into the iPad frame.

  5. hNDYWFaGQAcpKuJi
    hNDYWFaGQAcpKuJi
    TJNRaSFWSF6MXuI4
    • Use the flat end of a spudger or your finger to connect the battery press connector.

  6. KesxqXGNSUJECYRF
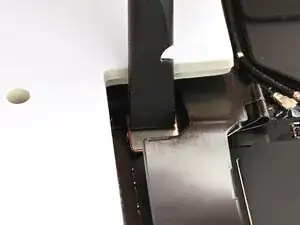
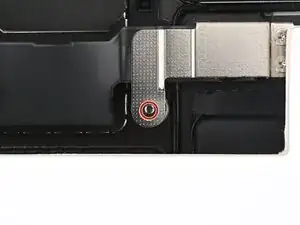
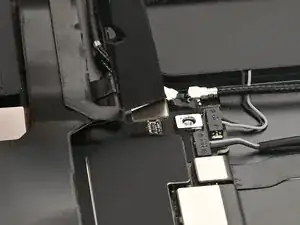
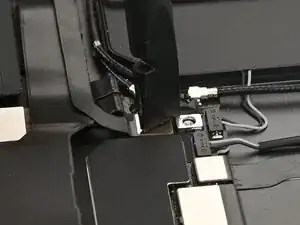
    • Use a JCIS or JIS 00 screwdriver to install the 1.6 mm‑long screw securing the battery management system cover.

  7. nYnc1aAAjYyQc4YH
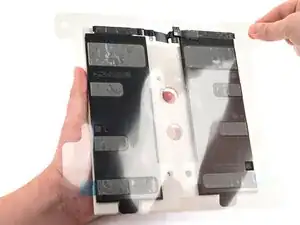
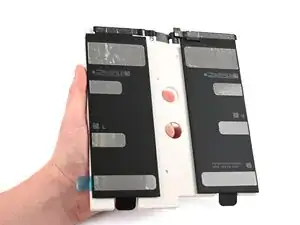
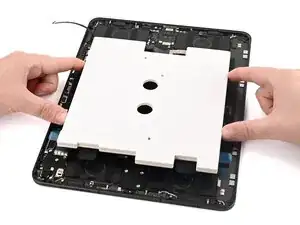
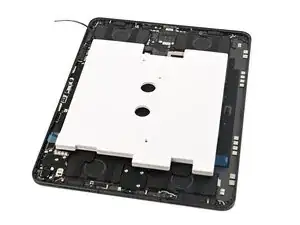
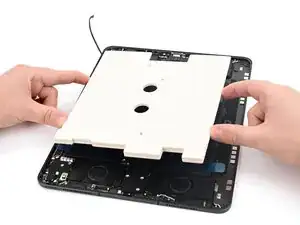
    • Place a few heavy objects on the protective battery cover. Distribute the weight evenly across the battery.

    • Be sure that nothing is pressing directly on the battery management system.

    • Leave the items on for an hour to help the adhesive bond to the iPad.

  8. JgbJb2k6pvwBBMQc
    JgbJb2k6pvwBBMQc
    d4woNKYcJ4EjOBIj
    5xCffLduOuNob2PM
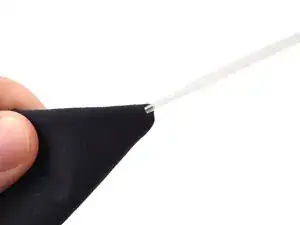
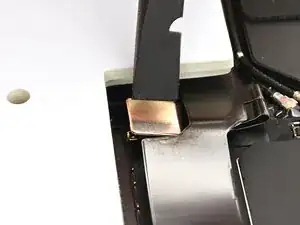
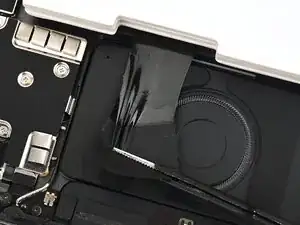
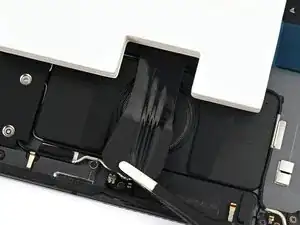
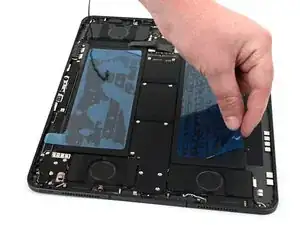
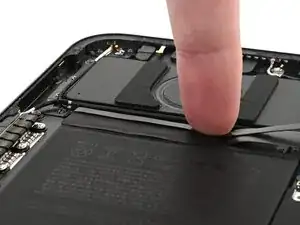
    • Use a pair of tweezers or your fingers to grip one of the black pull tabs between the protective cover and the battery.

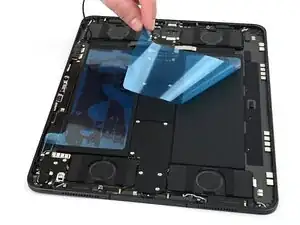
    • Slowly pull the adhesive out from under the protective cover, keeping it as flat as possible.

    • Repeat this procedure for the other adhesive strip.

  9. QeHxMZ42hDkcLlZl
    QeHxMZ42hDkcLlZl
    tKQy5mXcV1xW6Dmy
    Sc2RF3W63DImpkXD
    • Use your fingers to lift and remove the protective cover.

  10. ojIrtHVANTEVw5mH
    ojIrtHVANTEVw5mH
    mCQirNZSlWfWgV1C
    FxMyGp3JEHfyVJ1W
    • Peel the blue film off of each battery cell to remove it.

  11. 6rB6aYLpjXQG1NMs
    6rB6aYLpjXQG1NMs
    tSGhSvLacEIjZFp2
    • Use your fingers to place the microphone cable across the battery and press it into place.

  12. ILXnN51a1FxZdMnh
    ILXnN51a1FxZdMnh
    SN5LgVfTTPgdPleF
    • Use the flat end of a spudger or your finger to connect the microphone press connector.

Nick Schultz

Membro desde: 24/03/24

45909 Reputação

0 comentários