Introdução
Having a hard time moving your joystick? This guide will teach you how to safely remove and replace the joystick on the Zelote vertical mouse C-18.
The joystick controls directional input and may stop functioning due to dust buildup, internal connection issues, and extended use. Replacing it can help restore accurate movement and responsiveness.
Be careful and take care when handling internal components, joystick connectors, and ribbon cables are fragile and can be easily damaged if twisted or pulled.
Before beginning, unplug the mouse from your computer and work on a clean and static-free surface.
Ferramentas
Peças
-
-
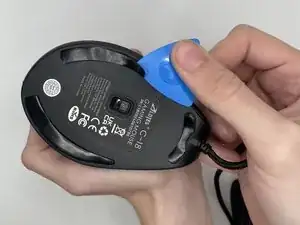
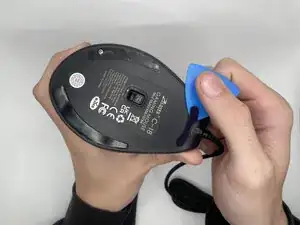
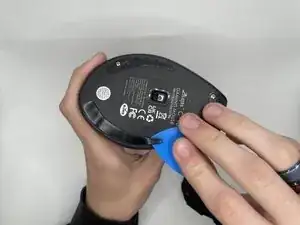
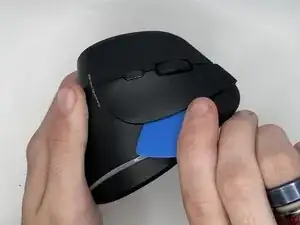
Use an opening pick to gently pry off the mouse feet and stickers on the bottom of the mouse to expose four hidden screws.
-
-
-
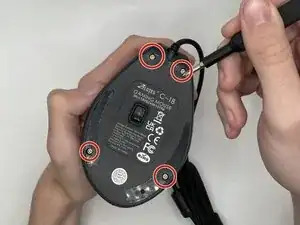
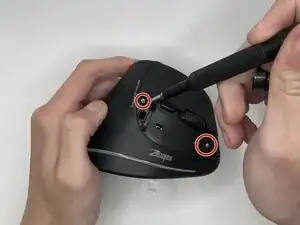
Using a Phillips #0 screwdriver to remove the four 9 mm-long screws on the bottom of the mouse.
-
-
-
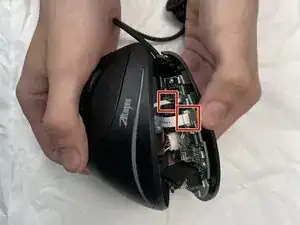
Using a spudger, carefully lift the locking tab by gently alternating pressure on each side until it’s in the unlocked position
-
Detach the ribbon cables by gently pulling them straight (perpendicularly) away from the motherboard.
-
-
-
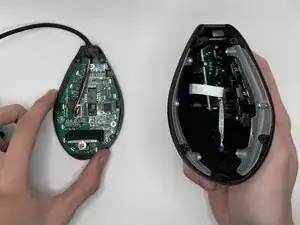
After lifting the top casing, remove the right mouse button.
-
Remove the two 9 mm-long Phillips screws to separate the parts.
-
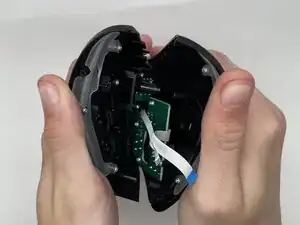
Separate the halves by grabbing the device in both hands, bottom facing up, and clips near you, then open.
-
-
-
Locate the joystick module and inspect how it is attached before applying any force.
-
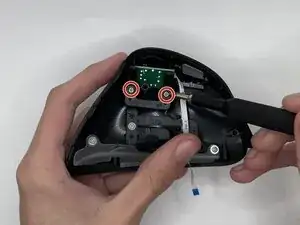
Unscrew the plastic bracket securing the joystick to the right side of the top casing using the size Phillips #0 screwdriver to take out the two 7 mm-long screws.
-

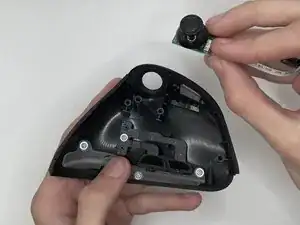
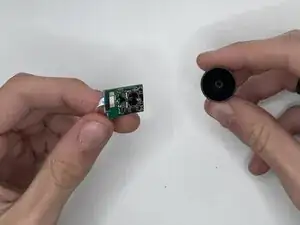
You should now have a working Joystick.