Introdução
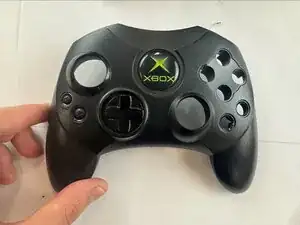
If your Xbox Controller S cable isn't working, use this guide to replace the cable. The cable is what allows the controller to be connected to the console. Steps 4 and 5 require you to use a soldering iron. This video link will be helpful for your device repair
-
-
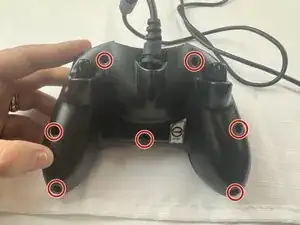
Remove the seven 9.4 mm screws on the back of the controller using a Phillips #00 screwdriver.
-
-
-
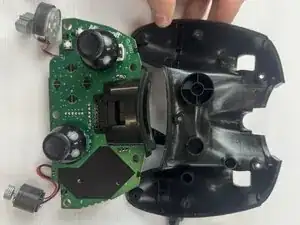
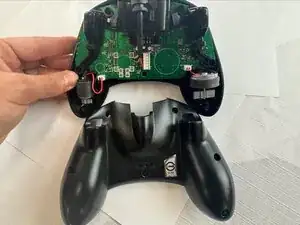
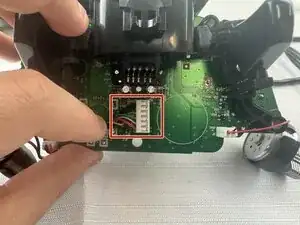
Pop the circuit board out of the rear housing to access the cord.
-
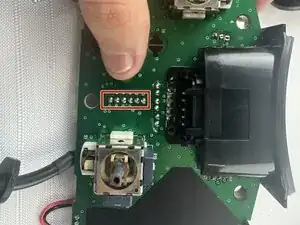
Note the order of the wires that are connected from the cable to the circuit board. These wires will need to be put back in the same configuration.
-
-
-
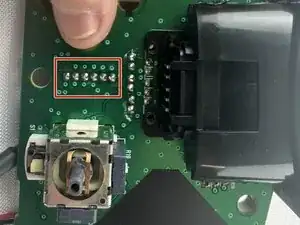
Desolder the connector points from the opposite side of the board. Go back and push down on all the pins to push them out of the holes.
-
If it doesn't come loose, reheat and remove some additional solder from the points on the board.
-
Clean up the area when you are done with some 99% IPA (isopropyl alcohol).
-
-
-
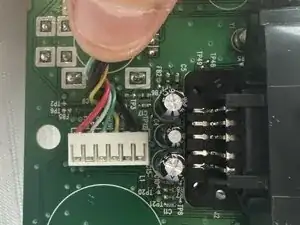
Insert the pins of the new cable into the existing hole.
-
Add solder to the connection points on the opposite side of the circuit board.
-
To reassemble your device, follow these instructions in reverse order.