Introdução
This guide will help you to replace your motherboard. For this replacement, You will need the tool #PH0 and tweezers.
-
-
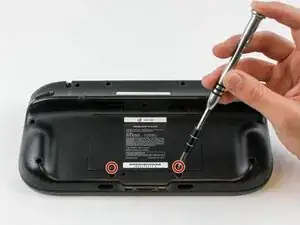
Place Gamepad face down and remove the two 4.7 mm screws with a Phillips size #00 screwdriver.
-
-
-
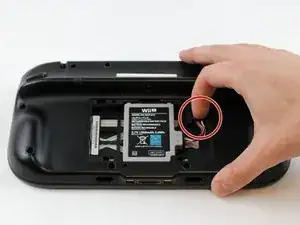
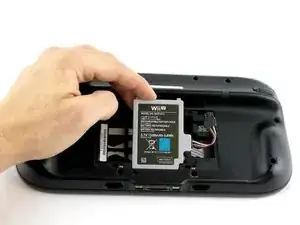
With your finger, press down and pull back on the battery connector plug.
-
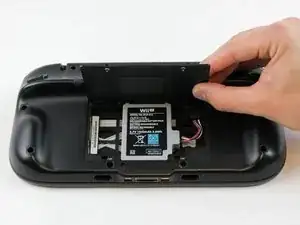
Remove the battery from the battery case.
-
-
-
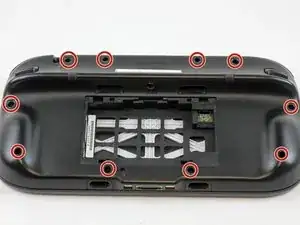
Remove 10 9mm screws with Tri-Wing size Y1 screwdriver around the outer case.
-
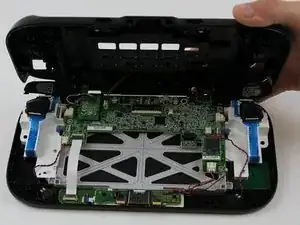
Lift up on the back of case.
-
-
-
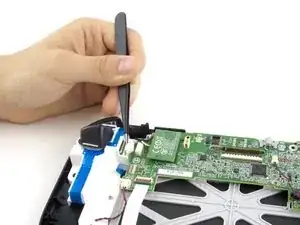
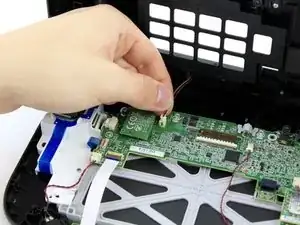
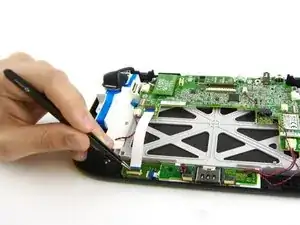
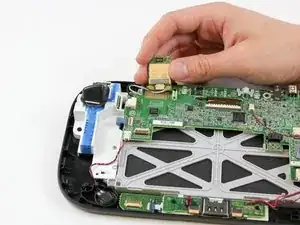
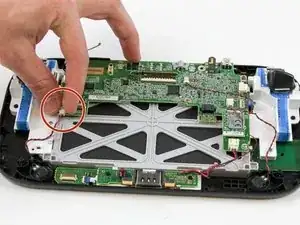
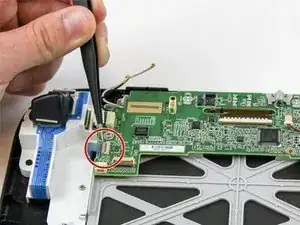
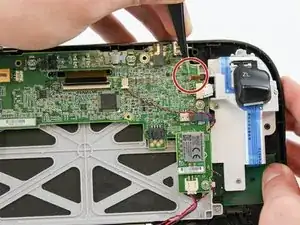
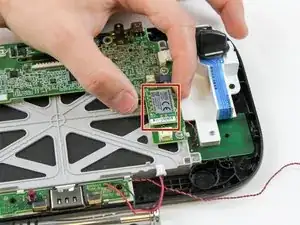
Carefully lift the black clasp. It is prone to breaking if only lifted from one point. Remove the brown ribbon by using the tweezers.
-
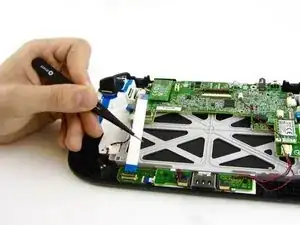
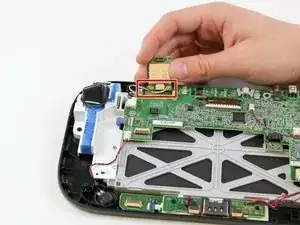
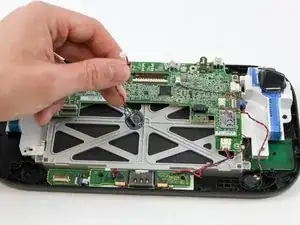
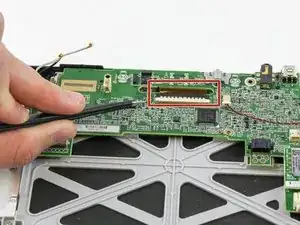
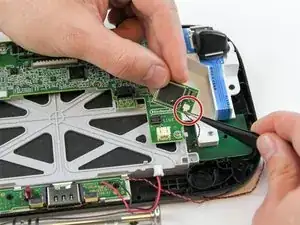
Unclasp and release the small digitizer ribbon cable to the left of the brown ribbon.
-
-
-
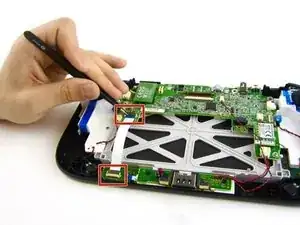
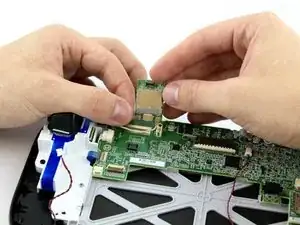
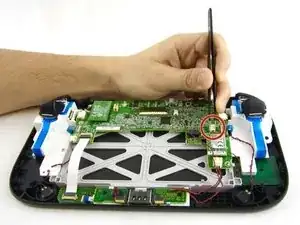
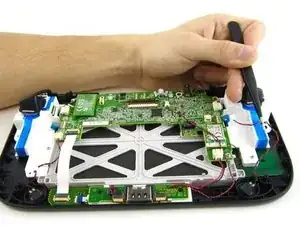
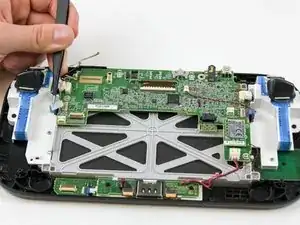
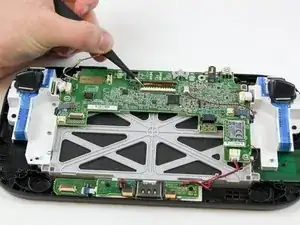
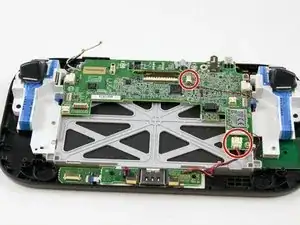
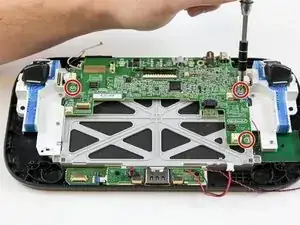
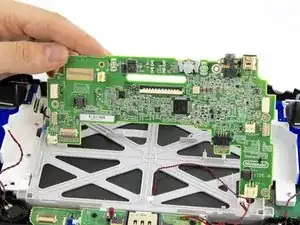
Remove the remaining three 5.1 mm screws using the Phillips size #0 screwdriver.
-
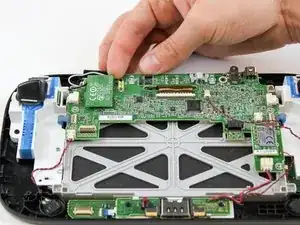
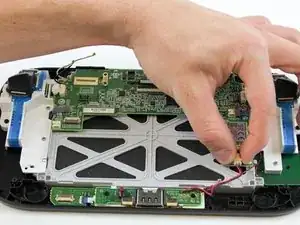
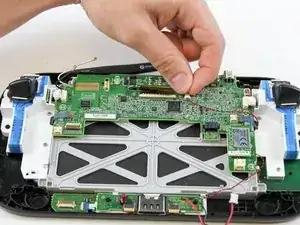
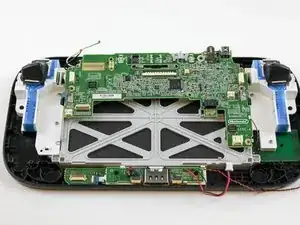
Lift and remove the mother board.
-


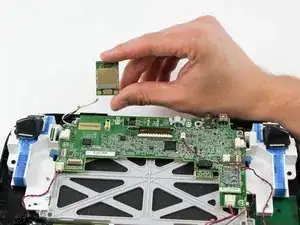
To reassemble your device, follow these instructions in reverse order.
3 comentários
i need help with the tiny clasp for the touch glass ribbon. the tiny grey clasp snapped off and now the ribbon will not stay in, so i can't use the touch screen, if there a way to secure that tiny ribbon to the contact?
Roxanne -
How can i see what version off motherboard i need to buy to replace it
I got 30X52504 as number on the board
"This guide is retained solely for historical purposes. Use the updated version of the guide to perform your repair." ok cool, but where
tried to unscrew the 10 Tri-Wing size Y1 screw with my iFixIt toolkit
unfortunately the tool is too “fat” and short, it cannot reach 4 screws on the corners of the gamepad.
having the iFixIt toolkit and needing to purchase an additional slim screwdriver it’s a shame…
AJtriple -