Introdução

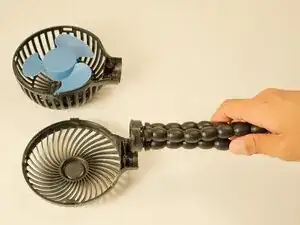
This guide will walk you through how to repair or replace a tripod leg(s) of a portable electric fan (Manufacturer: Wihoo; Model Number: SF01). Within this process are 11 simple steps to follow to disassemble the fan, replace the leg, and reassemble it. The replacement of a tripod leg will allow the fan to stand on its own and enable the user to manipulate the angle of which the fan's generated wind blows.

  1. fONsgG62Q3W3nb5V
    • To avoid accidentally turning on the fan, make sure to take all batteries out of the device before starting this process.

  2. QgJkogBvygKIUe3x
    • Place the fan on a stable table and unscrew the back frame with a screw driver.

    • If the screws are very tight, apply steady downward pressure and gently wiggle the screwdriver as you turn to avoid stripping them.

  3. sXrjhoXcCUgWQoWe
    sXrjhoXcCUgWQoWe
    QUMDcMBRnSOUFYVv
    Qb1Bj1i1OEHWvaZo
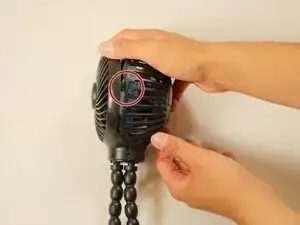
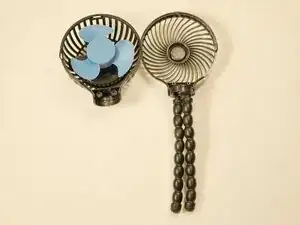
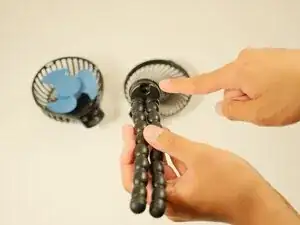
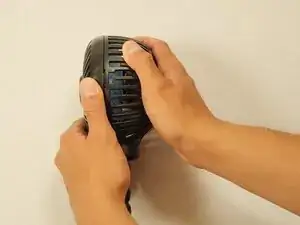
    • Flip the fan over and detach the front frame so that the tripod base is able to be removed.

    • Frames can be detached by unclipping the sides with a little force.

    • If needed, a spudger can help to detach the tabs.

  4. WWAM36UaHH2DillP
    • Find the top portion of the base and unscrew all three screws.

    • If the screws are very tight, apply steady downward pressure and gently wiggle the screwdriver as you turn to avoid stripping them.

  5. Omw1cvbqSQXjnD24
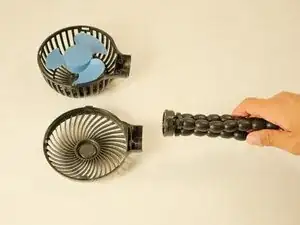
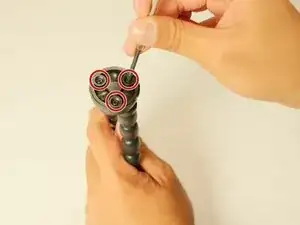
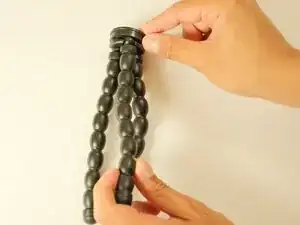
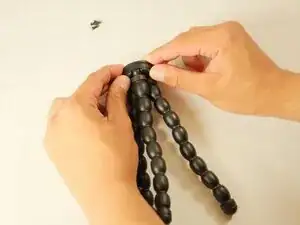
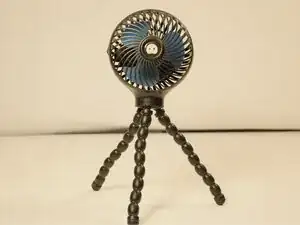
    • Remove the plastic cover that is on the bottom of the base holding the tripod legs in place.

    • The cover does not have to be completely removed, just enough to fit the base of the tripod leg into its spot.

  6. POrUBSHWEiBSNTy6
    • Insert the replacement tripod leg into its respective spot.

    • You may hear a small click which means it has been snapped into place.

  7. UT62nOhnTh2pumpd
    • Replace the plastic covering so that all the legs can stay in place again.

    • This may involve bending the legs around to get a better angle.

    • Make sure to move your fingers out of the way so they are not pinched in between the cover and base when closing it.

  8. jvHaZeUPIR4dcKac
    • Replace the screws into the top of the base and screw them completely back.

  9. YYQDeT1yNtwsKRvW
    • Fit the tripod legs/base back onto the frame.

  10. 1Y5u5ZOuBiWs2xLK
    • Snap the front frame on top of the back frame.

    • Make sure all sides are secure.

    • You should hear a click into place for each tab.

  11. o6he5ofVQKhUrDVS
    o6he5ofVQKhUrDVS
    RehCq5VOaIO1kZGa
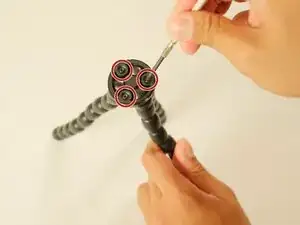
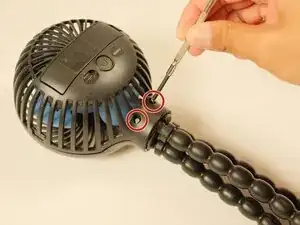
    • Finally replace both screws on the back frame and use a screwdriver to properly screw them in so that the frame stays firmly in place.

    • Left for loose | Right for tight

Lauren Calderon

Membro desde: 12/05/25

193 Reputação

0 comentários