Introdução
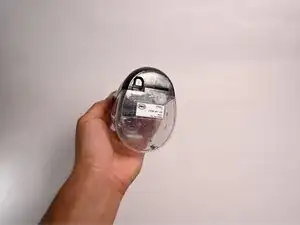
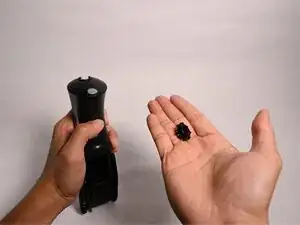
This is a guide on how to replace the battery of a WP-450 WaterPik electronic water flosser.
If your WP-450 WaterPik electronic water flosser has lost its ability to hold a charge or cannot power on entirely, it most likely has a faulty or dead battery.
The WP-450 WaterPik is powered by a rechargeable NiMH battery. Over time, this battery will gradually lose capacity and discharge at a faster rate, meaning it will die much quicker. If you notice that your water flosser is losing charge much quicker or is entirely non-functioning while unplugged, you should replace your battery.
Make sure to power down your device before you begin.
Please note that this repair guide will require knowledge of soldering in step 9. The battery of the WP-450 WaterPik water flosser provides power to the device allowing water to shoot out the nozzle.
Ferramentas
-
-
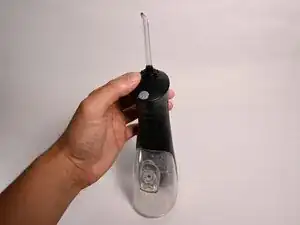
Press and hold down the grey button to release the water nozzle.
-
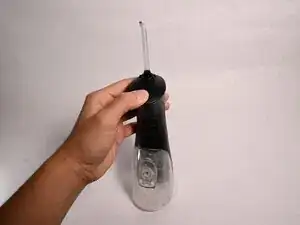
Gently pull the water nozzle up to remove.
-
-
-
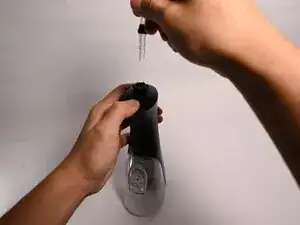
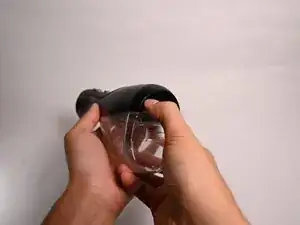
Push down on the release tab for the water tank and gently pull to remove from the main body.
-
-
-
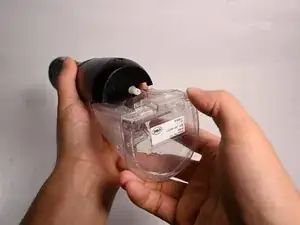
Insert a spudger between the nozzle cap and the main body of the flosser.
-
Leverage the spudger to carefully separate the nozzle cap from the body.
-
-
-
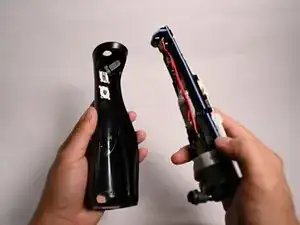
Press the charge port on the bottom of the water flosser to push the upper part out.
-
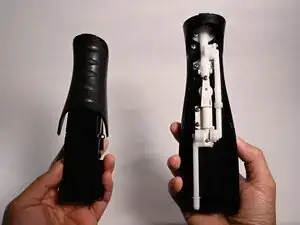
As you hold the charge port, loosen and take off the cover of the water flosser.
-
-
-
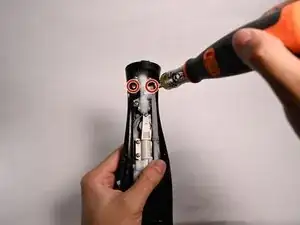
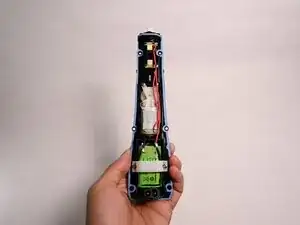
Remove the two screws on top of the exposed mechanism of the water flosser using a Phillips #2 screwdriver.
-
-
-
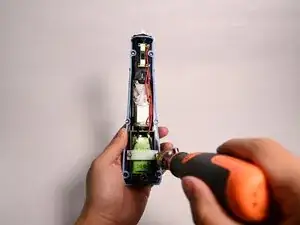
Remove the screws using a Phillips #2 screwdriver.
-
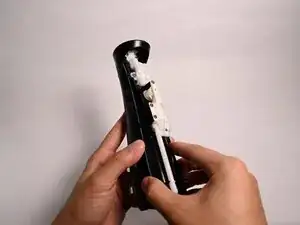
Remove the white plastic cover to get access to the battery.
-
-
-
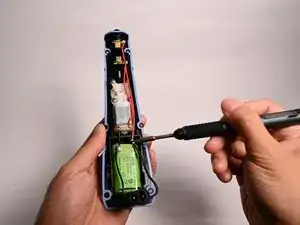
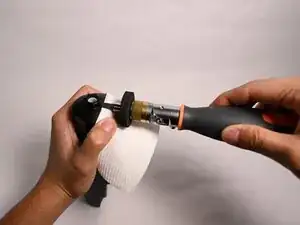
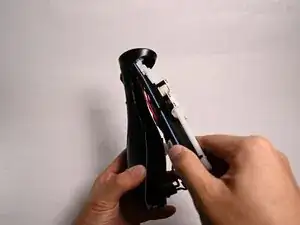
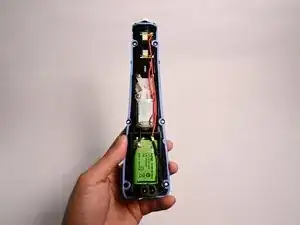
Use a soldering iron to melt the solder at the positive and negative terminals of the battery, and remove the battery.
-
A soldering guide can be found here: FixHub Soldering Iron User Guide
-


To reassemble your device, follow these instructions in reverse order.