Introdução

Follow this guide if you need to replace the action buttons for your Turtle Beach Recon Cloud controller. The action buttons are used for input to the motherboard of the controller. This is a useful guide if the action buttons have been damaged or are stuck.

  1. BwprvVFvXjWIWPFq
    BwprvVFvXjWIWPFq
    AUUFLVtgVbXkHA5O
    • Use a Phillips #00 screwdriver to remove 7 screws from the back casing.

    • The 2 inner screws are hidden under the Turtle Beach sticker.

    • The two screws at the bottom of the grips are countersunk, so you may need a 1/4" extender if your driver doesn’t fit.

  2. HqiUpcnCN616ZmUx
    HqiUpcnCN616ZmUx
    RVZLttXX2C4skBHQ
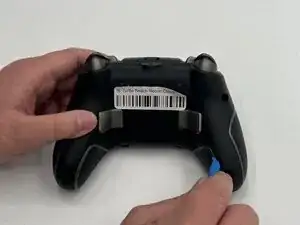
    • Use the iFixit opening tool to wedge it between the inner grip and the casing to pry it off.

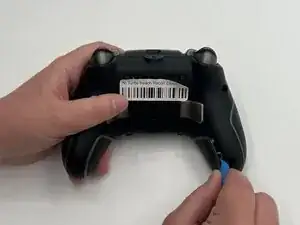
    • Do the same to the other inner grip.

    • Do not take off the outer grips as they have wiring attached to them.

  3. ItLwLVlwCHbWZFCt
    ItLwLVlwCHbWZFCt
    M3yTlEf1mbnbKLOi
    • Lift off the back casing.

  4. NedGiHesCHUeyjqe
    NedGiHesCHUeyjqe
    mhcJdLpZtY4CA1dh
    QZI64yQdIFJT1CQl
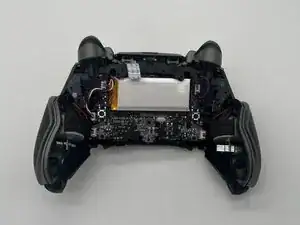
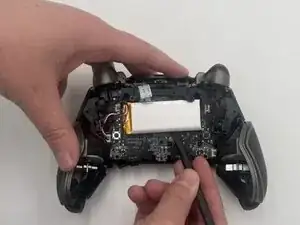
    • Insert a spudger between the controller and the battery pack.

    • Use the spudger to loosen the battery from the motherboard.

    • Gently lift the battery pack until just out so as to not pull on the wire attached.

  5. 3QAt3Byn54HeiEgy
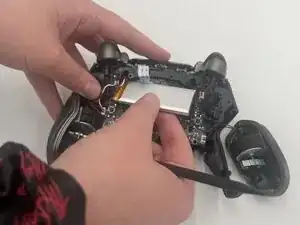
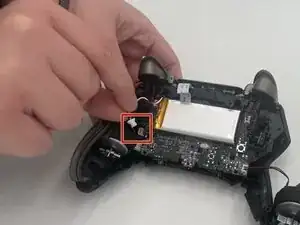
    • Use the point of a spudger to push on alternating sides of the battery connector to "walk" it out of its socket.

    • It may take a lot of alternating before the connector comes out.

    • If that doesn't work, use a pair of tweezers to firmly grip the sides of the connector and pull straight away from the socket. Hold the tweezers closer to the connector to get a better grip.

    • Don't pull on the wires as this can potentially damage the socket and device.

  6. guCd2dJCDXN2VaJa
    • Use a Phillips #00 screwdriver to remove the four screws securing the board.

  7. VUGho4Sc3d2MfrCp
    VUGho4Sc3d2MfrCp
    lmrSWGDMNIV2ocFS
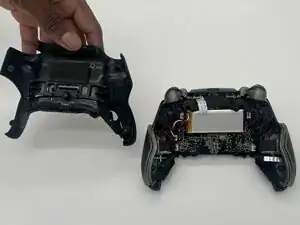
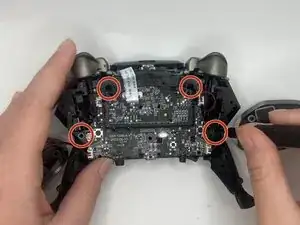
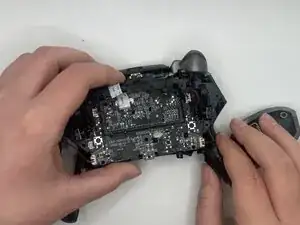
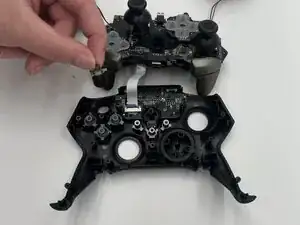
    • Lift out the motherboard at an angle to detach it from the clips securing it to the case.

    • Don't lift the motherboard roughly or pull on it. There is a ribbon cable attached to the motherboard and front case.

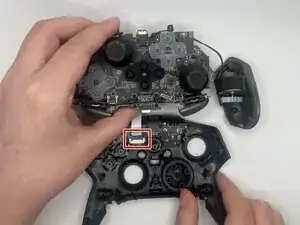
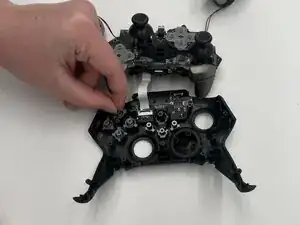
    • Use a spudger or a clean fingernail to flip up the locking flap of the ZIF connector—this is the unlocked position.

    • Use tweezers or your fingers to gently pull the cable out of its socket.

  8. FvVOlaIOCVorUNZC
    FvVOlaIOCVorUNZC
    RkyAiCKkvFTcaLVW
    • Lift out the action buttons from the front casing.

    • Once the front casing isn't connected to the motherboard, the action buttons should come out easily or fall out.

Conclusão

To reassemble your device, follow these instructions in reverse order. Take your e-waste to an R2 or e-Stewards certified recycler.

Alyssa Davis

Membro desde: 12/09/25

521 Reputação

0 comentários