Introdução
Use this guide to replace a programmable thermostat on a single-stage reversible heat pump system. The heat pump used in this repair is by Trane US Inc.
A thermostat communicates with your HVAC controlling when it turns on, how long it runs, and when it shuts off. A faulty thermostat may lose power and display nothing (as if the power went out) or may malfunction erratically. Before using this guide, ensure the thermostat does not simply need a battery change and that a faulty breaker is not cutting power to your HVAC and thermostat. Test the system a few times with the breaker and new batteries to confirm that the thermostat is the issue.
In this replacement process will include confirming compatibility, shutting off power, removing the old thermostat, wiring the new wallplate, and reinstalling the faceplate.
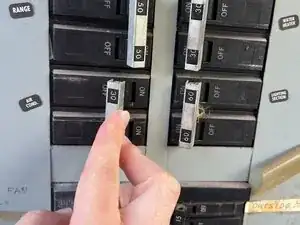
Because you will be working with electrical wiring, you will need to shut off the power to your thermostat before removing the thermostat. Failure to do so could result in an electric shock.
Ferramentas
Peças
-
-
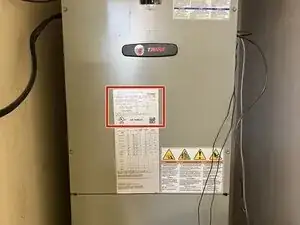
Before you begin, make sure that your HVAC is a Single-Stage Reversible Heat Pump.
-
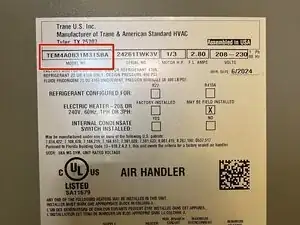
If you are unsure, locate the model number on your indoor unit and look it up online.
-
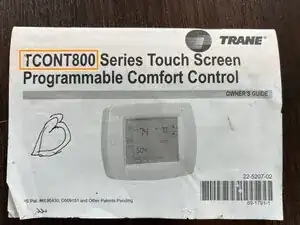
Confirm you have a compatible replacement thermostat.
-
Check the thermostat’s series number, which can be found in your owner’s manual or guide.
-
-
-
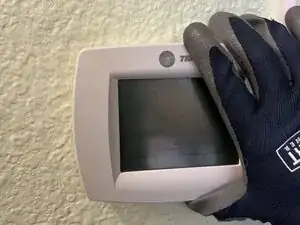
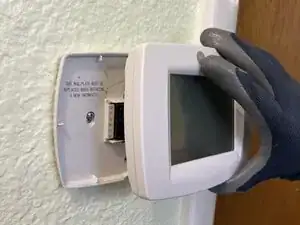
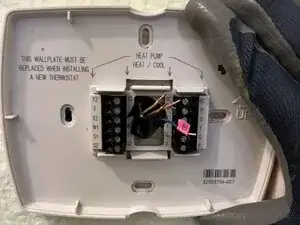
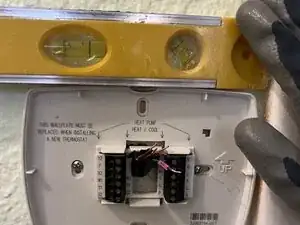
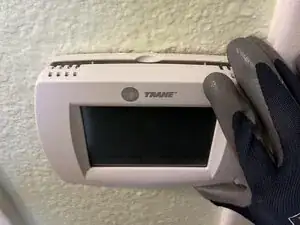
Remove the faceplate (screen plate), by gently pulling straight out, as shown, to access the wallplate.
-
-
-
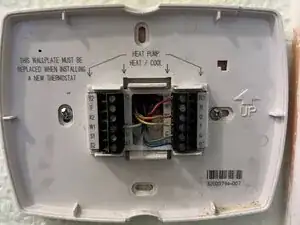
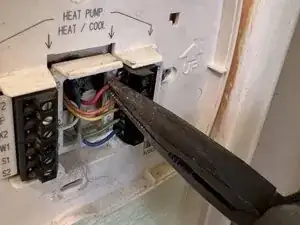
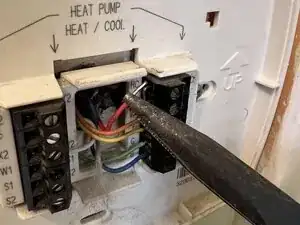
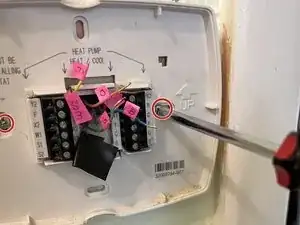
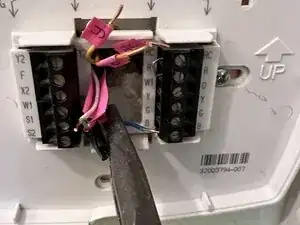
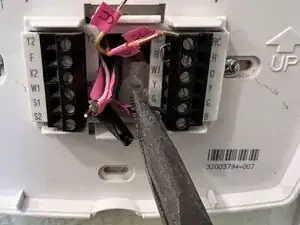
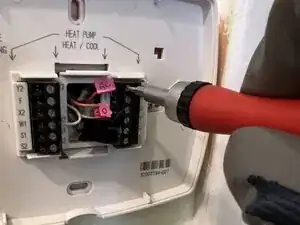
Use needle-nose pliers to gently remove the wires.
-
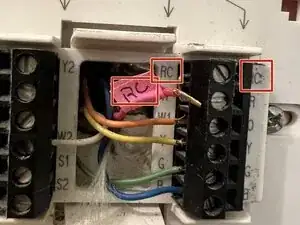
Label the wires according to the terminal you pulled them from.
-
-
-
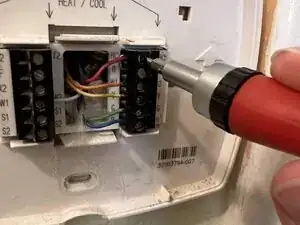
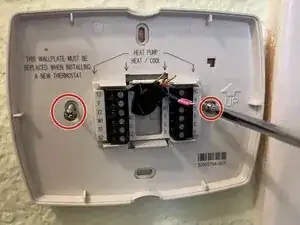
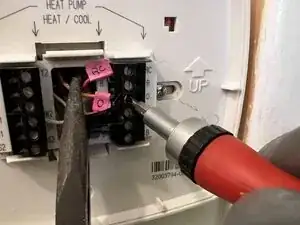
Use a Phillips #2 screwdriver to remove the two screws that secure the wall plate.
-
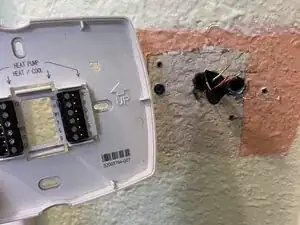
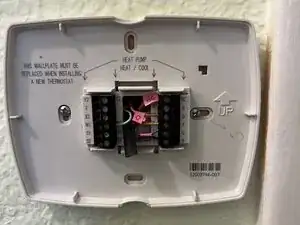
Gently pull the wall plate straight off the wall.
-
-
-
Position the new wall plate against the wall.
-
Use a level to adjust the wall plate until it is even.
-
-
-
Use a Phillips #2 screwdriver to secure the screws and attach the new wall plate to the wall.
-
Use a level to ensure the wall plate is still even.
-
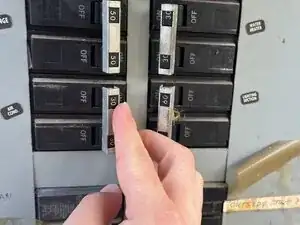


Congratulations, you have completed replacing your thermostat. Now you may turn the breakers to your HVAC back on and program your new thermostat as desired.