Introdução
-
-
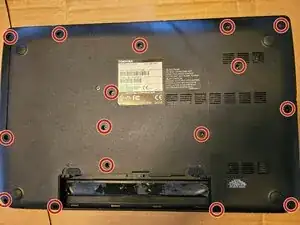
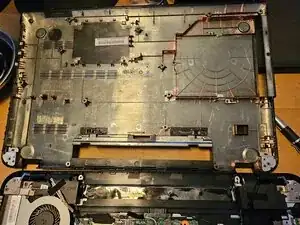
Remove the 16 screws holding the back cover. The screws are all the same length.
-
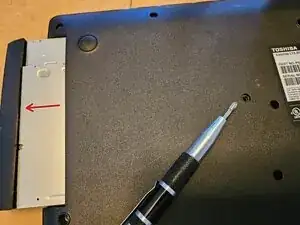
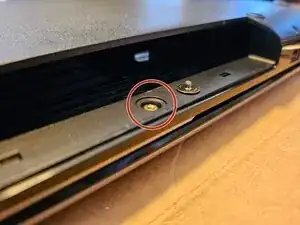
Remove cover screw that was blocked by optical drive. This screw is a different size.
-
-
-
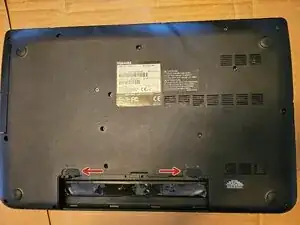
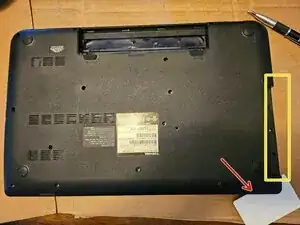
Insert the spudger (can use old credit card, ID card, etc.) between seam of the cover.
-
This may be easiest to do near the optical drive.
-
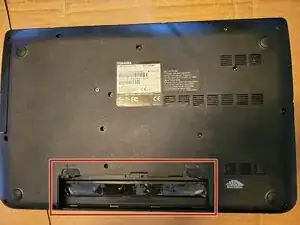
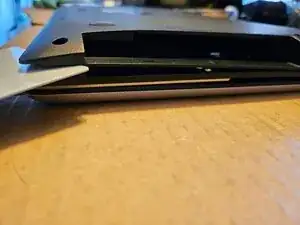
Use the spudger and your fingers to separate the cover around the entire bottom of the laptop, eventually the cover will be free.
-
-
-
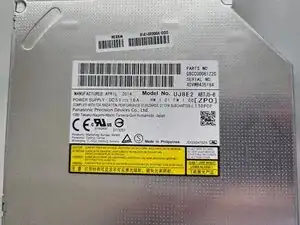
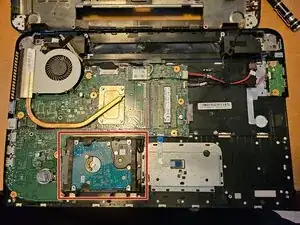
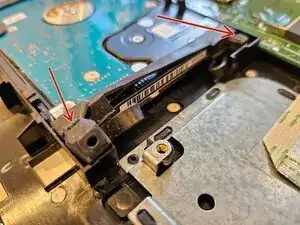
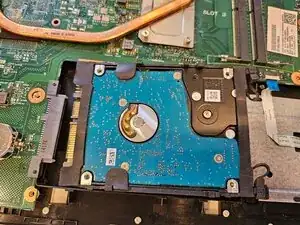
The drive uses a SATA connector.
-
The drive is kept in place by rubber. There are no screws.
-
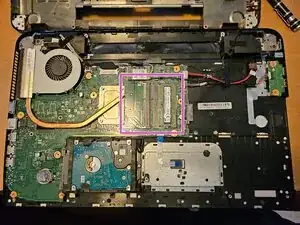
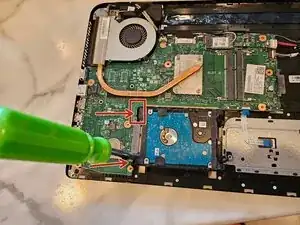
The purple box shows the location of the two RAM slots. DDR3L 1600MHz. Maximum of 16 GB.
-
-
-
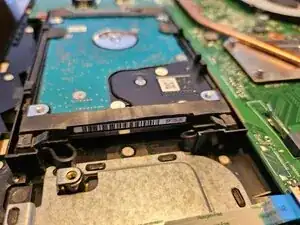
Carefully lift up a rubber blocks; the rubber may be old and where it attaches is thinner. This will give you room to slide the drive.
-
Insert a flathead screwdriver in the gap and slide the drive away from the connector. Do this on both sides.
-
-
-
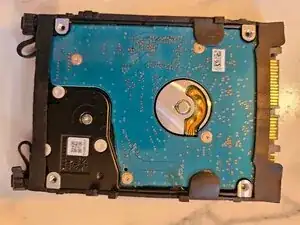
The drive has a rubber case that can be removed and re-used and installed on a replacement drive.
-
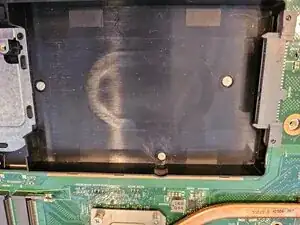
The black plastic is the empty drive location.
-

To reassemble your device, follow these instructions in reverse order.