Introdução
Siga este guia para substituir o disco rígido do seu iMac. A substituição do disco rígido requer a separação a tela e a remoção do alto-falante esquerdo.
Este guia também inclui passos para realizar o upgrade do disco rígido de seu iMac com um SSD. Ele descreve como instalar o sensor de temperatura do SSD de forma que as ventoinhas do Mac operem na velocidade correta.
Antes de começar os trabalhos no seu iMac: Tire o computador da tomada e pressione segurando o botão de liga/desliga por dez segundos para descarregar os condensadores da fonte de alimentação de energia.
Tenha muito cuidado para não tocar nos terminais do condensador ou juntas de solda expostas na traseira da fonte de alimentação.
Ferramentas
-
-
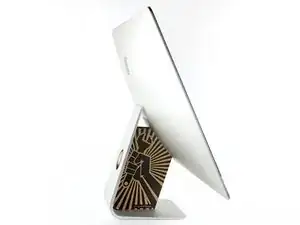
Com a dobradiça podendo se mover livremente, o iMac fica instável, o que torna o trabalho difícil. Os reparos podem ser executados com o iMac deitado, mas ficam mais rápidos e fáceis se você usar um suporte de reparos para iMac.
-
Se estiver usando o suporte de reparo de papelão da iFixit, siga estas instruções de montagem para instalá-lo.
-
-
-
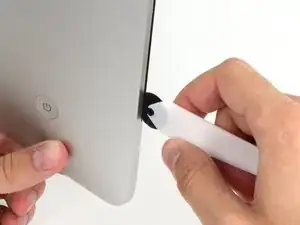
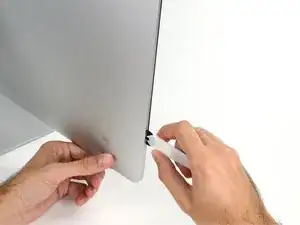
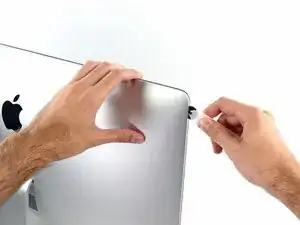
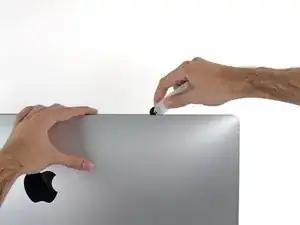
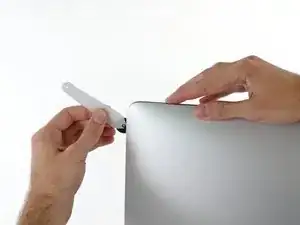
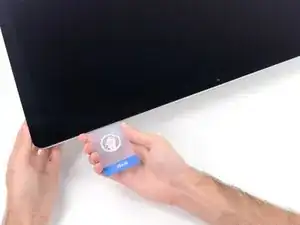
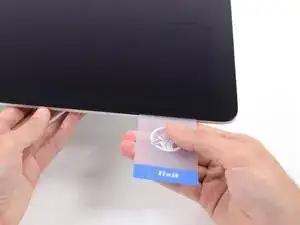
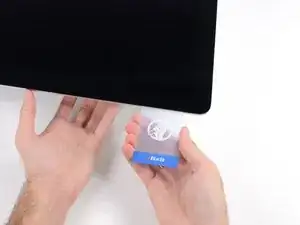
Começando pelo lado esquerdo da tela, próximo ao botão de liga/desliga, introduza a ferramenta de abertura para iMac no vão entre o painel de vidro e a estrutura traseira.
-
-
-
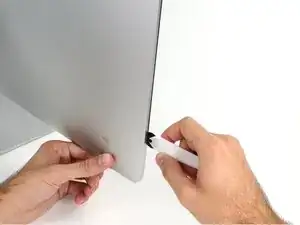
Use a ferramenta como um cortador de pizza - empurre-a por toda a extensão do vão e ela cortará o ponto central do adesivo de espuma.
-
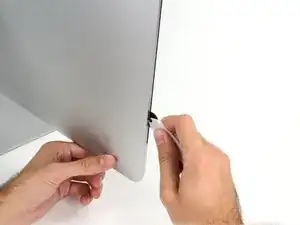
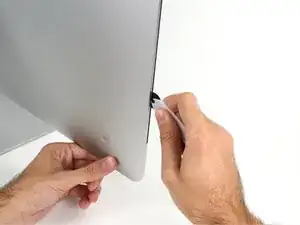
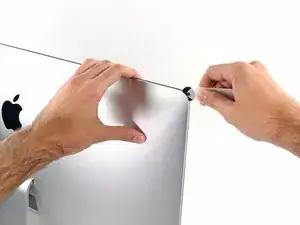
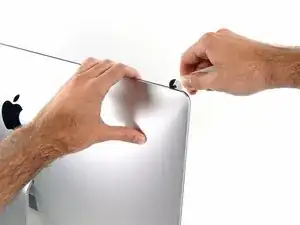
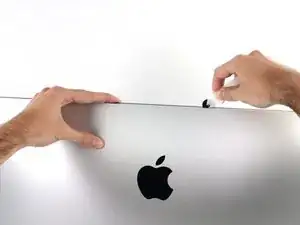
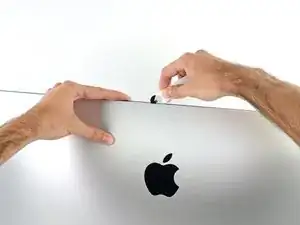
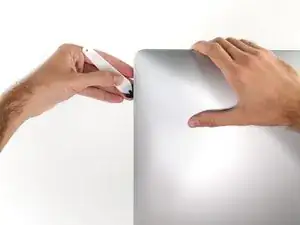
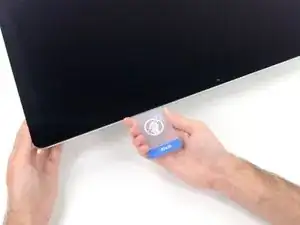
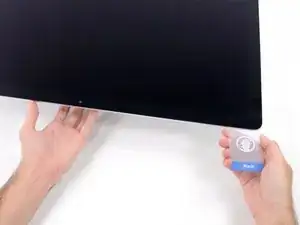
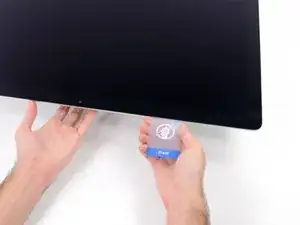
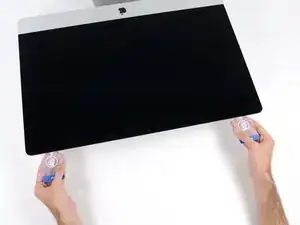
Passe a ferramenta por toda a extensão da lateral esquerda da tela.
-
-
-
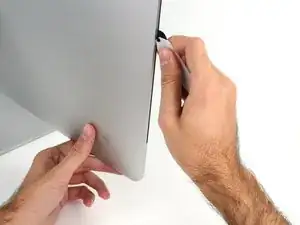
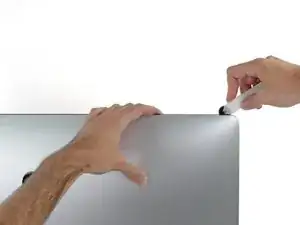
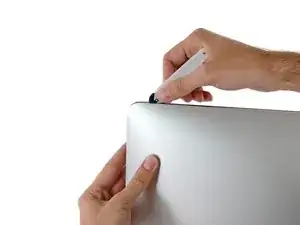
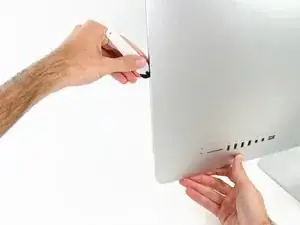
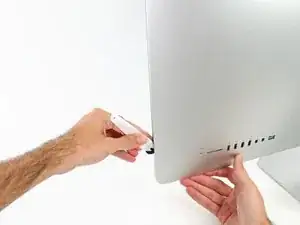
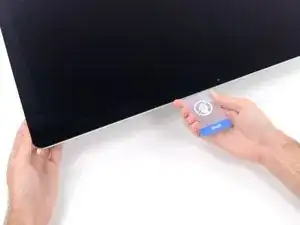
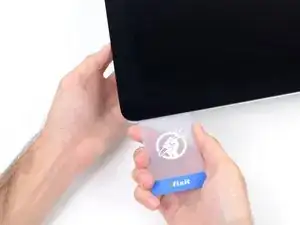
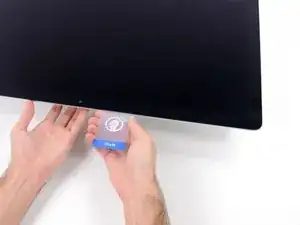
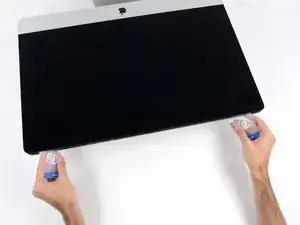
Finalize empurrando a ferramenta de abertura para a parte inferior na lateral direita da tela.
-
-
-
Coloque o iMac numa mesa com a tela virada para cima.
-
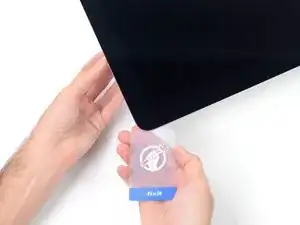
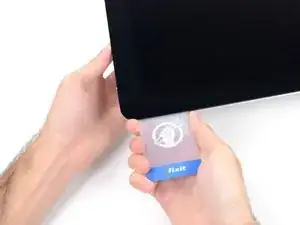
Começando pelo canto direito superior do iMac, introduza um cartão de plástico por entre a tela e a moldura.
-
-
-
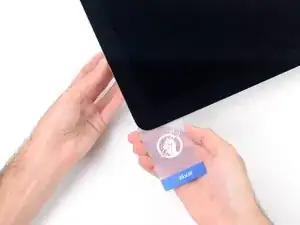
Vire o cartão de plástico cuidadosamente para abrir o espaço entre a tela e a moldura, e corte os adesivos resistentes próximos ao canto.
-
-
-
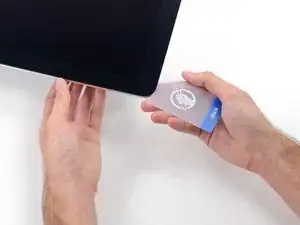
Introduza o cartão novamente no canto e deixe-o nessa posição para evitar que o adesivo cole novamente.
-
-
-
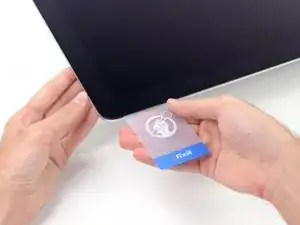
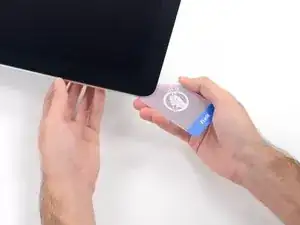
Introduza um segundo cartão no vão, por entre a tela e a moldura, no canto esquerdo superior.
-
-
-
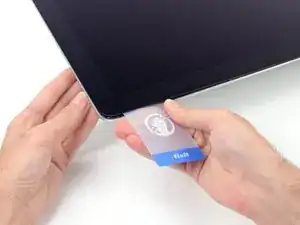
Passe o cartão de plástico na direção do centro, parando novamente um pouco antes da câmera iSight.
-
-
-
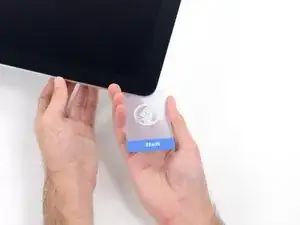
Com os cartões introduzidos próximo aos cantos, como mostra a figura, vire cuidadosamente os cartões para aumentar o vão entre a tela e a estrutura.
-
Se em algumas partes o adesivo ainda estiver colando e não puder ser separado, pare de fazer movimentos de vai-e-vem e use um dos cartões para cortar o adesivo nesta área.
-
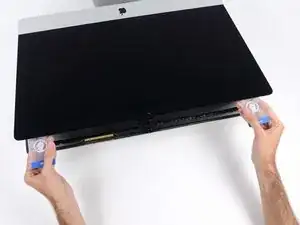
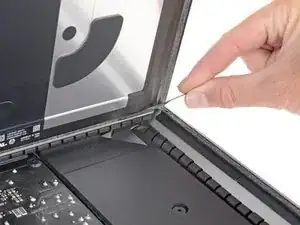
Comece a erguer a parte superior da tela para fora da moldura.
-
-
-
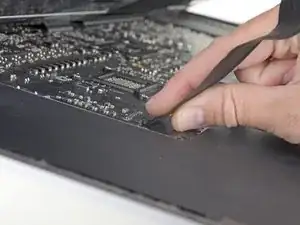
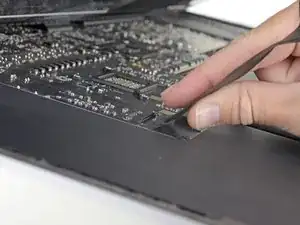
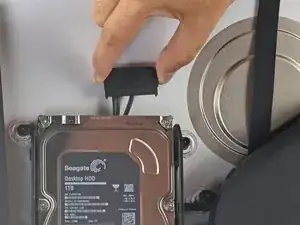
Enquanto segura a tela com uma mão, use a outra para desconectar o cabo de energia da tela.
-
-
-
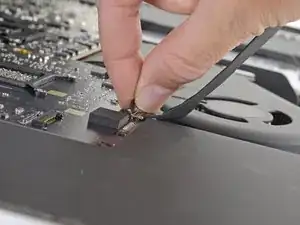
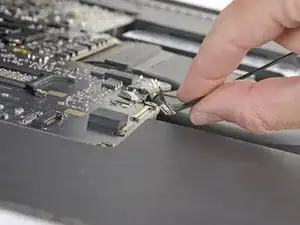
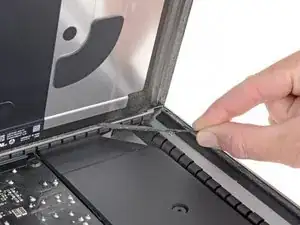
Vire para cima o suporte metálico com trava do cabo de dados da tela.
-
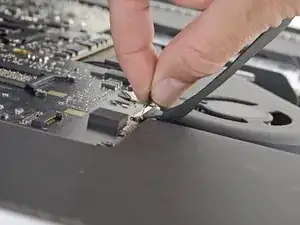
Desconecte o cabo de dados da tela.
-
-
-
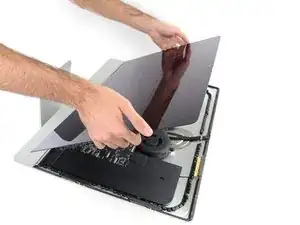
Agarre a pequena tira na extremidade de uma das fitas adesivas da tela na borda inferior e puxe o adesivo na direção da parte superior do iMac para removê-lo.
-
Repita esse passo com a outra faixa adesiva e remova-a.
-
-
-
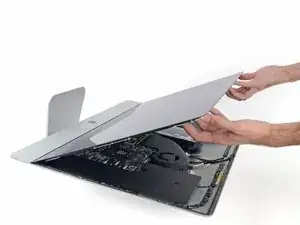
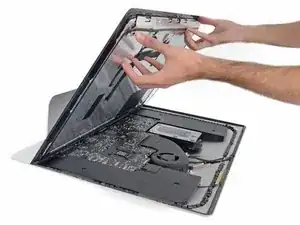
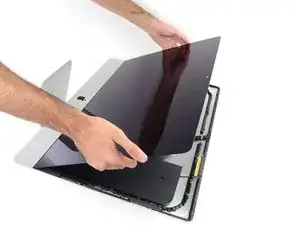
Erga a tela da moldura e remova-a do iMac. Deite a tela virada para baixo numa superfície plana e macia.
-
Pode ser que seja necessário erguê-la lentamente de um lado, para soltar o adesivo restante.
-
-
-
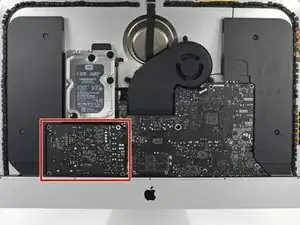
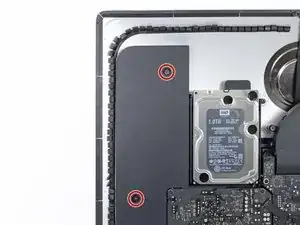
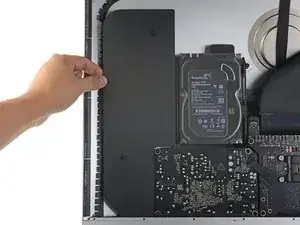
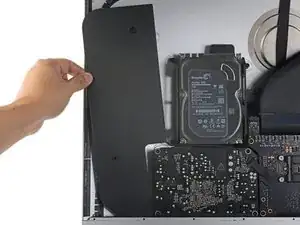
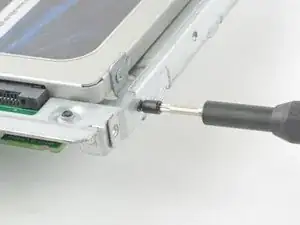
Afaste o alto-falante solto para a esquerda - o bastante para expor os parafusos do suporte do disco rígido.
-
-
-
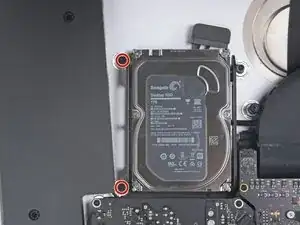
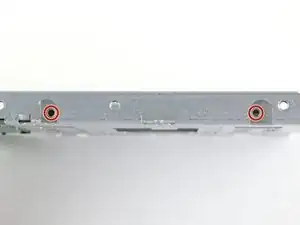
Com uma chave T8, remova os dois parafusos de 7,3 mm que fixam o suporte esquerdo do disco rígido na estrutura traseira.
-
-
-
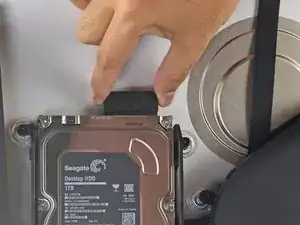
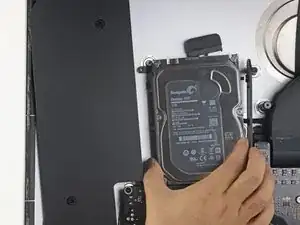
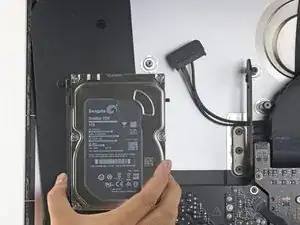
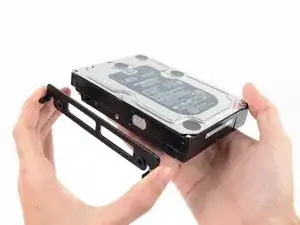
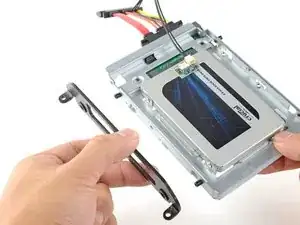
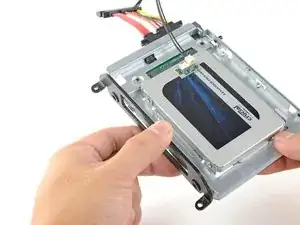
Agarre ambos, o disco rígido e o suporte esquerdo do disco rígido.
-
Levante a lateral esquerda, afastando-a da estrutura traseira, e puxe a unidade para a esquerda.
-
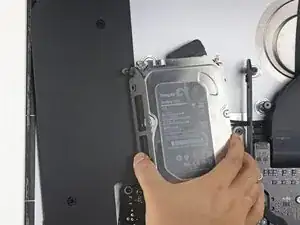
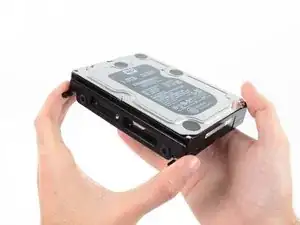
Remova o disco rígido e o suporte esquerdo do disco rígido do iMac.
-
-
-
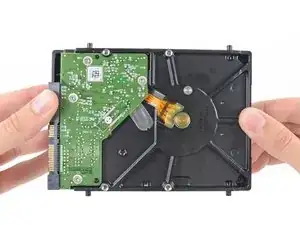
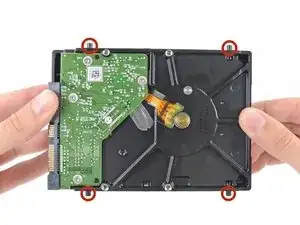
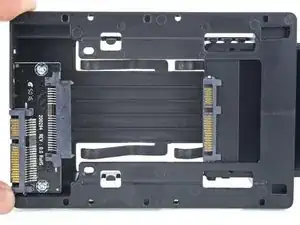
Remova os quatro pinos-parafusos T8 de 8,1 mm do disco rígido e transfira-os para o invólucro da unidade nova.
-
-
-
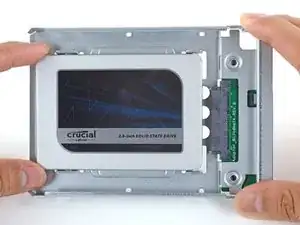
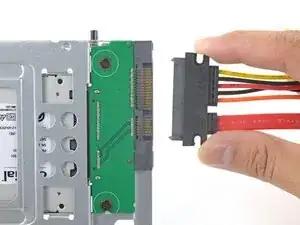
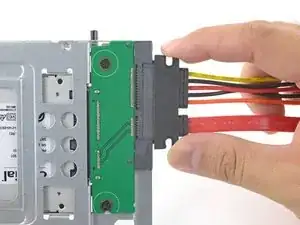
Alinhe os conectores do SSD com os soquetes do invólucro metálico.
-
Pressione a unidade contra os soquetes do invólucro, até que o SSD se assente firmemente.
-
-
-
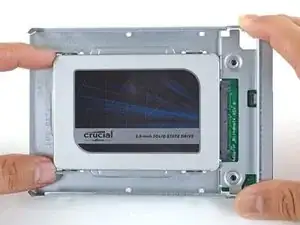
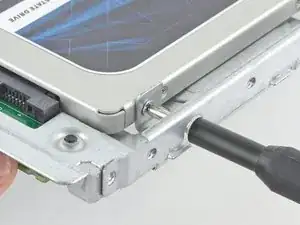
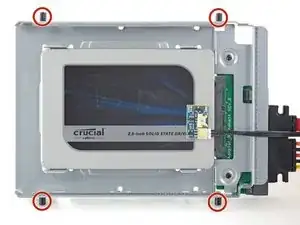
Com uma chave Phillips, instale os quatro parafusos prateados (dois de cada lado) ao longo das bordas do SSD para fixá-lo no invólucro.
-
-
-
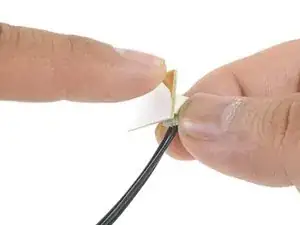
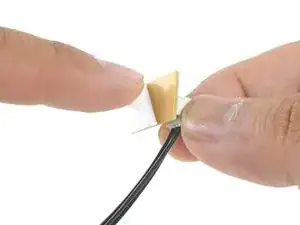
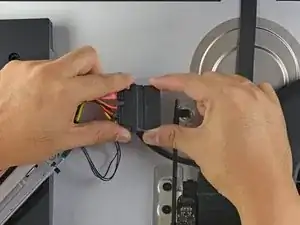
Remova a película branca da traseira da pequena placa de sensor de temperatura para expor o adesivo.
-
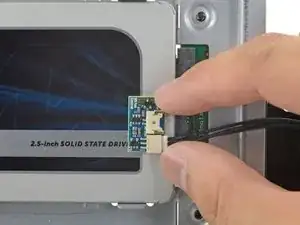
Cole a placa do sensor de temperatura numa superfície metálica exposta do SSD, próximo ao conector SATA.
-
Dobre o excesso dos fios do sensor de temperatura, de forma que eles não atrapalhem enquanto você instala o invólucro.
-
-
-
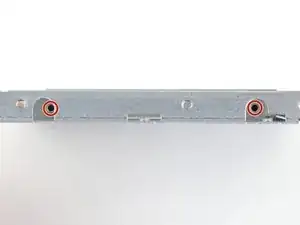
Com uma chave T8, instale os pinos de montagem do disco rígido velho nas laterais do invólucro.
-
-
-
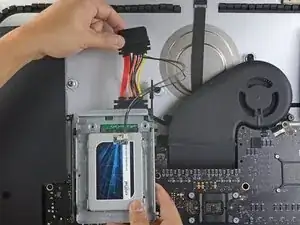
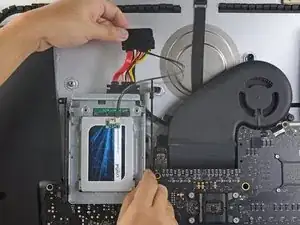
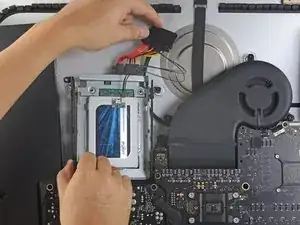
Empurre o invólucro do SSD no espaço ocupado anteriormente pelo disco rígido.
-
Disponha os cabos de tal forma que eles não interfiram nenhum outro componente.
-


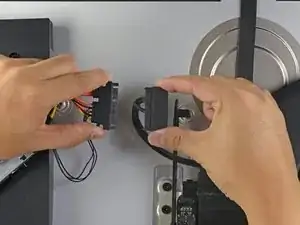
Compare a sua nova peça de reposição com a peça original - pode ser que você precise transferir componentes remanescentes ou remover suportes adesivos da nova peça antes de instalá-la.
Para a remontagem do seu dispositivo, siga essas instruções na ordem inversa.
Leve o seu lixo eletrônico para um ponto de recolha ou uma recicladora certificada.
O reparo não estão indo conforme o planejado? Confira a nossa comunidade do fórum Respostas para obter ajuda na solução de problemas.

15 comentários
Hola.
¿Es realmente necesario colocarle el sensor de temperatura al iMac A2115 de 2019?
Gracias. Saludos
A great and very carefully and detailed instruction. But what about glueing the glass pane back to the iMac? How does that work?
Thanks for any hint!
Hi Hans,
The instructions on how to glue the display back is embedded in step 23. Here is a quick link to the instructions!
These are model specific, look through the guides for your model. My 2019 27” Intel was: iMac Intel 27" Retina 5K Display 2019 Adhesive Strips Replacement
If I replace a factory 1T SSD with a new 2T SSD . . .
am I correct in assuming it will already have the temperature sensor attached?
Would I need to replace the adhesive?
Mcorney -
If you purchase the bundle from iFixit, the bundle will come with a temperature sensor. You can’t re-use the existing adhesives and will need to replace them. They are also included in the bundle.
You can also use an AirPort 802.11ac router!
Dani -