
Introdução
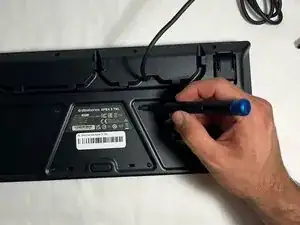
In this guide you will learn to take apart the keyboard to gain access to debris under the keys that could be causing sticky keys.
-
-
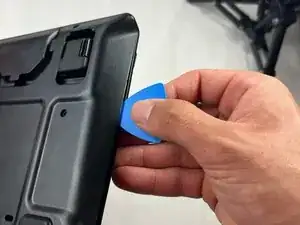
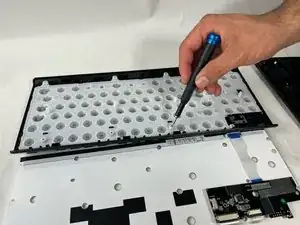
Use the iFixit opening pick to pry open the back panel by running it along the edges of the keyboard.
-
-
-
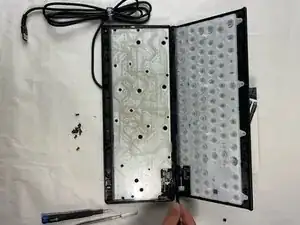
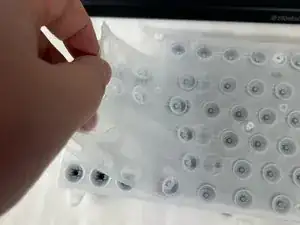
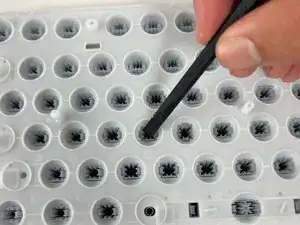
You can use the spudger to press out specific keys that are dirty or for key cap replacement
-
To reassemble your device, follow these instructions in reverse order.
Um comentário
how do you detach the connection in the middle on the lower side, the where the logo is positioned?
i can get all the other ones to detach just this little magnet or hatch doesnt want to detach. i tried poking a pick and a screwdriver beneath it, they just started scratching of material from the backplatte. I would be grateful if you could tell me how i can detach that last piece. look forward to it!
Dodo -