Introdução
Ferramentas
-
-
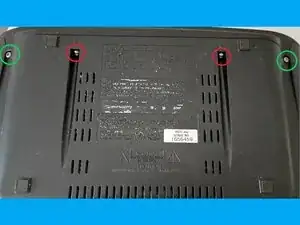
Flip the boombox upside-down to reveal four screws.
-
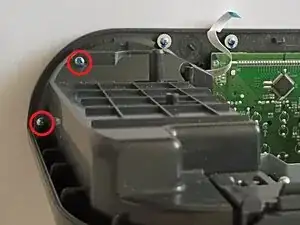
Remove two Philips size 1 screws, circled in red (screws nearest to center).
-
Remove two Philips size 2 screws, circled in green (screws at the extreme left and right).
-
-
-
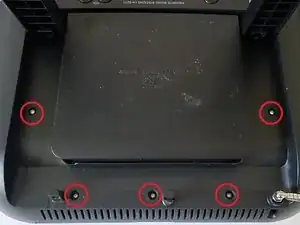
Maneuver the FM telescoping antenna out of the way and lift up the carrying handle to reveal five Philips size 1 screws, circled in red.
-
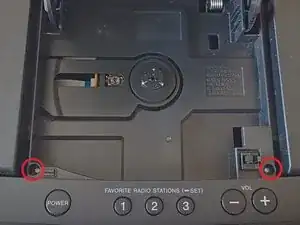
Stow away the FM telescoping antenna and lower the carrying handle. Rotate the boombox such that the front is facing you, then open the CD lid. Remove the two Philips size 1 screws, circled in red.
-
-
-
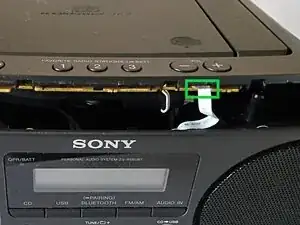
Gently lift the top half of the boombox straight up. There are a total of three connectors that need to be disconnected.
-
First, disconnect the flat flex cable just below the volume adjustment buttons.
-
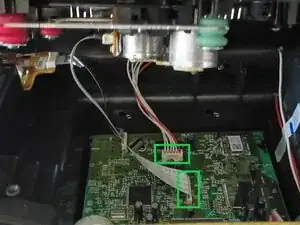
Then, disconnect the two CD mechanism connectors from the main board.
-
-
-
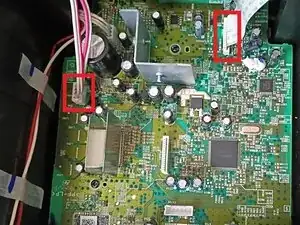
Rotate the boombox such that the rear is facing toward you.
-
Unplug the 4-pin speaker connector and the front panel flat flex cable.
-
-
-
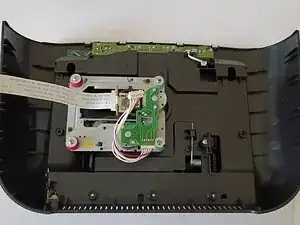
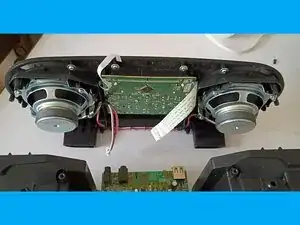
The front faceplate assembly contains the speakers, LCD board, and front control panel.
-
To separate the front faceplate, remove six Philips size 1 screws, circled in red.
-
Once the screws are removed, the front faceplate assembly detaches easily.
-
-
-
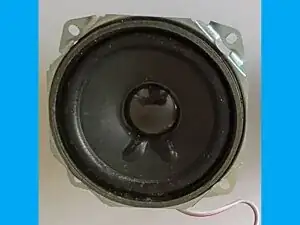
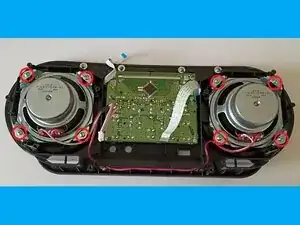
Each speaker driver is secured with four Philips size 1 screws.
-
Unscrew a total of eight Philips size 1 screws to remove both speakers.
-


To reassemble your device, follow these instructions in reverse order.