Introdução
Device no longer charging, or is your computer failing to recognize the SD Card? Frequent plugging and unplugging can cause the USB port to become internally loose or damaged.
This specific guide is a "how-to" when it comes to replacing the USB port in a SONY PRS-505. This repair will restore reliable charging and data synchronization functionality.
Note for All Repairers: This port is typically soldered to the main logic board via several tiny contacts. Precise soldering skills and the proper heating tools are required to complete this procedure successfully.
-
-
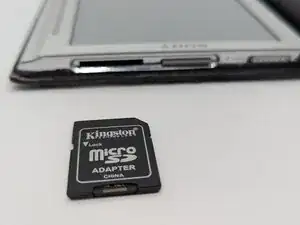
Press the SD card inward until it clicks and springs outward.
-
Take the SD card out of the device.
-
-
-
Remove the stylus.
-
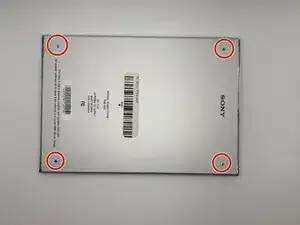
Remove the four 2 mm screws from the back of the device using a Phillips #000 screwdriver.
-
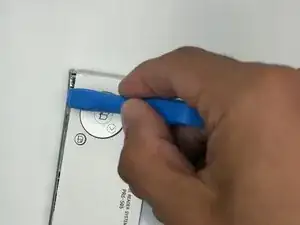
Loosen the screw on the bottom of the device that is in its own little divot using a Phillips #000 screwdriver.
-
-
-
Remove the thin panel on the bottom of the device using an opening tool.
-
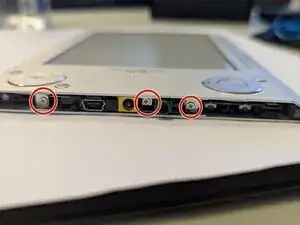
Use a Phillips #000 screwdriver to remove the three 5 mm screws that are underneath the panel.
-
-
-
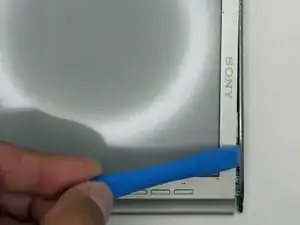
Remove the thin top panel using an opening tool.
-
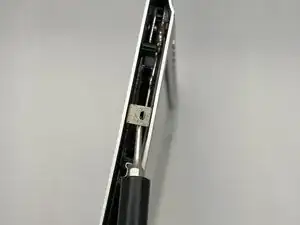
Remove the two metal brackets from the top of the device.
-
-
-
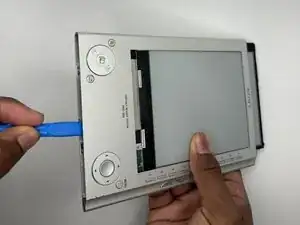
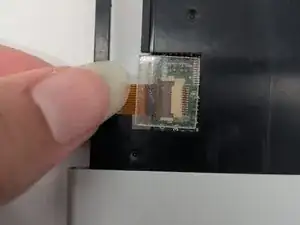
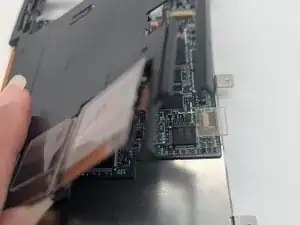
Gently but firmly push the inner components of the PRS out towards the top until the ribbon cable is completely exposed and accessible.
-
-
-
Disconnect the ribbon cable.
-
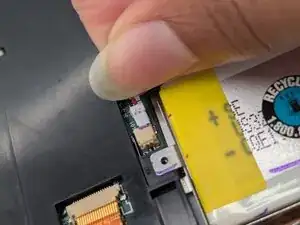
Carefully continue to push the inner body of the device towards the top until the battery is accessible.
-
-
-
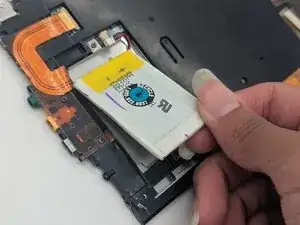
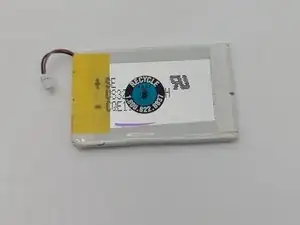
Gently pry the battery from its placeholder within the device’s inner body. Disconnect and remove the battery.
-
-
-
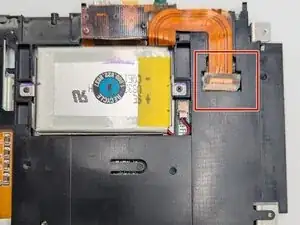
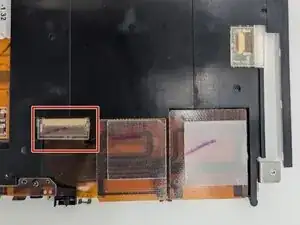
Disconnect the two ribbon cables: one next to the battery compartment and the other next to the SD card reader.
-
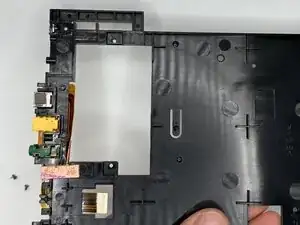
Remove the black midframe.
-
-
-
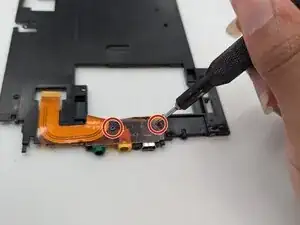
Use a Phillips #00 screwdriver to remove the two 3.3 mm screws from the back of the USB port.
-
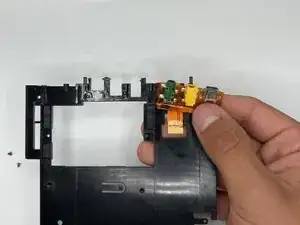
Unhook the ports from their placement in the casing.
-
-
-
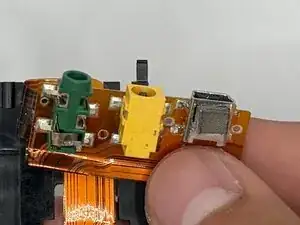
Use a soldering iron to desolder the USB port from its connecting points on the ribbon colored compartment.
-
Remove the USB port.
-


To reassemble your device, follow these instructions in reverse order.