
Introdução
Even with the Sony PRS-505 being important piece of e-reader history, devices eventually face the end of their battery life.
This guide will show you how to safely get to and replace the battery in the particular device so that you can get back to doing your thing.
Warning: The ribbon cables are very delicate. The clips and screws also securing the enclosure require extra care to prevent breaking. proceed slowly and with patience
Ferramentas
-
-
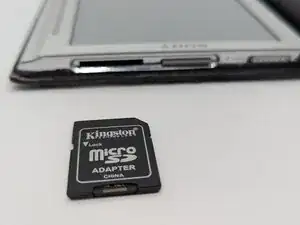
Press the SD card inward until it clicks and springs outward.
-
Take the SD card out of the device.
-
-
-
Remove the stylus.
-
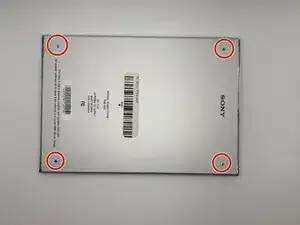
Remove the four 2 mm screws from the back of the device using a Phillips #000 screwdriver.
-
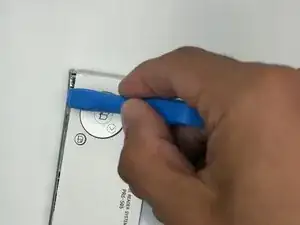
Loosen the screw on the bottom of the device that is in its own little divot using a Phillips #000 screwdriver.
-
-
-
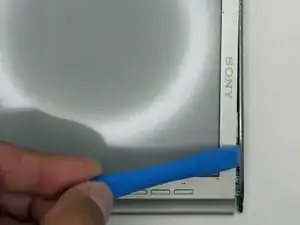
Remove the thin panel on the bottom of the device using an opening tool.
-
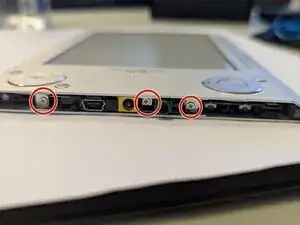
Use a Phillips #000 screwdriver to remove the three 5 mm screws that are underneath the panel.
-
-
-
Remove the thin top panel using an opening tool.
-
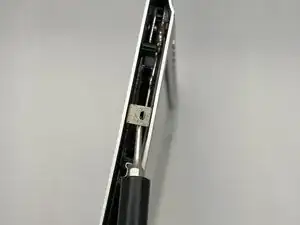
Remove the two metal brackets from the top of the device.
-
-
-
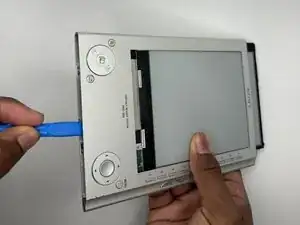
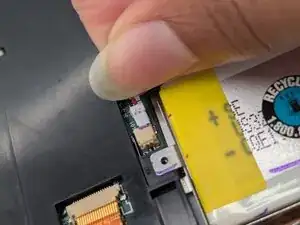
Gently but firmly push the inner components of the PRS out towards the top until the ribbon cable is completely exposed and accessible.
-
-
-
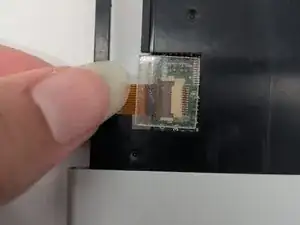
Disconnect the ribbon cable.
-
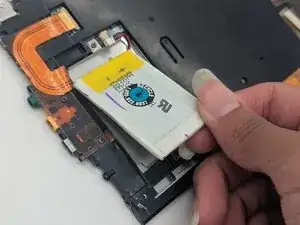
Carefully continue to push the inner body of the device towards the top until the battery is accessible.
-
-
-
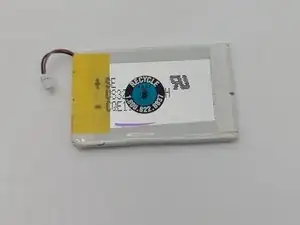
Gently pry the battery from its placeholder within the device’s inner body. Disconnect and remove the battery.
-


To reassemble your device, follow these instructions in reverse order.